> ## Documentation Index
> Fetch the complete documentation index at: https://kb.hosting.com/llms.txt
> Use this file to discover all available pages before exploring further.
# How to enable SSH on your hosting.com Managed WordPress site
> Learn how to enable SSH (Secure Shell) on your hosting.com Managed WordPress site so you can access it securely.
This article describes how to enable SSH (Secure Shell) on your hosting.com Managed WordPress site so you can access it securely.
## What is SSH?
SSH allows you to connect to your site via the command-line terminal to perform edits, changes, and more without having to log in to the hosting.com Dashboard. Logging in via SSH also provides full access to wp-cli so you can easily manage WordPress from the command line.
## How to enable SSH
Activating SSH takes just a few moments, but before we get started you will need the following items:
* An SSH public key.
* A terminal application (for example, PuTTy, MobaXterm, Terminal, iTerm, etc).
**Important**
SSH on hosting.com Managed WordPress only works with key-based authentication. Password authentication is not supported.
To enable SSH, follow these steps:
1. Log in to the Hosting Panel at [https://my.hosting.com](https://my.hosting.com).
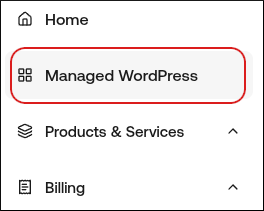
2. In the left sidebar, click **Managed WordPress**:
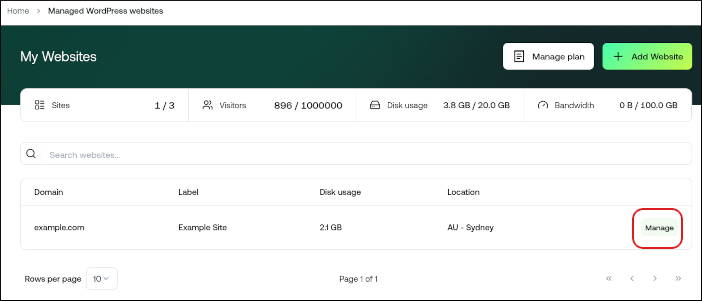
3. On the **My Websites** page, locate the site for which you want to enable SSH, and then click **Manage**:
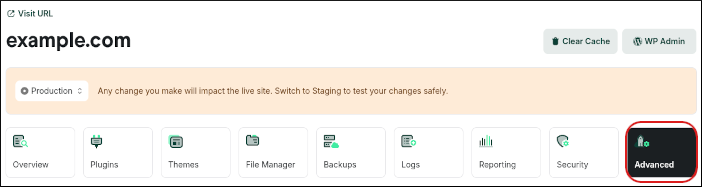
4. On the hosting.com dashboard, click the **Advanced** icon:
5. In the **Advanced Settings** section, click the **SSH Access** slider:

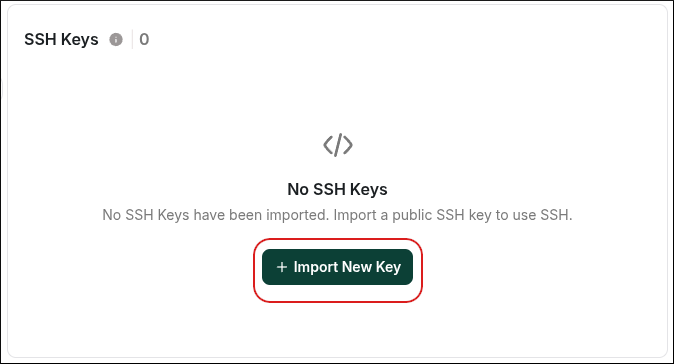
6. Scroll down to the **SSH Keys** section, and then click **Import New Key**:
> 🚧 Important
>
> * If you do not have a public key, you can generate a private key using a tool like PuTTY Key Generator and it will have an accompanying public key.
>
> * Some key generators such as PuTTY Key Generator and MobaXterm SSH Key Generator save your public and private keys in a format that is not compatible with our system. But they do present you with the Public Key in a box specifically for copying and pasting into the Authorized Keys file. It is this text that you must paste into Import Key:
7. In the **Import New Key** dialog box, in the **Key Name** text box, type a descriptive name for the key:
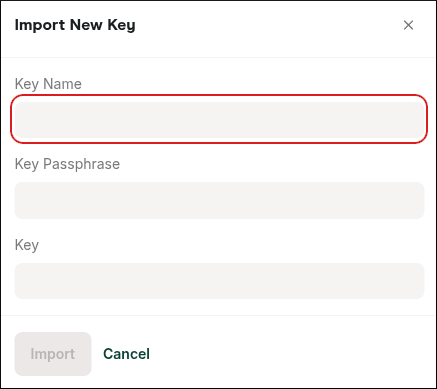
8. In the **Key Passphrase** text box, type the passphrase for the key. If you did not create a key passphrase when you generated the key, then leave the **Key Passphrase** text box blank.
9. In the **Key** text box, paste the public key.
10. Click **Import**.
11. After you import the key, activate the key by clicking the checkmark next to it so it is allowed to access SSH.
12. SSH is now enabled on your site.
## How to connect to SSH
To connect to SSH, you use your **private** SSH key, the **SSH/SFTP Username**, and the **FTP/SSH/SFTP Address**. You can view this information on the **General** tab in the **Site Information** section of the hosting.com Dashboard.
For example, the SSH command would look similar to the following:
```
ssh username@172.24.136.21
```
If your private key is in a specific location on your computer, the SSH command would look similar to the following:
```
ssh -i ~/mykeys/id_rsa username@172.24.136.21
```