> ## Documentation Index
> Fetch the complete documentation index at: https://kb.hosting.com/llms.txt
> Use this file to discover all available pages before exploring further.
# Using Imunify360
> Discover how Imunify360 scans and protects sites, manage detected malware files, set file exceptions, and toggle the Proactive Defense feature.
This article discusses Imunify360, a security solution for Linux web servers based on machine learning technology. Imunify360 uses a multi-layer approach to provide protection against malicious attacks and abnormal behavior, including distributed brute-force attacks. Imunify360 offers advanced firewall protection that uses cloud heuristics and artificial intelligence to detect new threats and protect servers.
Imunify360 is preinstalled for free on managed VPS and managed Dedicated servers.
## How do I scan my website for malware?
Imunify360 scans your files automatically as they are created or modified. There is no need to manually scan any files.
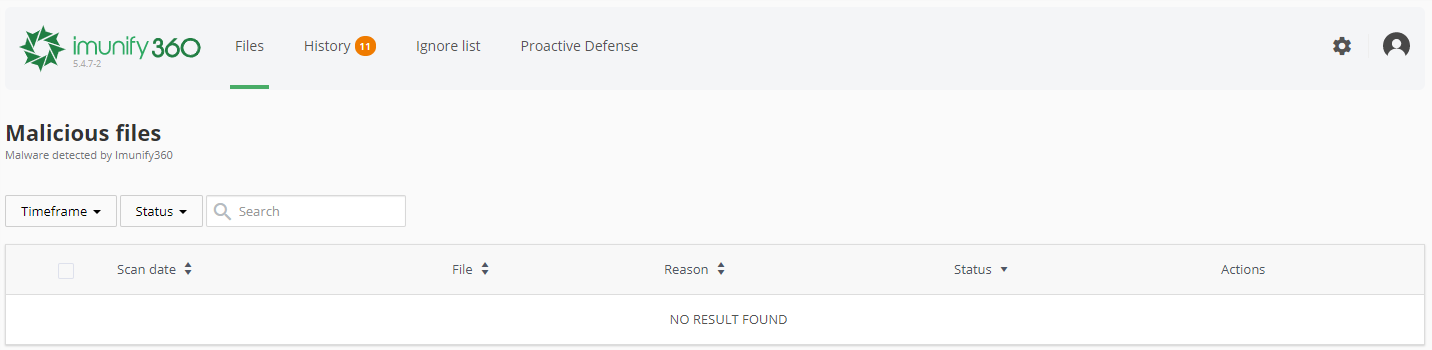
## How do I see what files have been detected as malware?
To view a list of files that have been detected as malware, follow these steps:
1. Log in to cPanel.
> 📘 Note
>
> If you do not know how to log in to your cPanel account, please see [this article](/docs/accessing-cpanel).
2. On the **Tools** page, in the **Security** section, click **Imunify360**:\

3. The **Files** page appears and lists any malicious files found:\
> 📘 Note
>
> For more information about a file’s status, actions, reasons, etc. please visit [https://docs.imunify360.com/user\_interface/#files](http://docs.imunify360.com/user_interface/#files).
## How do I instruct Imunify360 to ignore certain files?
To instruct Imunify360 to ignore certain files, follow these steps:
1. Log in to cPanel.
> 📘 Note
>
> If you do not know how to log in to your cPanel account, please see [this article](/docs/accessing-cpanel).
2. On the **Tools** page, in the **Security** section, click **Imunify360**:\

3. On the top toolbar, click **Ignore list**.
4. To add a file to the ignore list, click**+Add new file or directory** on the right-hand side. Add the path to the file or directory, and it will be added to the ignore list:\

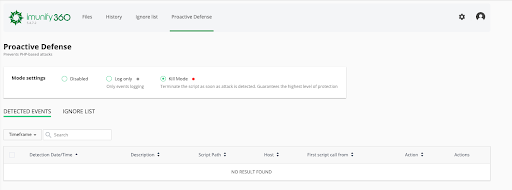
## What is Proactive Defense and how do I enable and disable it?
Proactive Defense protects websites running PHP against zero-day attacks by blocking potentially malicious executions automatically and with zero latency. Proactive Defense is enabled by default. It adds an additional layer of security to your website by blocking PHP scripts that contain code that could hurt your website or visitors. Proactive Defence has three modes:
* **Disabled**: This means that the Proactive Defense feature is not working and the system is unprotected. Data is logged in all modes except Disabled.
* **Log Only**: This means that possible malicious activity is only logged, and no actions are performed. **This is the default mode.**
* **Kill Mode**: This is the highest level of protection. Scripts are terminated as soon as malicious activity is detected.
**Important**
For security reasons, we highly recommend that Proactive Defense is left in Kill Mode. Please exercise extreme caution when disabling Proactive Defense.
To disable or enable Proactive Defense, follow these steps:
1. Log in to cPanel.
> 📘 Note
>
> If you do not know how to log in to your cPanel account, please see [this article](/docs/accessing-cpanel).
2. On the **Tools** page, in the **Security** section, click **Imunify360**:\

3. On the top toolbar, click **Proactive Defence.**
4. To disable Proactive Defence, click **Disabled** in the **Mode Settings** toolbar. This disables Proactive Defence on your site.
5. To enable Proactive Defence, click **Kill Mode** in the **Mode settings** toolbar. This enables Proactive Defence on your site.\
## More information
For more information, please visit [https://www.imunify360.com](https://www.imunify360.com).
## Related articles
* [cPanel Security Features](/docs/cpanel-security-features)