> ## Documentation Index
> Fetch the complete documentation index at: https://kb.hosting.com/llms.txt
> Use this file to discover all available pages before exploring further.
# Managing DNS settings in the Hosting Panel
> Master DNS settings in the hosting.com panel for standalone domains. Quickly map records, update nameservers, and keep sites reachable.
This article describes how to manage DNS settings for a domain in the hosting.com Hosting Panel.
**Important**
This article only applies to domains purchased from **hosting.com** on or after April 28, 2025 that do **not** have an associated hosting product. (In other words, a standalone domain, such as one used only for email hosting services.) For more information about the DNS management options available for different domain types, please see [Hosting.com DNS management](/docs/hosting-com-dns-management).
To manage DNS settings for your domain, follow these steps:
1. Log in to the Hosting Panel at [https://my.hosting.com](https://my.hosting.com).
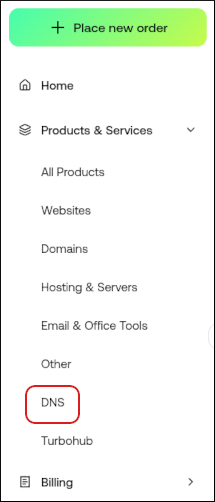
2. In the left sidebar, under **Products & Services**, click **DNS**:
3. If you previously created a zone for your domain, in the **Select a domain** list box, select your domain, and then click **Manage Domain**. Go to step 5.
4. If you have not created a zone previously for your domain, the **Create a new zone** dialog appears:
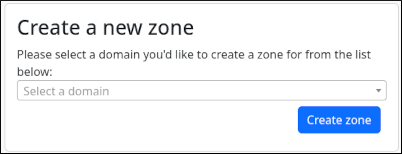
* In the **Select a domain** list box, select your domain, and then click **Create zone**.
> 📘 Note
>
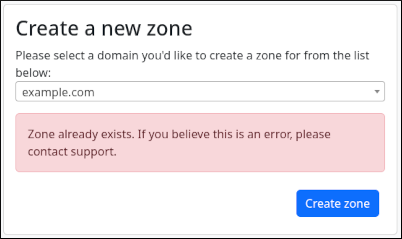
> If you click **Create zone** and receive a **Zone already exists** message, then the domain you selected already has a DNS zone on our nameservers. Most likely the domain is associated with a hosting product and is not a standalone domain:
>
> 
5. The **DNS Editor** tab appears for the domain:
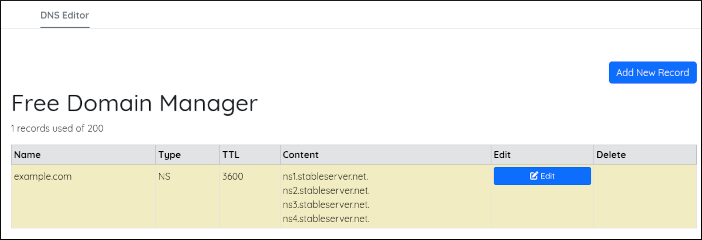
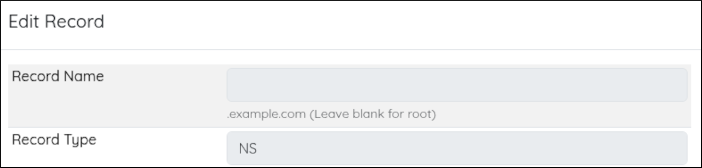
* To edit an existing record in the zone, click **Edit**, make your changes, and then click **Save Changes**:
* To delete an existing record in the zone, click **Delete**.
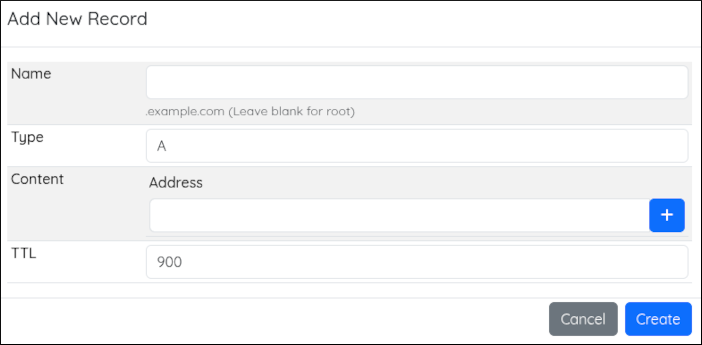
* To add a new record to the zone, click **Add New Record**, and then click **Create**:
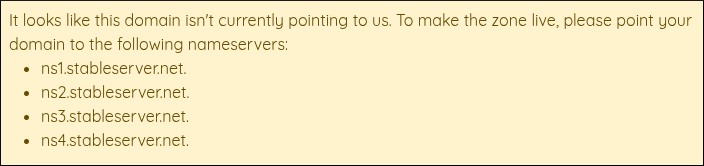
If you receive a **It looks like this domain isn't currently pointing to us** message, then your domain's nameservers are pointed to another provider. For your DNS changes in the Hosting Panel to take effect, you must update the nameservers for your domain: