> ## Documentation Index
> Fetch the complete documentation index at: https://kb.hosting.com/llms.txt
> Use this file to discover all available pages before exploring further.
# Creating temporary WordPress user logins Using Temporary Login Without Password plugin
> Discover how to create unlimited temporary user logins with designated roles on WordPress.
Temporary Login Without Password plugin allows you to create a self-expiring account link for a user to have temporary access to [WordPress](https://hosting.com/hosting/platforms/wordpress-hosting). You can set the login validity duration and the access role to the designated users. This article describes the steps to create a temporary login in WordPress using the Temporary Login Without Password plugin.
## Installing and configuring the Temporary Login Without Password plugin
To install Temporary Login Without Password, follow these steps:
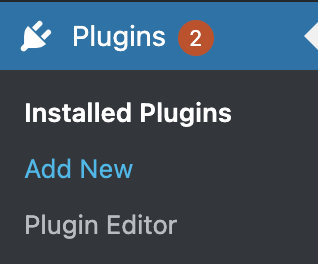
1. Log in to your WordPress site with an administrator account.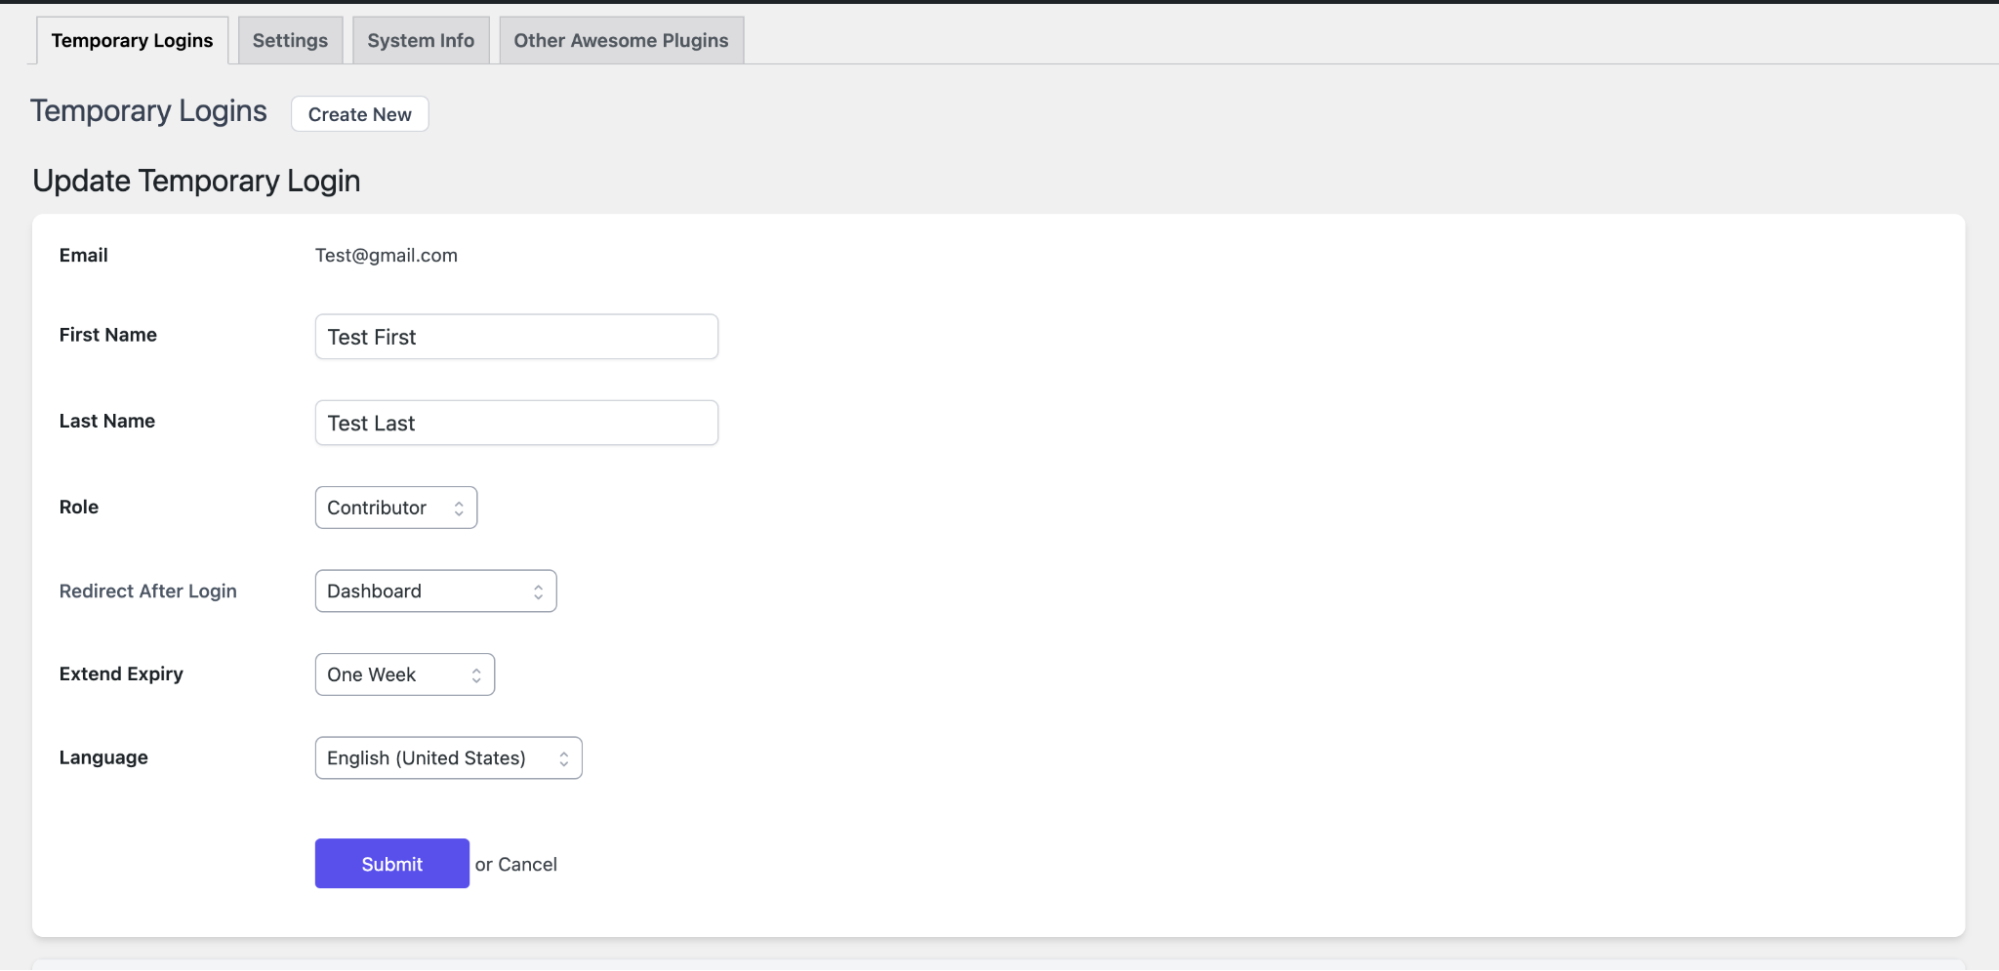 2. On the **Dashboard** in the left sidebar, click **Plugins**, and then click **Add New**:\\
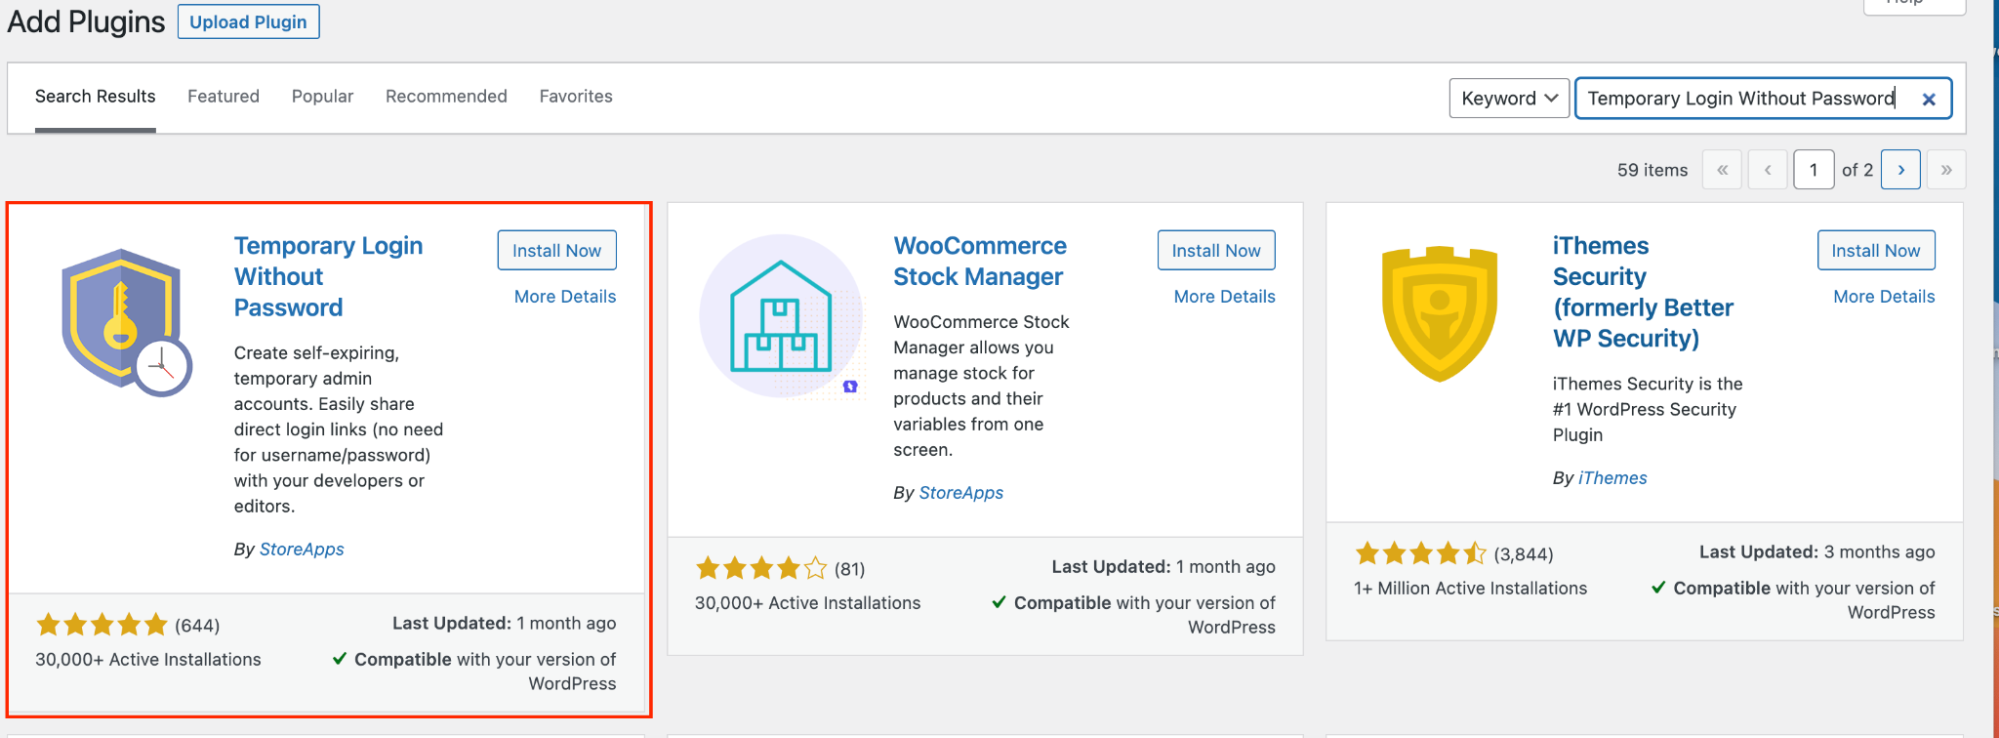
 3. Search for "Temporary login without password" and, you will see a display of available plugins on your screen:\\
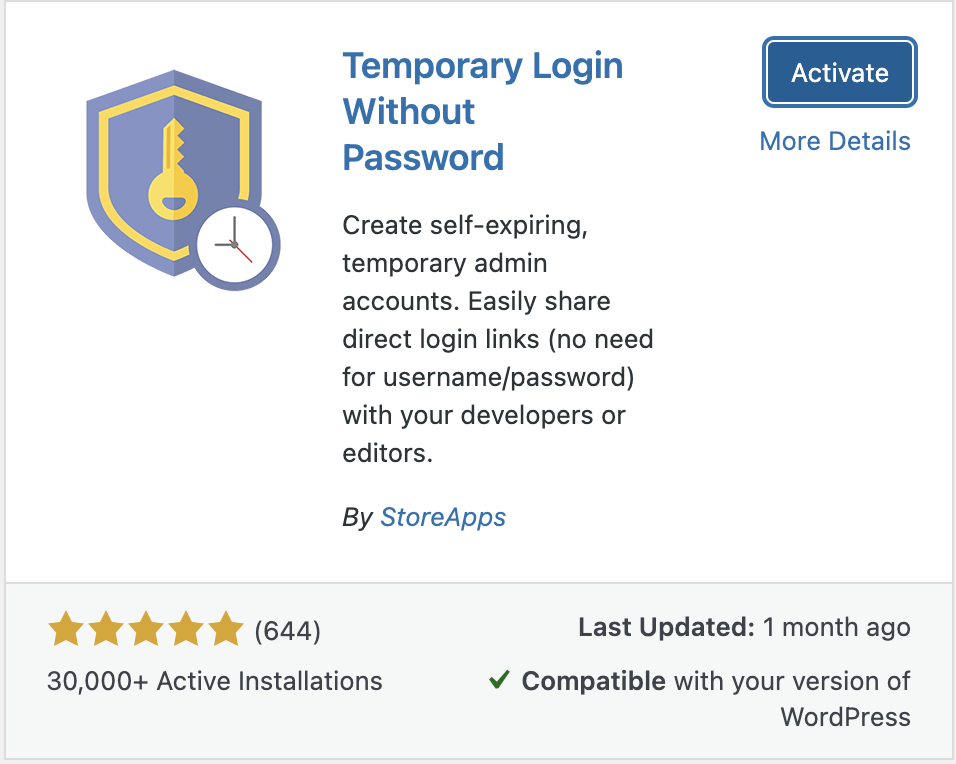
 4. Click **Install** and then **Activate** the plugin:\\
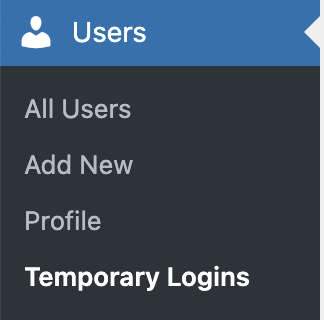
 5. On the **Dashboard** in the left sidebar, click Users and then click **Temporary Logins**:\\
 6. There are four tabs on the **Temporary Logins** page:\\
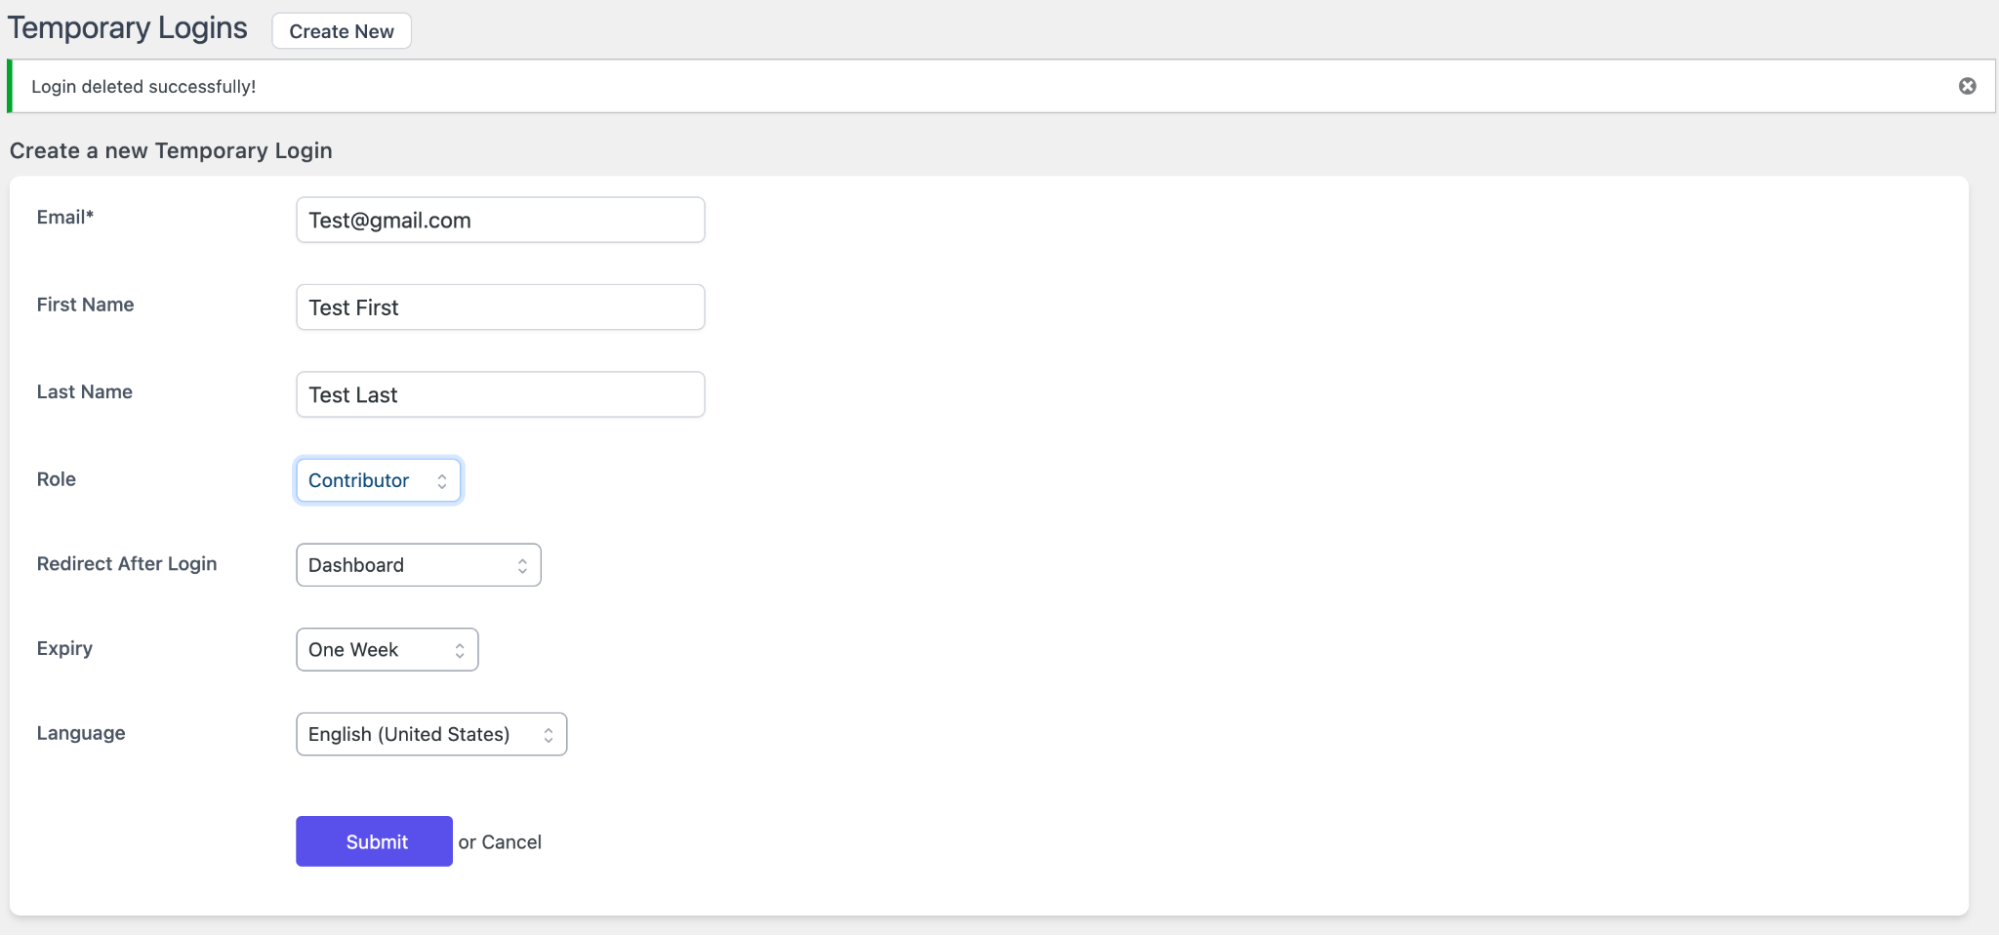
 7. Click on the **Create New** button on the Temporary Logins tab to create a new temporary login account.Enter the required information and click the **Submit** button:\\
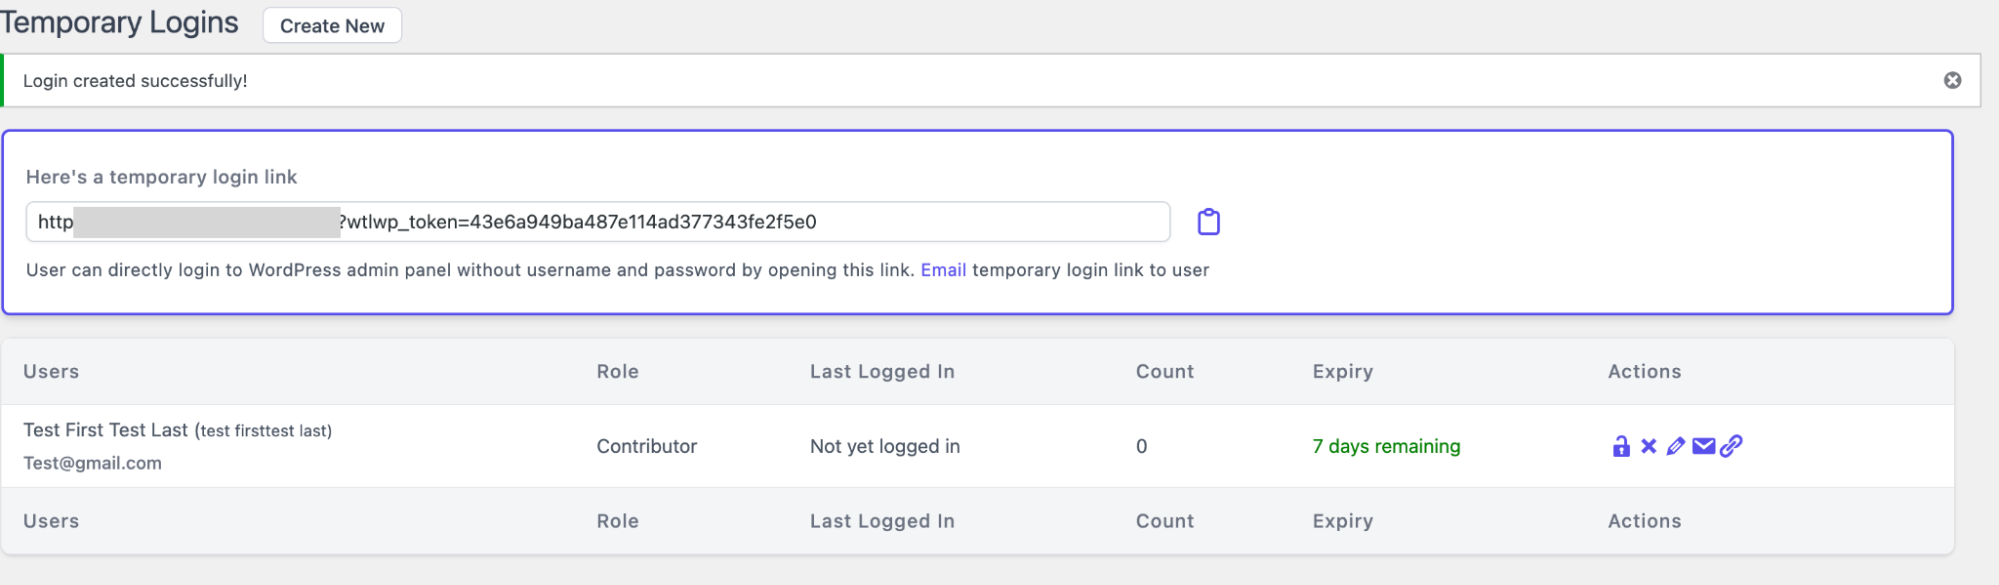
 8. The new temporary user entry is displayed on the page:\\
 9. Copy the temporary login link and send a temporary login to the user:\\
 10. To edit the settings of the temporary user click on the pencil icon on the selected account. The Update form will be displayed. For the purpose of this article, the user role is changed from a Contributor to Administrator:\\
 11. You may use the other action icons to delete, edit, email or copy the temporary login information:\\
 ## More information
For more information about the Temporary Login Without Password plugin please visit: [https://wordpress.org/plugins/temporary-login-without-password/](https://wordpress.org/plugins/temporary-login-without-password/)
## More information
For more information about the Temporary Login Without Password plugin please visit: [https://wordpress.org/plugins/temporary-login-without-password/](https://wordpress.org/plugins/temporary-login-without-password/)