.jpg?fit=max&auto=format&n=E2LlsT5gBITvo732&q=85&s=ec11e1673894bdf46663a5d73602eb87)

Configuring DNS settings at Cloudflare
To configure DNS settings for your domain at Cloudflare, follow these steps:- Log in to the Hosting Panel at https://my.hosting.com.
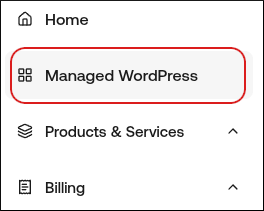
- In the left sidebar, click Managed WordPress.
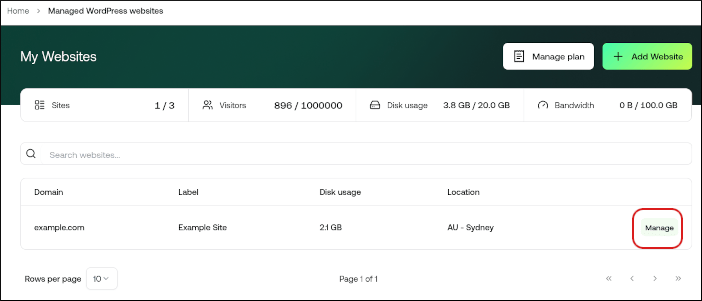
- On the My Websites page, locate the site, and then click Manage.
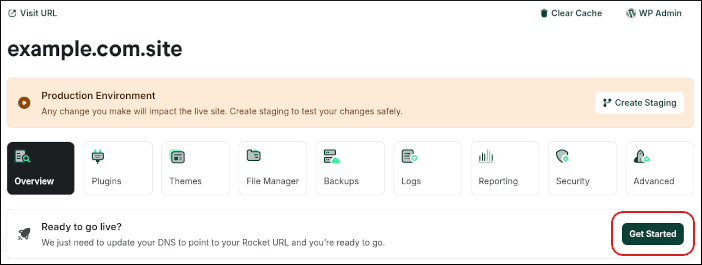
- In the Ready to go live? section, click Get Started.
- In the Change Domain Name section, type the domain you want to use with WordPress:
- If you want to use the base domain name, type
example.com, whereexample.comrepresents your apex domain. - If you want to use the
wwwsubdomain, typewww.example.com, whereexample.comrepresents your apex domain.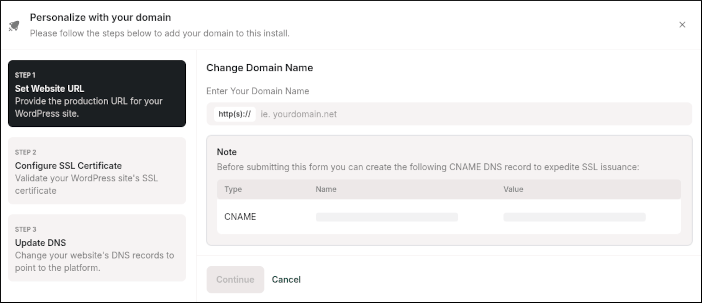
- If you want to use the base domain name, type
- Click Continue.
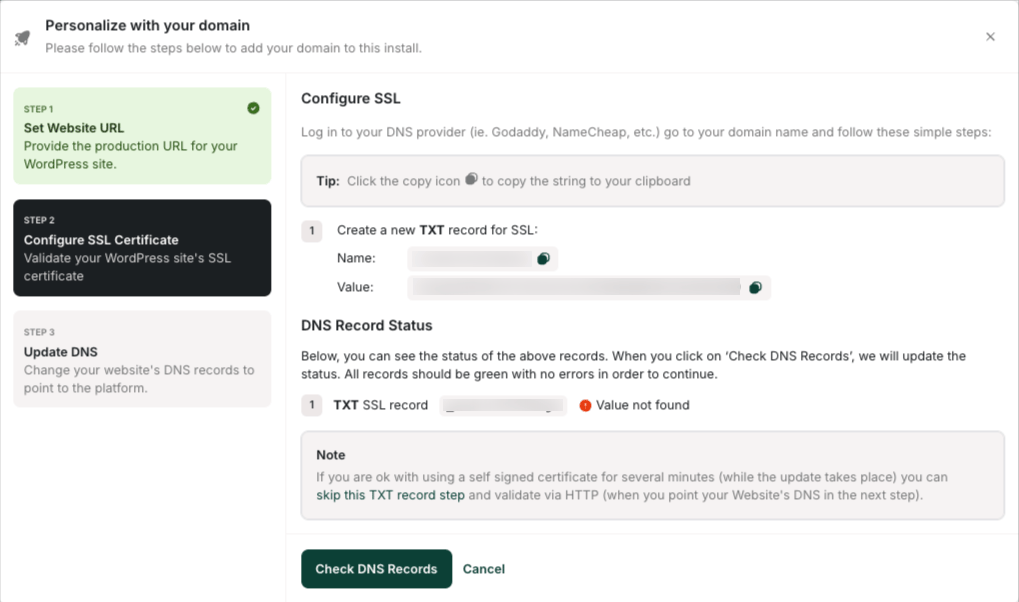
- In the Configure SSL section, copy the Name and Value for the TXT record. For example:
- Name:
_acme-challenge - Value:
example-verification-value
- Name:
- Log in to your Cloudflare account and select your domain.
- Go to DNS > Records and add a new TXT record using the Name and Value provided.
- Return to the Configure SSL section and click Check DNS Records. Make sure the record shows as green with no error
- Click Continue to proceed to Step 3: Update DNS and copy the DNS records shown.
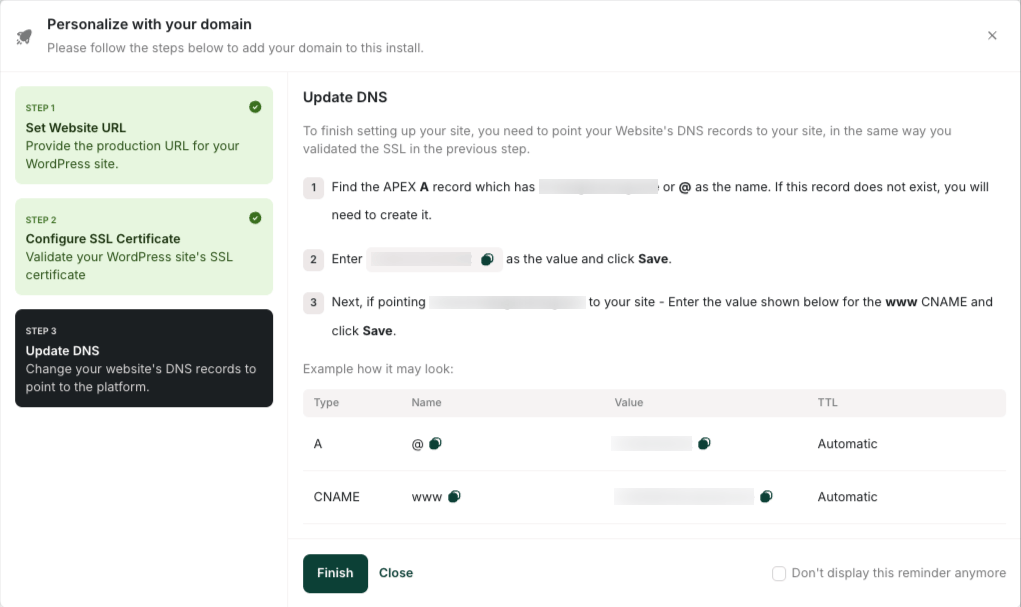
- In DNS > Records, update your domain’s DNS records using the values provided. For example:
- A record for
example.com:104.19.154.92 - CNAME record for
www.example.com:___.wpdns.site
- Make sure the DNS records are set to DNS only (grey cloud) rather than Proxied (orange cloud), then save your DNS changes.
It may take up to 24 hours for DNS to fully propagate around the world. However, typically these changes take place in just a few minutes.