hosting.com AI Application Studio Quick Start Guide
Get up and running quickly with AI Application Studio powered by Hosting.com! Welcome to AI Application Studio powered by Hosting.com! You’re just a few minutes away from creating and deploying your AI applications without writing any code.
Step 1: Create your first AI application
Creating an AI application is fast and simple. To get started, follow these steps:
- Log in to the Hosting Panel at https://my.hosting.com.
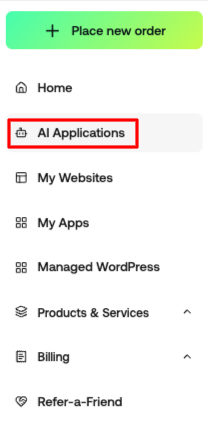
- In the left sidebar, click AI Applications.
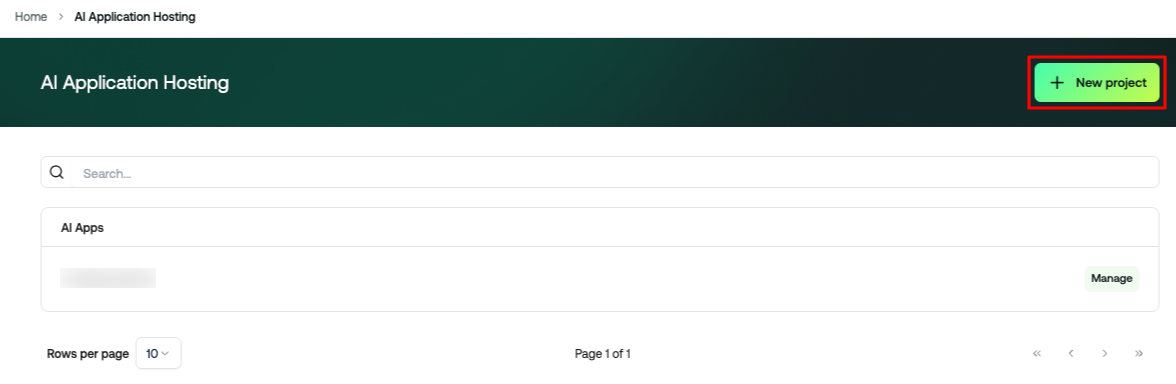
- On the AI Application Hosting page, click New Project.
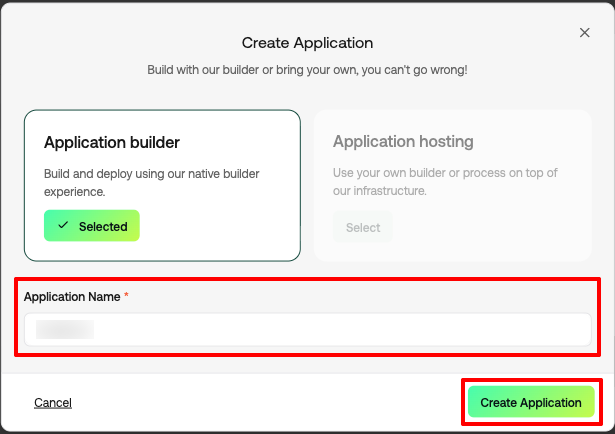
- On the Create Application page, choose one of the following options:
- Application Builder – Build and deploy using Hosting.com’s native builder experience. (Select this for a guided workflow)
- Application Hosting – Use your own builder or process on top of Hosting.com’s infrastructure. (Select this if you’re bringing your own code or builder)
- Fill out the Application Name field, then click Create Application.
Tip: You can create multiple projects and manage them individually in the AI Applications dashboard.
Step 2: Manage your AI application
Once your application is created, it will appear in your AI Applications list.
- On the AI Application Hosting page, locate your application and click Manage.

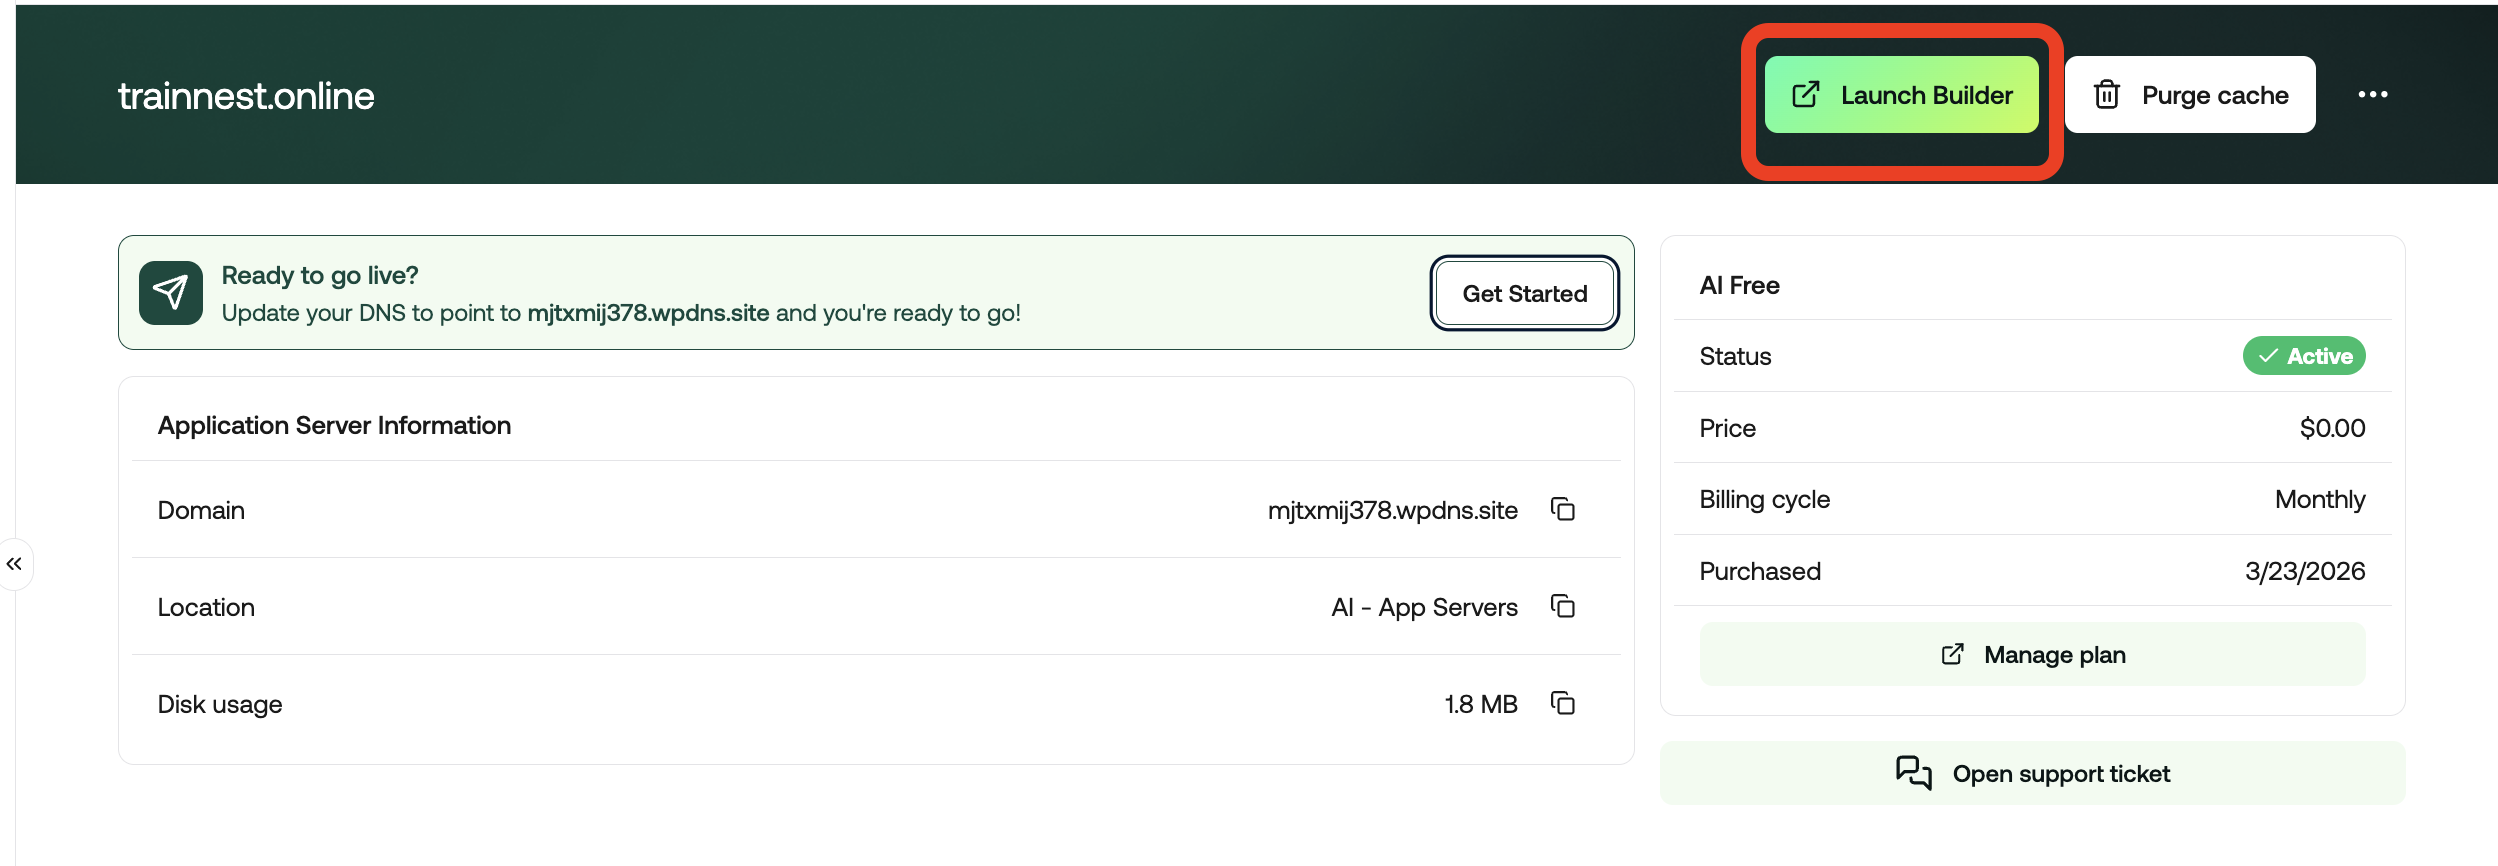
- On the AI Management Page, you’ll see:
- Launch Builder – Open the builder to start building your app.
- Purge Cache – Clear cached content for your app.
- Three dots menu – Rename or delete the project.
- Application Server Information including:
- Domain
- Location: e.g., AI - App Servers
- Disk Usage: e.g., 792 KB
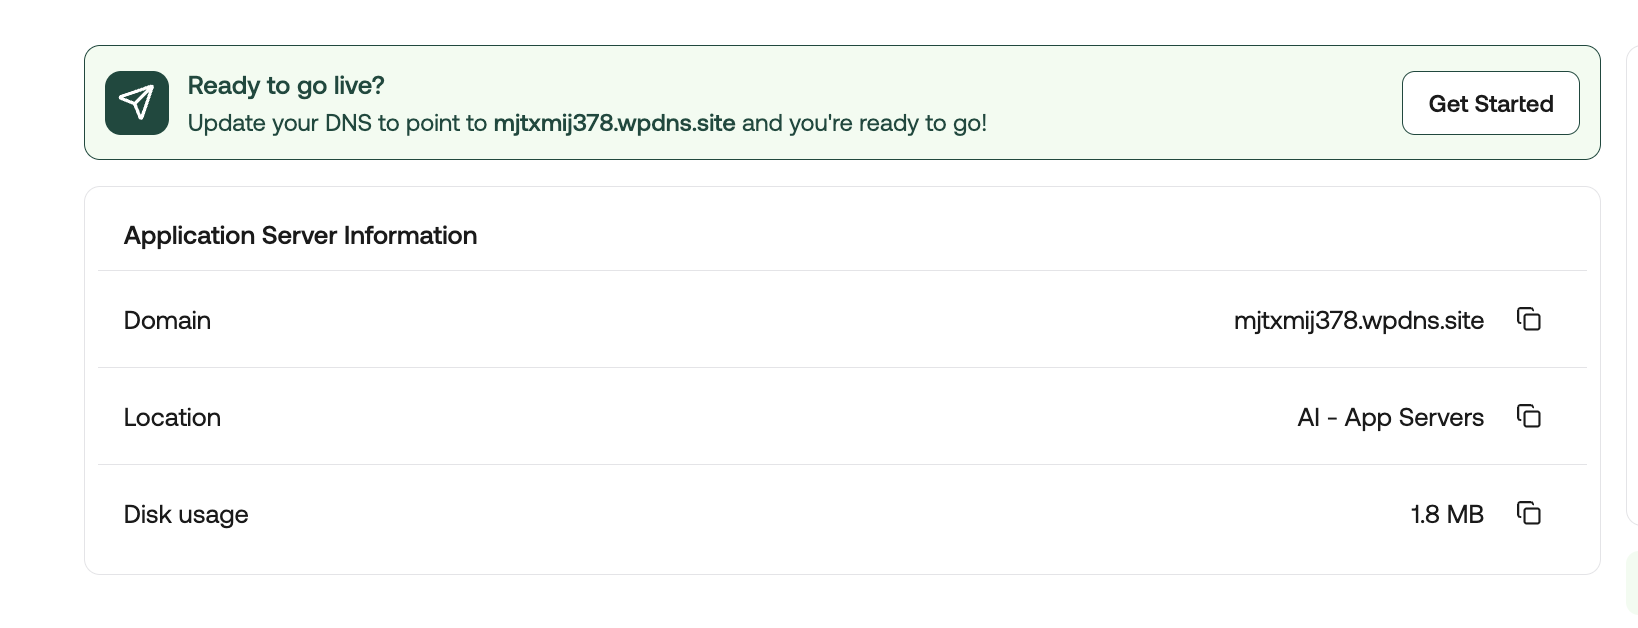
- Ready to go live? – Connect your domain and make your application live. Click the Get Started button to begin the process.
You can continue building and previewing your application using the temporary preview URL even if you have not connected a domain yet. You can connect your domain later when you are ready to launch your site/app publicly.
Step 3: Build your AI application
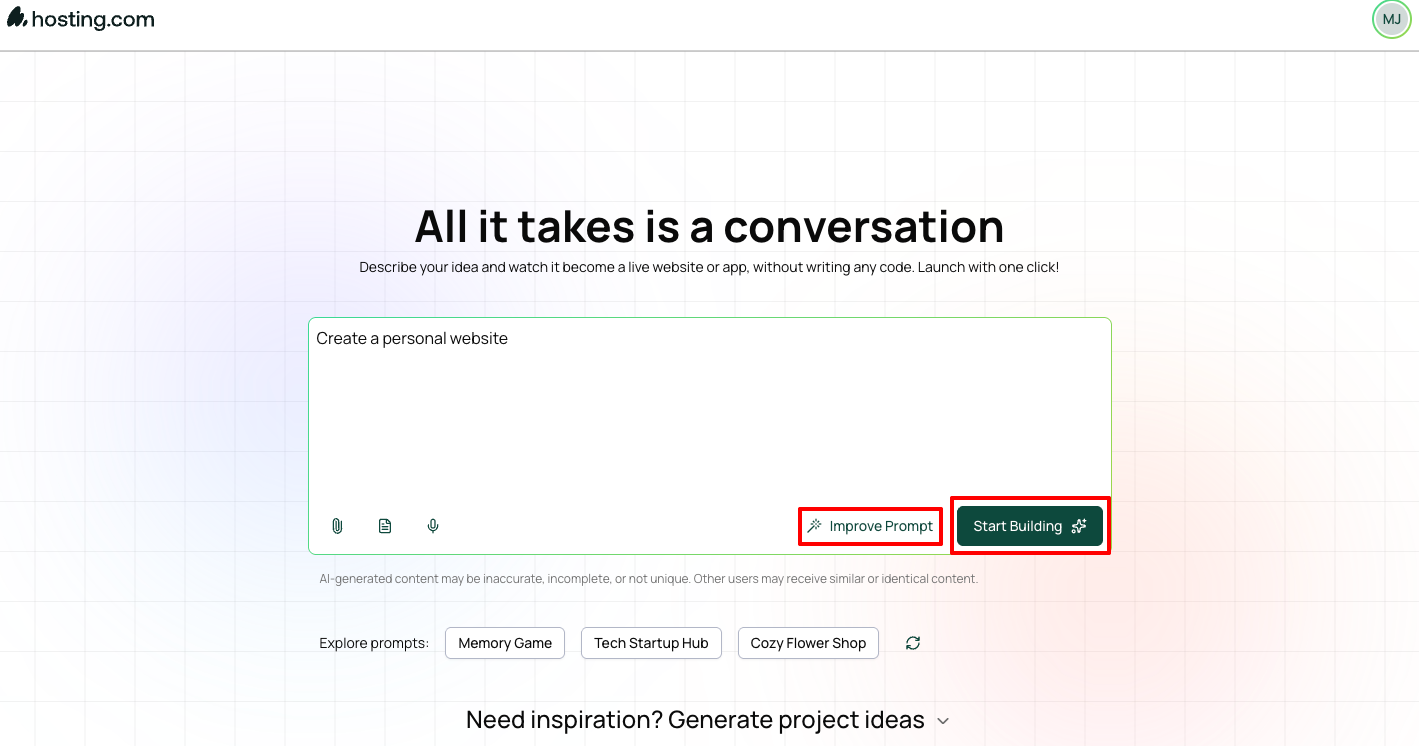
- Click Launch Builder on your application management page.
- In the builder, you’ll see the Prompt Field:
- Enter your idea in natural language.
- Click Improve Prompt to refine your instructions.
- Click Start Building to generate the application automatically.
- You can also explore prompts for inspiration:
- Categories: Business, Education, E-Commerce, Health & Fitness, Gaming, Productivity & Tools
- Pre-built examples: Personal Gym Trainer, Catch the Dot, Jump Cube
Step 4: Preview and edit your AI application
- After the AI application is created, it will appear on the right side of the builder interface.
- Use the left sidebar to ask follow-up changes, improvements, or updates to your application.
- Use the available options in the builder:
- Edit – Make manual changes directly to the application.
- Connections – Manage integrations such as Forms.
- Code Editor – Access the code editor for advanced modifications.
- Device Preview – Toggle between Desktop, Tablet, and Mobile views to see how your app or site will look on different devices.
- Preview Link – Open a shareable preview link to view the app or site in a browser.
- Publish – Make your application live and accessible online.
- Continue making changes and previewing your application until you are satisfied.
- Once ready, click Publish to make your AI application live.

You can continue refining your application by entering new prompts or updates before publishing to improve the design, content, or functionality.