.jpg?fit=max&auto=format&n=E2LlsT5gBITvo732&q=85&s=ec11e1673894bdf46663a5d73602eb87)

- Edit the A record for the apex domain (the domain without www, such as example.com).
- Edit the CNAME record for www.example.com.
- Log in to the Hosting Panel at https://my.hosting.com.
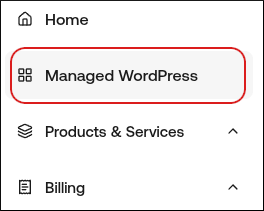
- In the left sidebar, click Managed WordPress.
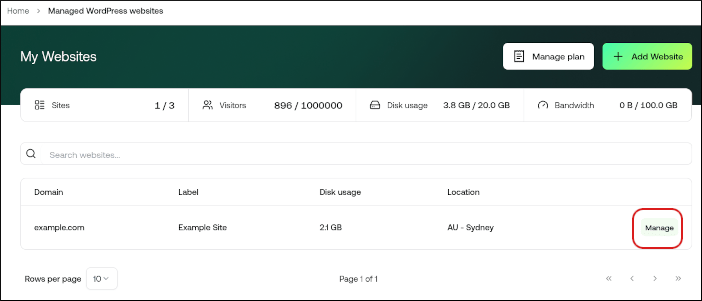
- On the My Websites page, locate the site, and then click Manage.
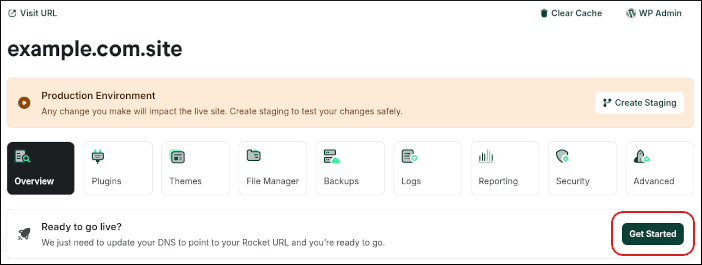
- In the Ready to go live? section, click Get Started.
- In the Change Domain Name section, type the domain you want to use with WordPress:
- If you want to use the base domain name, type
example.com, whereexample.comrepresents your apex domain. - If you want to use the
wwwsubdomain, typewww.example.com, whereexample.comrepresents your apex domain.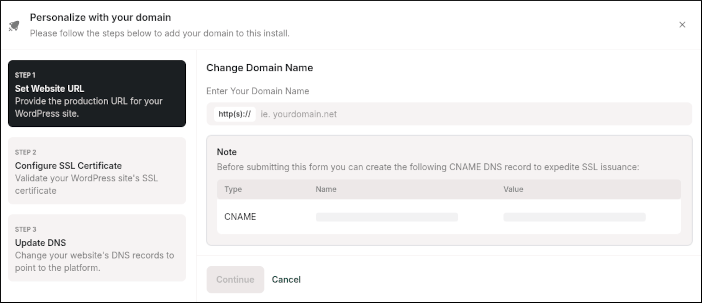
- If you want to use the base domain name, type
- Click Continue.
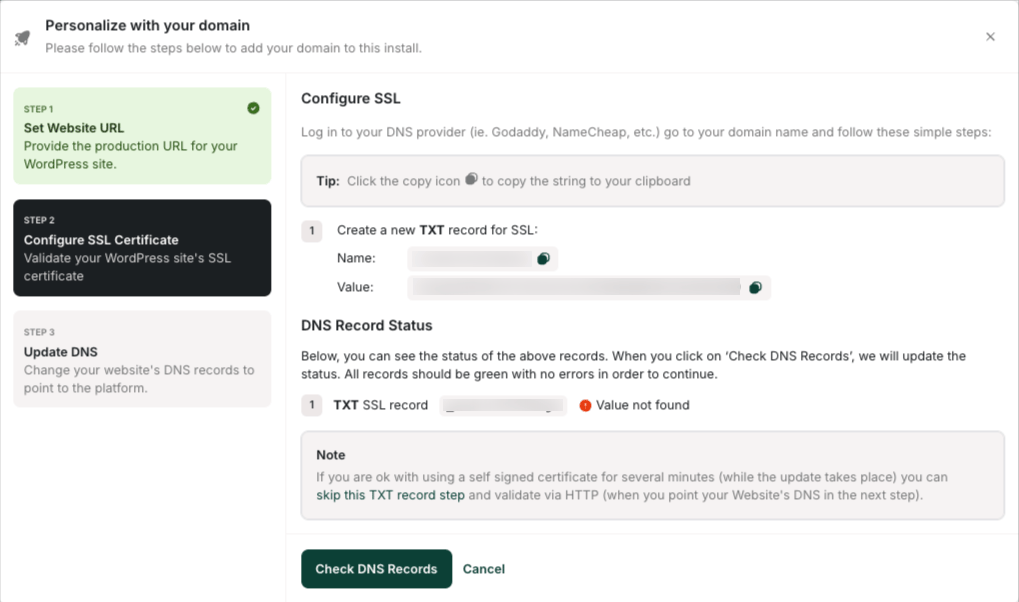
- In the Configure SSL section, copy the Name and Value for the TXT record. For example:
- Name:
_acme-challenge - Value:
example-verification-value
- Name:
- Log in to your DNS provider and create a new TXT record using the Name and Value provided.
- Return to the Configure SSL section and click Check DNS Records. Make sure the record shows as green with no error
- Click Continue to proceed to Step 3: Update DNS and copy the DNS records shown.
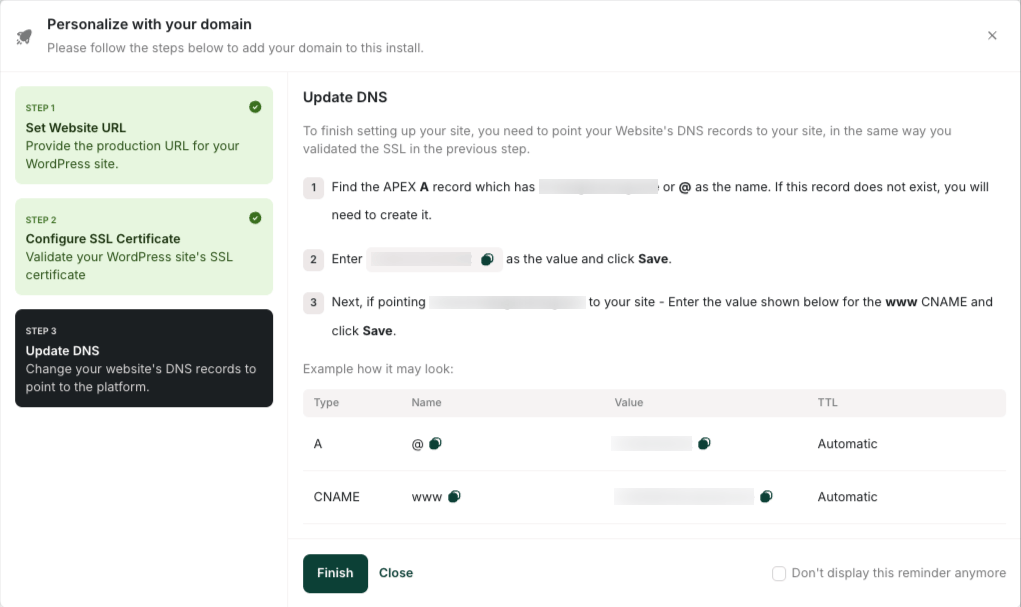
- In your DNS provider, update your domain’s DNS records using the values provided. For example:
- A record for
example.com:104.19.154.92 - CNAME record for
www.example.com:___.wpdns.site
- Save your DNS changes.
It may take up to 24 hours for DNS to fully propagate around the world. However, typically these changes take place in just a few minutes.