.jpg?fit=max&auto=format&n=E2LlsT5gBITvo732&q=85&s=ec11e1673894bdf46663a5d73602eb87)
Jetpack setup
If you have already set up Jetpack you may skip to the next section.- Log in to the WordPress administration page.
-
Click Set up Jetpack button. A new tab opens to wordpress.com.

- If you already have a wordpress.com account, you can log in with your existing username and password. Otherwise, click the Create a new account link.
- After the account creation process, approve connecting to account. Connecting may take several attempts.

Backups basic setup
- Log in to the WordPress administration page.
- Click on Jetpack in the left column menu to bring up the Jetpack dashboard.
-
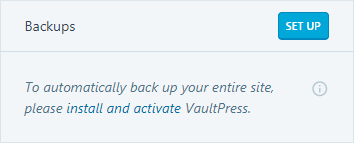
Scroll down to find the Backups section and click the Set Up button. If the word Active appears instead of the Set Up button, you may skip to the next section.
Backup acceleration and support setup
- Log in to the WordPress administration page.
- Click on Jetpack in the left column menu to bring up the Jetpack dashboard.
-
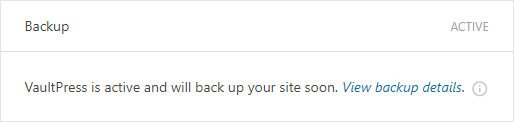
Scroll down the Dashboard to find the Backups section and click the View backup details link. A new tab will open and display the VaultPress Dashboard.
- You may be prompted to log in. Log in using your wordpress.com username and password.
-
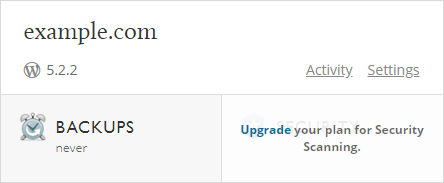
Click the Settings link for the domain you want to manage to go to the settings page.
- Click the SSH button to show the ssh settings.
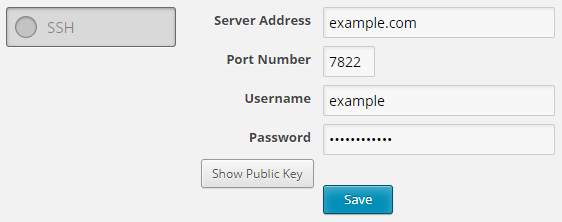
- In the Server Address text box, enter the domain name.
- In the Port Number text box, enter 7822
- In the Username text box, enter your Plesk username.
- In the Password text box, enter your Plesk password.
- Click the Save button.
- Click the SFTP button.
- Complete the fields using the same information as for SSH above.
- Click the Save button.
Restore from backup
- Log in to the WordPress administration page.
- Click on Jetpack in the left column menu to bring up the Jetpack dashboard.
-
Scroll down to find the Backups section and click View backup details link. A new tab will open and display the VaultPress Dashboard.
-
Click on the BACKUPS button for the desired domain. The BACKUPS page appears:
- On the BACKUPS page, click a date on the calendar to view backups from a specific date, or scroll through the list to find the desired backup.
-
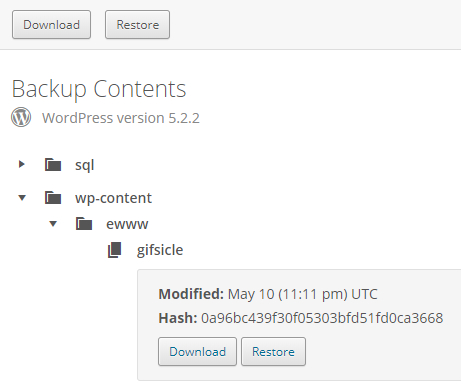
Click the Restore button to restore all backed-up data, or click the View Backup button to open the backup detail page.
-
If View Backup is chosen, options are available to download or restore some or all of the backup.Click the buttons at the top to download or restore the entire backup or navigate through the object tree to download or restore individual items.