Installing Jetpack on a managed WordPress site
Your Managed WordPress account features free Jetpack! Learn how to setup Jetpack in a matter of moments to get even better features and performance.
Jetpack is a popular WordPress plugin created by Automattic, the team behind WordPress. The plugin brings many of the most powerful features available on WordPress.com to self-hosted WordPress sites and contributes greatly to the maintenance, marketing, and appearance of WordPress powered blogs and websites.
ImportantThe information in this article applies to older Plesk-based Managed WordPress hosting accounts. For information about Managed WordPress powered by Rocket.net hosting plans, go to Managed hosting for WordPress powered by Rocket.net.
Activating Jetpack
Installing Jetpack to your Managed WordPress (MWP) account is a fast and simple process. To do this, follow these steps:
-
Log in to the Hosting Panel at https://my.hosting.com.
-
In the list of products and services, locate the specific MWP account you want to enable Jetpack on, and then click Login to Control Panel.
-
In Plesk, click WordPress in the left navigation bar.
-
Identify the specific WordPress install you want to enable Jetpack on and click login.
-
Under example.a2hosted.com/wordpress, select Plugins. Jetpack should be under Installed Plugins already if this is a newer account. If it is not, follow the steps below.
-
Click Install, and then search for Jetpack. Select Install for Jetpack. The plugin installs (this may take a few minutes).
-
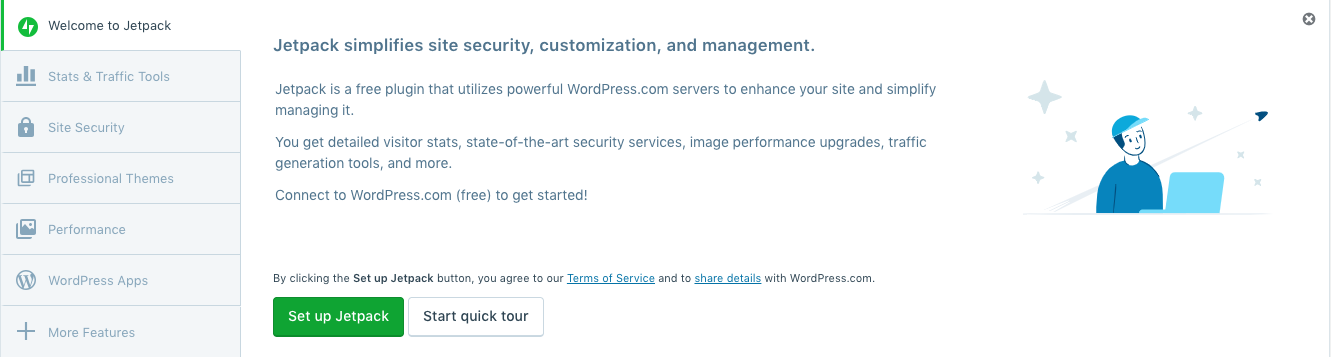
In the WordPress section of the Plesk control panel, next to Remove, click Manage in Wordpress. The Jetpack configuration page appears:
-
Click Set up Jetpack.
-
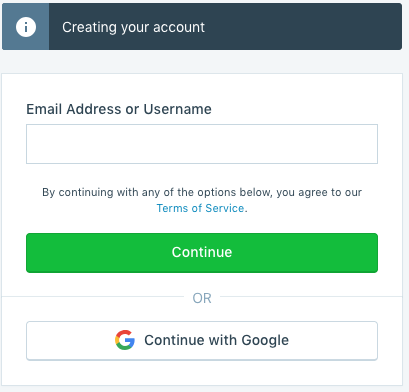
During the next step, you are prompted to log in to your WordPress.com account. If you do not already have one, you must sign up for one.
-
Once logged in, you are asked to choose from several options such the specific account plan you would like and what features you want to be enabled (e.g. stats). Jetpack finishes the setup process.
-
You are redirected back to your WordPress install. From here you are all set with the activation process and can continue to customize and configure Jetpack.