.jpg?fit=max&auto=format&n=E2LlsT5gBITvo732&q=85&s=ec11e1673894bdf46663a5d73602eb87)
Configuring All in One SEO plugin in WordPress
To use All in One SEO Plugin in your WordPress website, follow these steps:- Log in to your WordPress site with an administrator account.
-
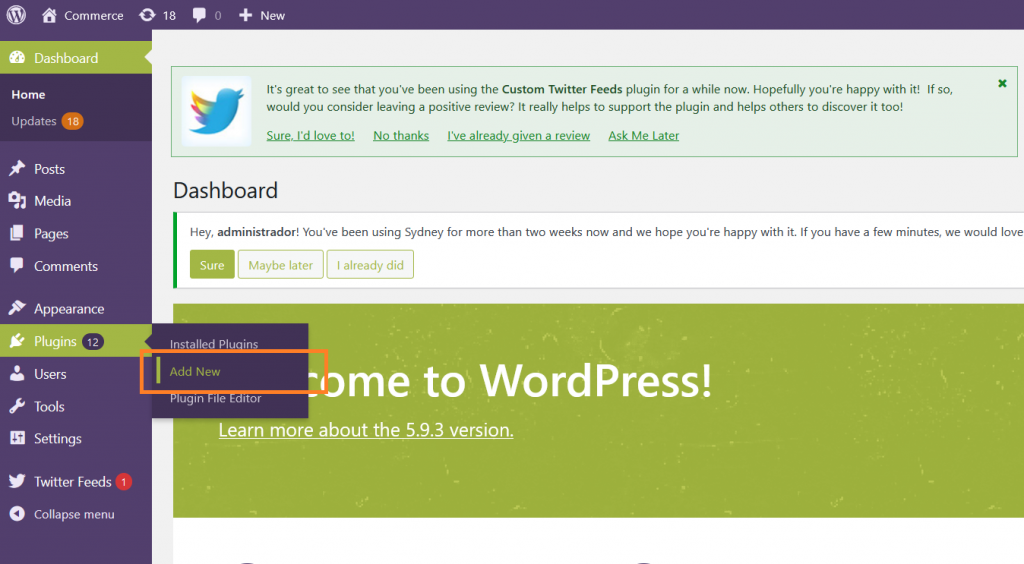
On the Dashboard in the left sidebar, click Plugins, and then click Add New:
-
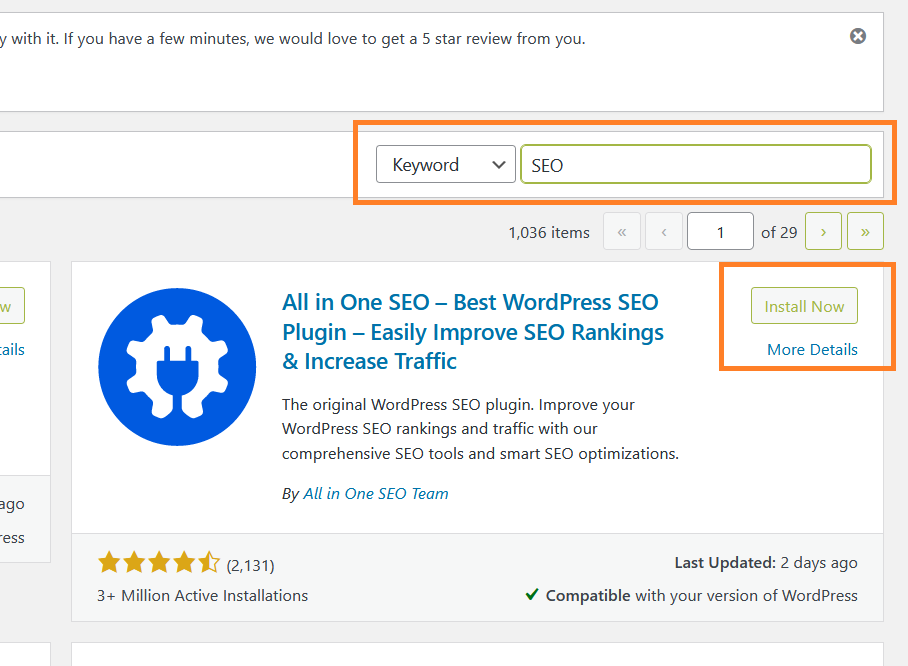
Search for “SEO” and then Install and Activate the All in One SEO plugin:
-
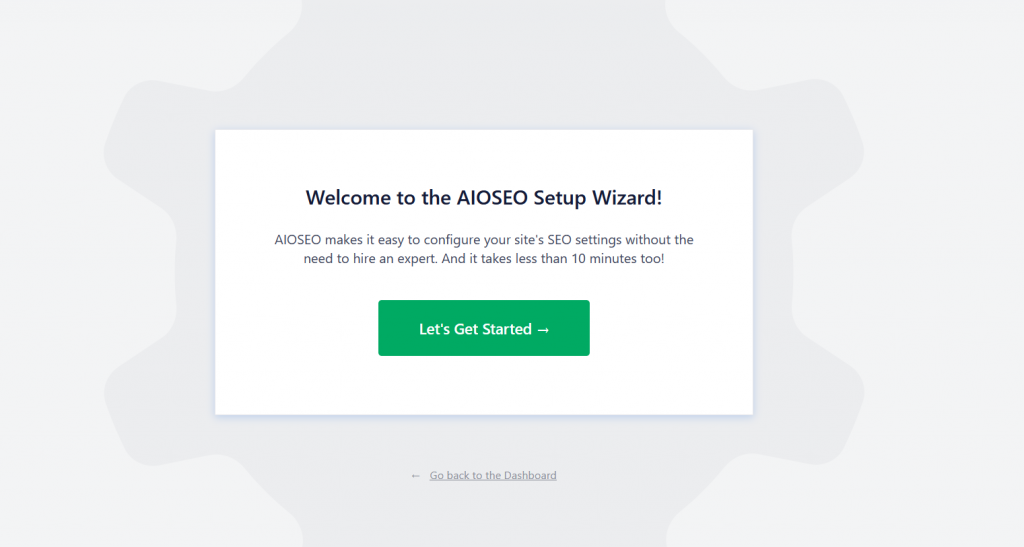
Click on the “Let’s get started” button to start the process on the setup wizard:
-
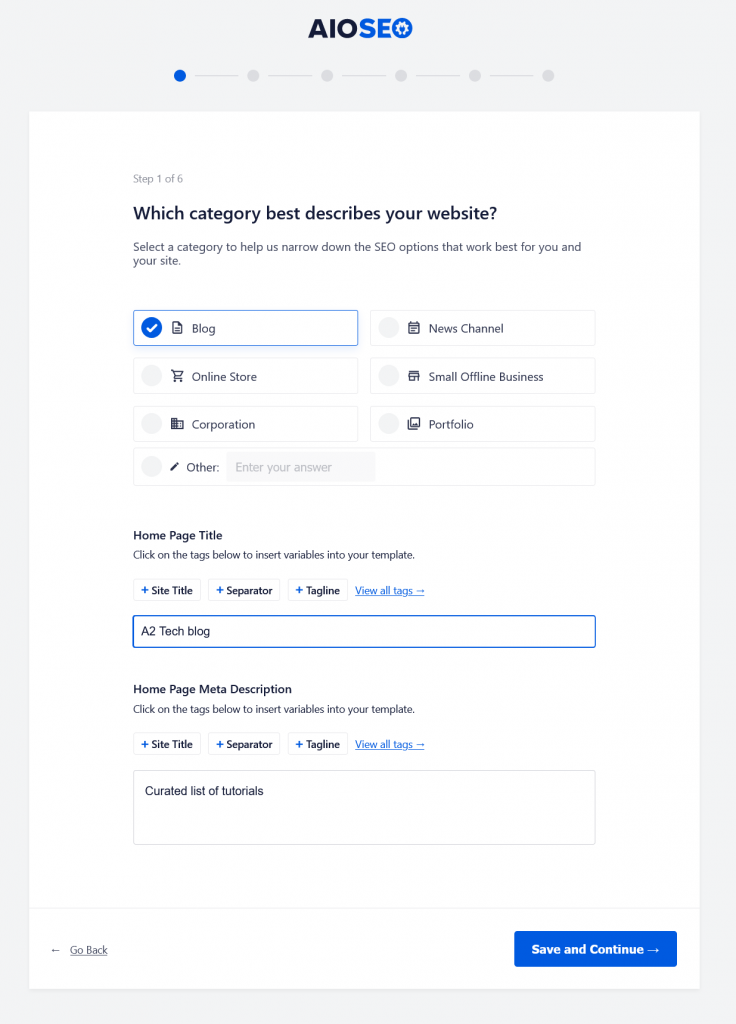
Select a category, enter the site title and meta description. Optionally, more variables can be added, such as tag line or separator:
-
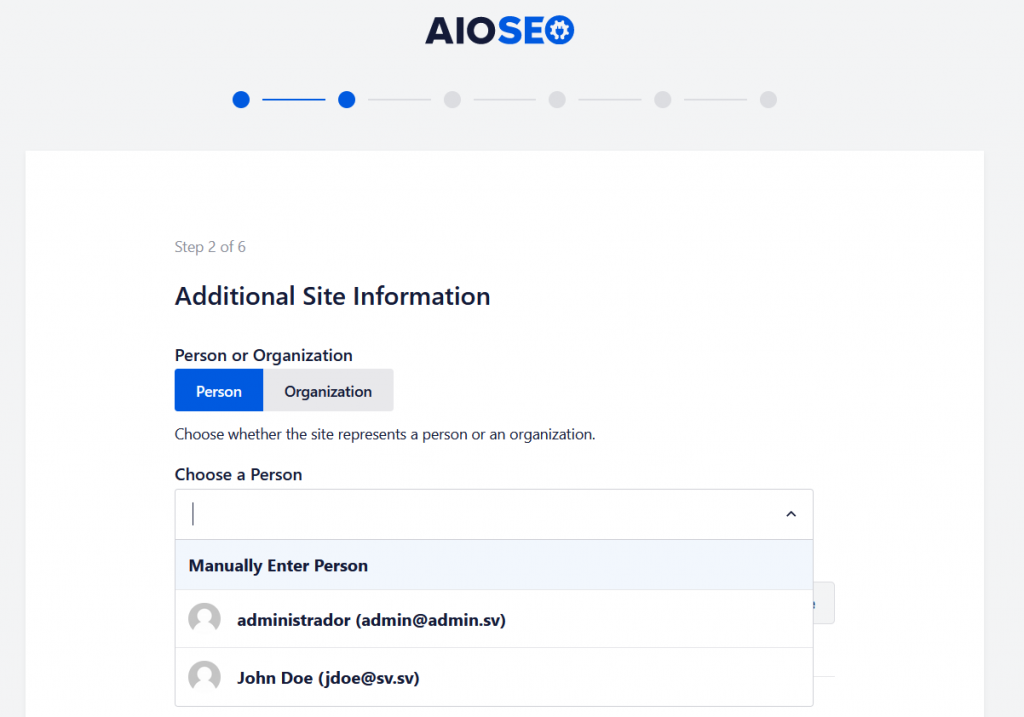
On the Site Information page, select whether you are a person or representing an organization. For the purposes of this example, choose Person and then, choose one of the registered users:
-
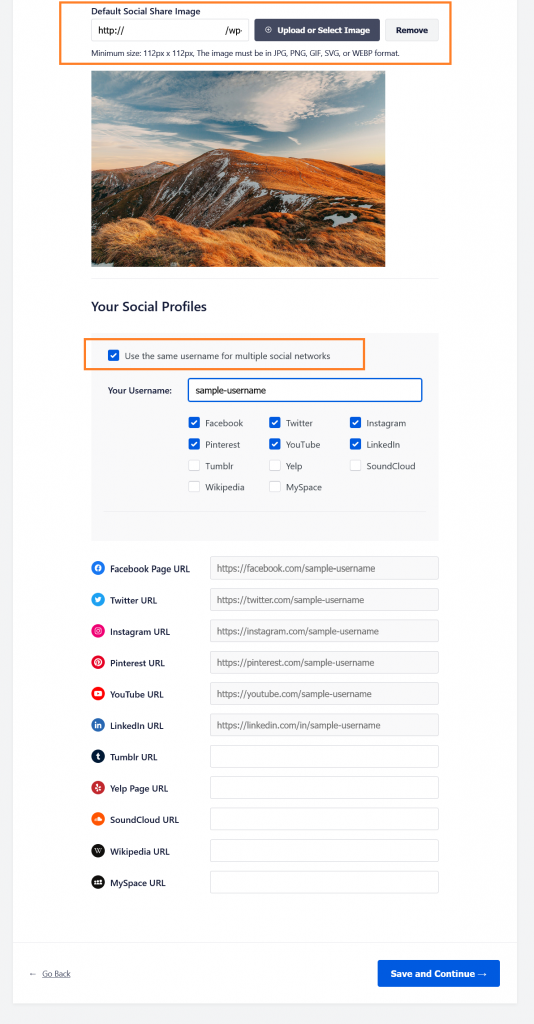
Additionally, select a social media image and enter your social profiles:
-
Select the Analytics SEO feature. The optimized search feature and Sitemaps is selected by default:
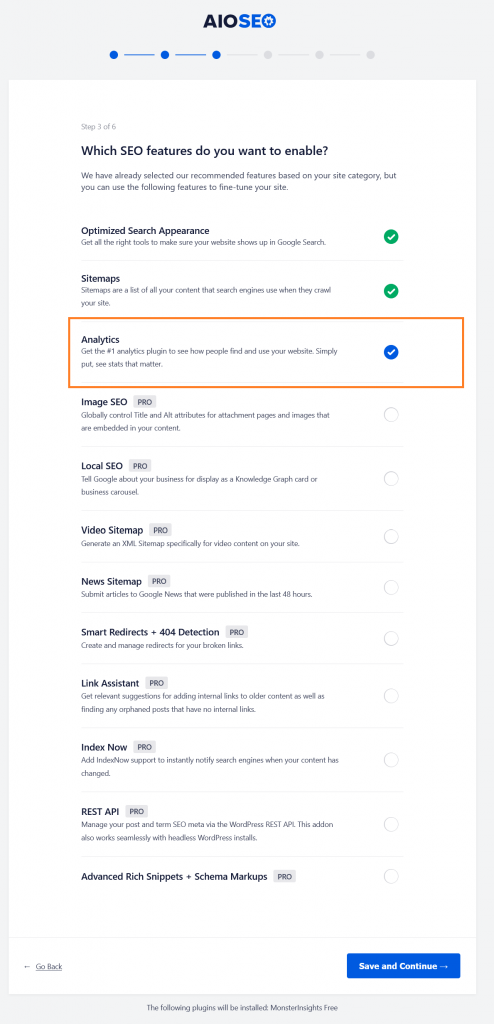
If you get the pro version, you can select the other features.
- Make sure to review the Google Snippet review, enable sitemaps, and select whether your site is under construction or ready to go live:
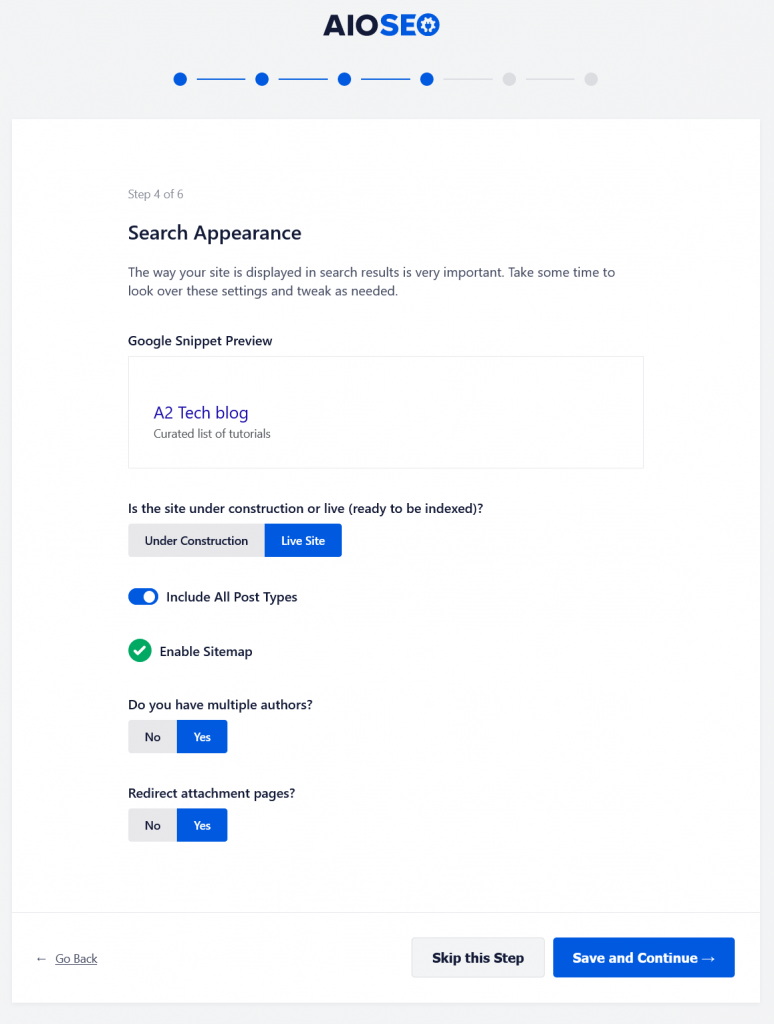
If you have more than one author, you must select the “Yes” option.
-
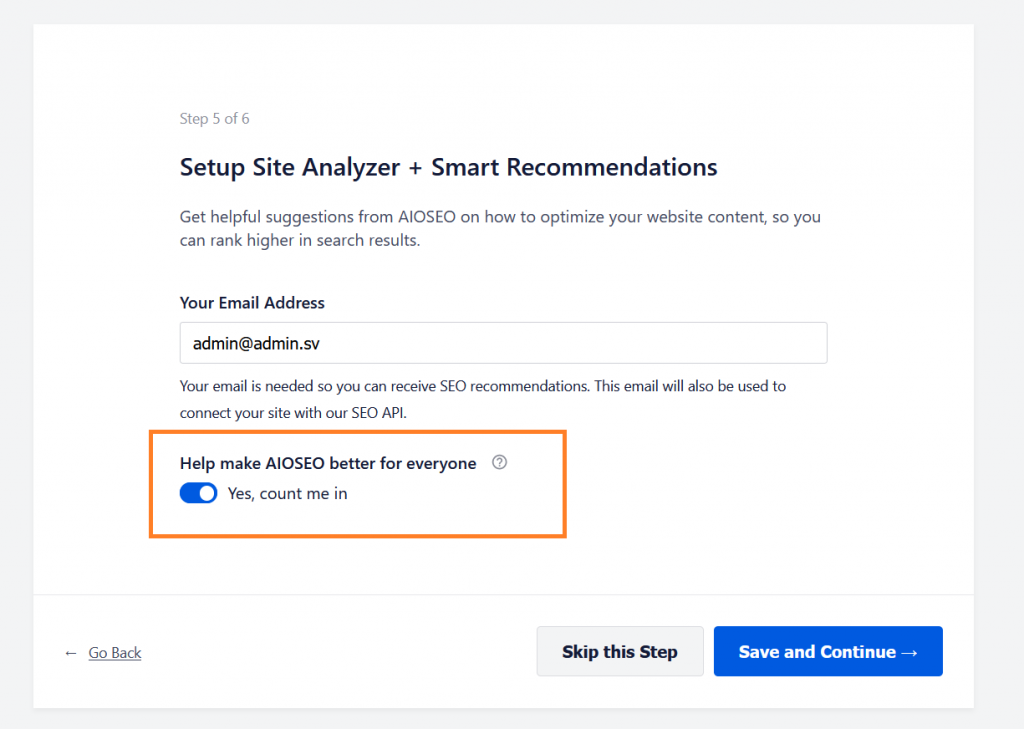
Optionally, you can sign up for news and updates about the All in One SEO plugin:
-
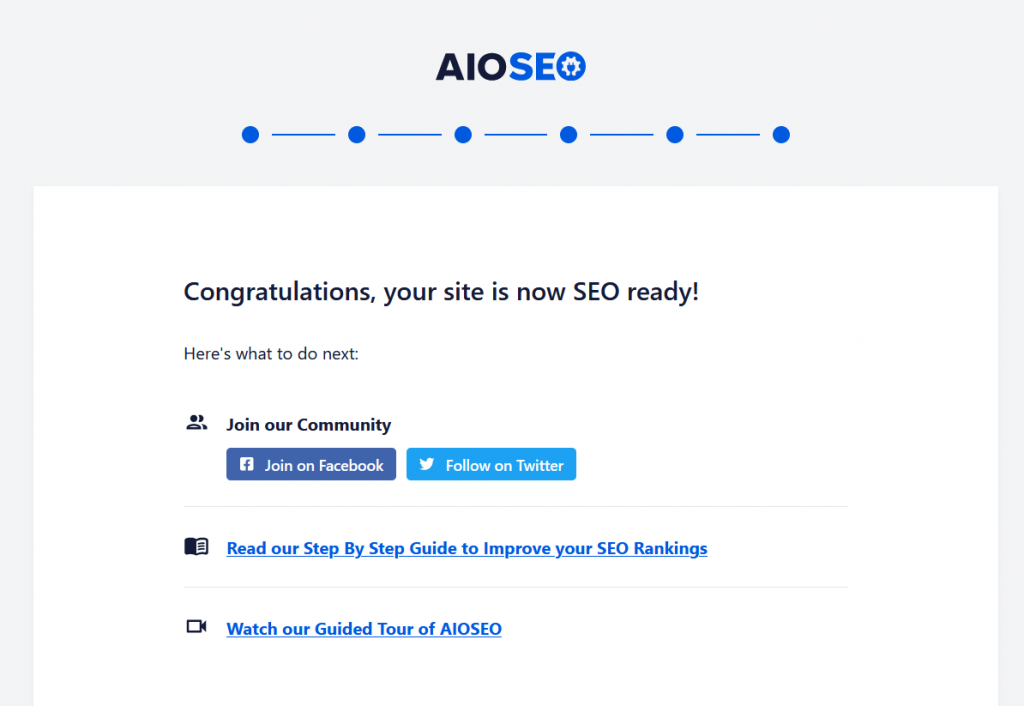
SEO ready Wordpress site:
-
If you want to modify the current settings, in the left sidebar click on All in One SEO menu and select the option that you want to customize:
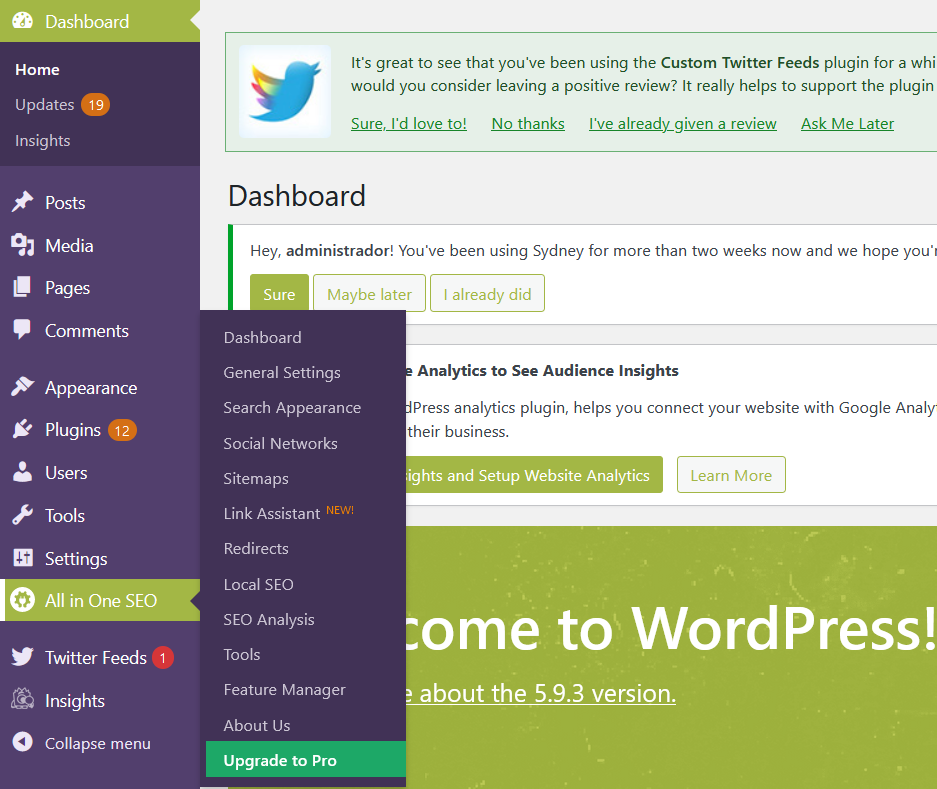
Keep in mind that the SEO Analysis is only available if your site is Live