.jpg?fit=max&auto=format&n=E2LlsT5gBITvo732&q=85&s=ec11e1673894bdf46663a5d73602eb87)

- Log in to the Hosting Panel at https://my.hosting.com.
-
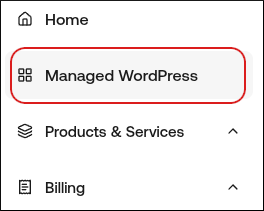
In the left sidebar, click Managed WordPress:
-
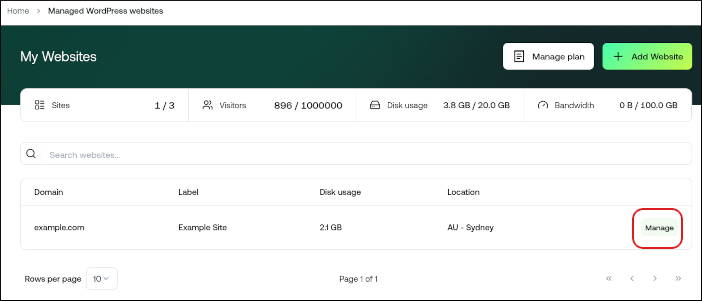
On the My Websites page, locate the site, and then click Manage:
-
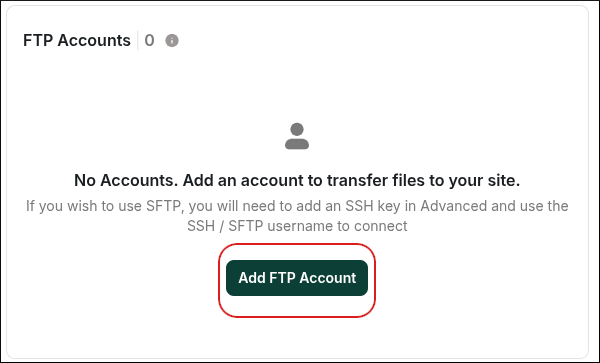
On the hosting.com dashboard, on the Overview tab, scroll to the bottom of the page, and then in the FTP Accounts section, click Add FTP Account:
-
In the Add FTP Account dialog box, complete the following fields:
-
In the Username text box, type a username for the account:
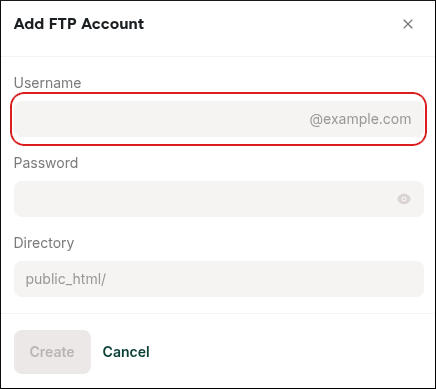
- In the Password text box, type a password for the account.
-
In the Directory text box, you can optionally set a specific directory for the new FTP user. For example, you might want to set a particular directory if you’ve hired a developer to do some work on your site. You could create a specific directory limited to providing them access to your themes directory only, and then remove the account when the work is complete.
📘 Note When you create an FTP account for your own use, you can leave the Directory text box empty. This enables you to access everything in your account’s public_html directory.
-
In the Username text box, type a username for the account:
- Click Create. You can now log in to the server to manage your website’s file system using the FTP account.
Files and databases
How to create an FTP account on hosting.com Managed WordPress
Learn how to create an FTP account on hosting.com Managed WordPress so you can transfer files.
To transfer files between your computer and your website, you’ll want to create an FTP account for your hosting.com Managed WordPress account. To do this, follow these steps:
Was this page helpful?