.jpg?fit=max&auto=format&n=E2LlsT5gBITvo732&q=85&s=ec11e1673894bdf46663a5d73602eb87)

- Log in to the Hosting Panel at https://my.hosting.com.
-
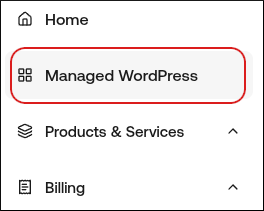
In the left sidebar, click Managed WordPress:
-
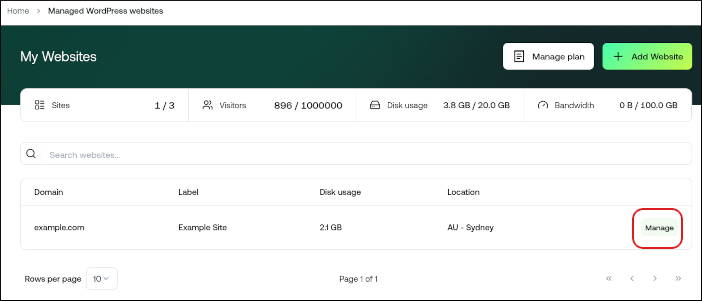
On the My Websites page, locate the site, and then click Manage:
-
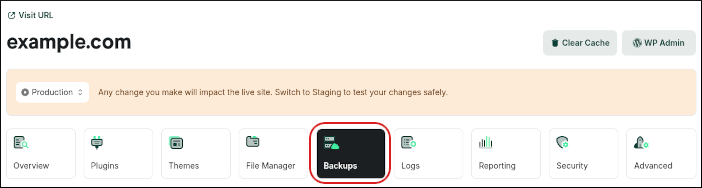
On the hosting.com dashboard, click the Backups icon:
-
In the Cloud Backups section, click Create Cloud Backup:
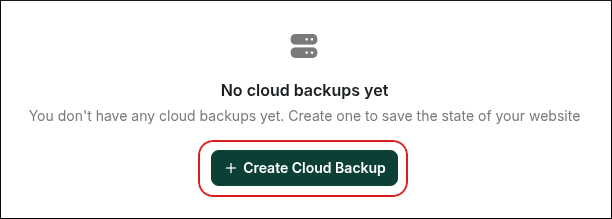
- You can choose to Backup Files or Backup Database, and you can choose to exclude specific paths if desired.
-
For a full backup, choose a name for the backup, enable the Files and Database options, and then click Confirm.
📘 Note
- Depending on the size of your website’s content and database, this process may only take a few moments. You can either visit this page later or wait a few moments and then refresh the page.
- When your backup is ready, you’ll find it listed here with several options. You can download it to your computer for safekeeping, restore a backup if needed, or delete backups.
- Please note that all sites can have up to three manual Cloud Backups at a time, and all Cloud Backups are automatically removed after 24 hours. They do not count toward your storage limits.
Files and databases
How to manually generate and download a full cloud backup on hosting.com Managed WordPress
Learn how to manually generate and download a full cloud backup on hosting.com Managed WordPress.
To manually create a full backup of your hosting.com Managed WordPress website, follow these steps:
Was this page helpful?