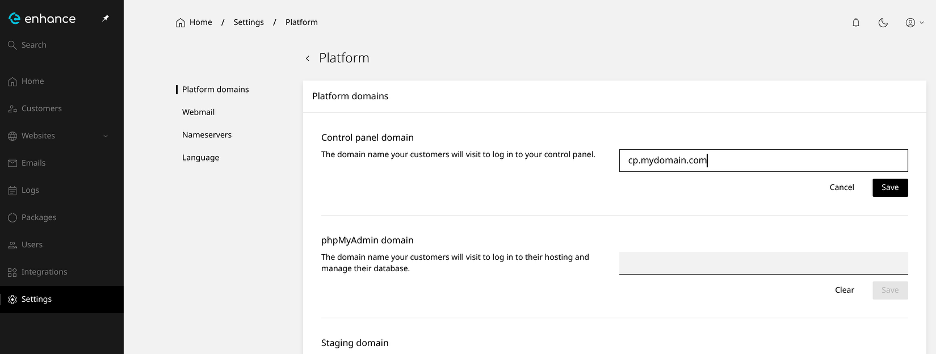
- Log into your Enhance control panel, then click on “Settings > Platform and type in “cp.yourdomain.com”, replacing “yourdomain.com” with the name of your primary domain. We use “cp” by default but you can change that to anything you would like
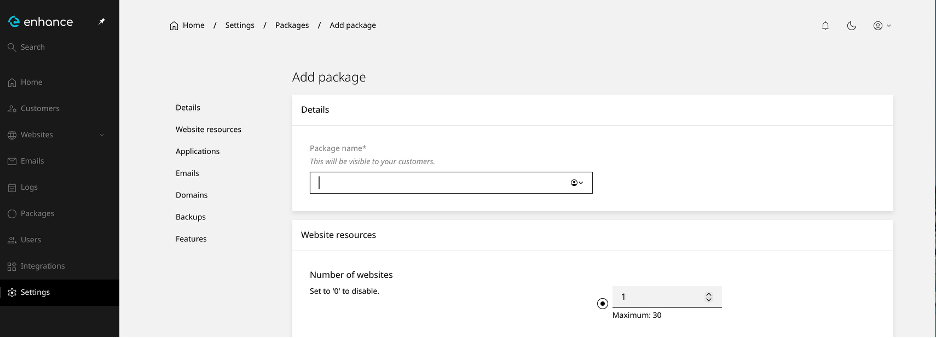
- Now we need to create a package. Click Settings > Packages > Add a Package If you have already done this, skip this step and go to step 3. There are tons of features you can enable for your packages. Click ‘Add’ at the bottom of the screen when you’re done customizing this package to your liking.
- Now go to Customers > Add Customer” on the left hand pane. Fill in the details for your customer. No website data goes here yet
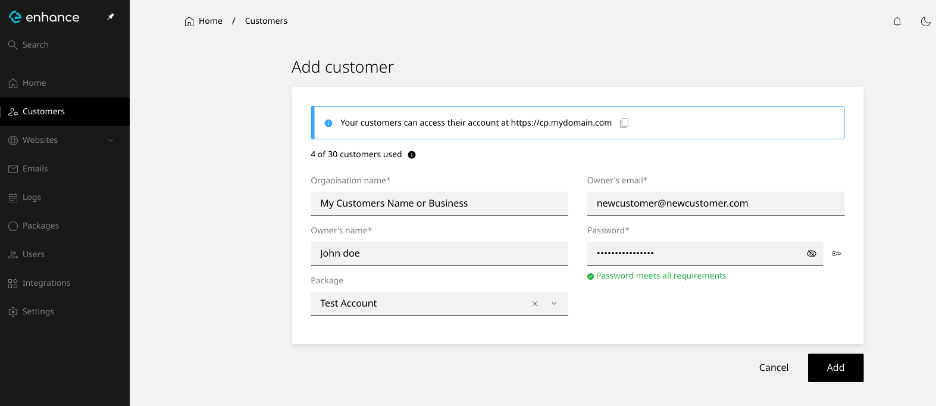
Click Add when done That’s it! You have now created a customers account and websites can now be added by continuing these steps
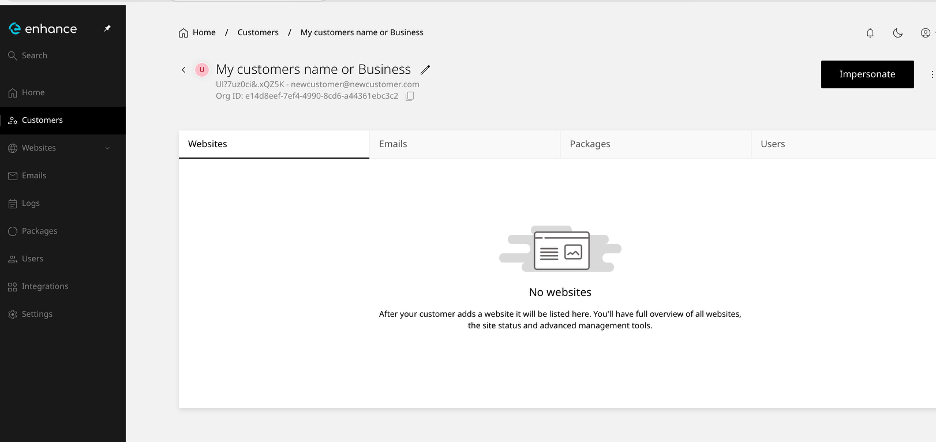
- Now that you have created the customers account, you can “impersonate” him by clicking the Impersonate button which will now take you to that customers dashboard and allow us to add websites:

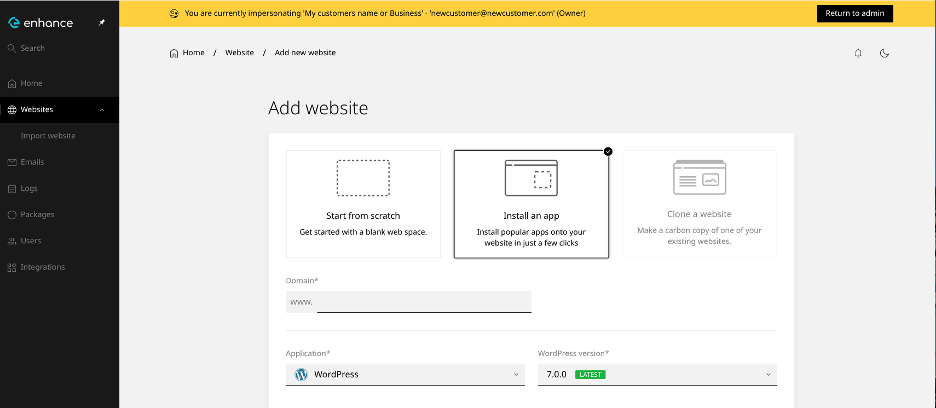
- To add websites, you can now do this while impersonating the client or logging into his control panel using the URL you specified earlier and the login credentials. Click Add Website
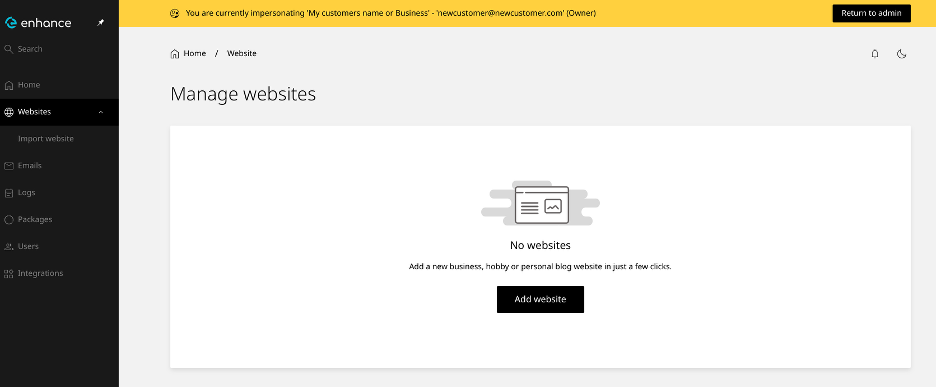
- You can add an empty website space, or install/manage WordPress using the WordPress toolkit!
- If you installed WordPress, you can go into the WordPress Toolkit by clicking “manage” down in the applications section
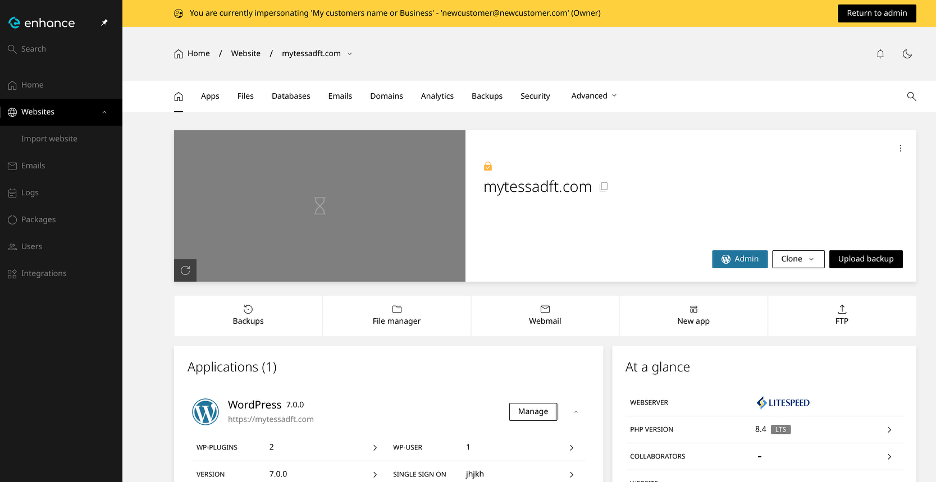
That’s it! You have now added a customer to your resellers account, assigned a package for him, and accessed the WordPress toolkit