Plesk is no longer included with new hosting.com plans, but it is still available on legacy Managed WordPress accounts. You can install Plesk manually on unmanaged VPS and Dedicated servers.
Backing up a database
You can quickly and easily create a database backup using Plesk. When you do this, Plesk exports the database as an SQL file. To back up a database using Plesk, follow these steps:-
Log in to Plesk.
📘 Note If you do not know how to log in to your Plesk account, please see this article.
- In the left sidebar, click Databases.
-
Locate the database you want to back up, and then click Export Dump:
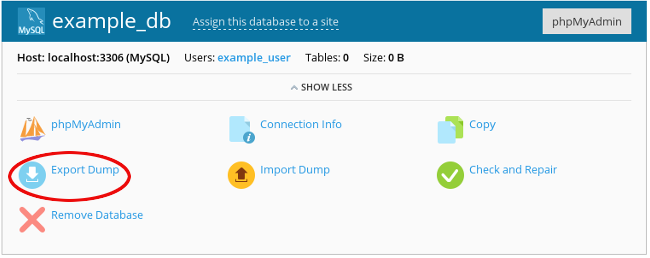
- Select a destination directory for the backup file, specify a filename, and then click OK. Plesk creates the backup file.
Restoring a database
You can quickly and easily restore a database using Plesk. To do this, follow these steps:-
Log in to Plesk.
📘 Note If you do not know how to log in to your Plesk account, please see this article.
- In the left sidebar, click Databases.
-
Locate the database you want to restore, and then click Import Dump:
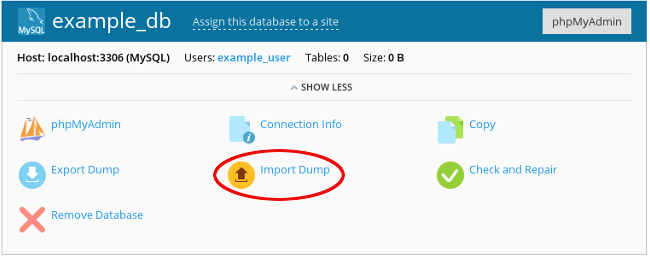
- Browse to the backup file location, select the file, and then click OK.