Activating and configuring Cloudflare ServerShield on Plesk
Cloudflare protects and accelerates your website. Learn how to activate and configure Cloudflare ServerShield on Plesk.
Cloudflare is a powerful enhancement for your website. This article shows how to activate and configure Cloudflare using the Plesk control panel.
NotePlesk is no longer included with new hosting.com plans, but it is still available on legacy Managed WordPress accounts. You can install Plesk manually on unmanaged VPS and Dedicated servers.
About Cloudflare
Cloudflare protects your websites from online threats and DDoS attacks, while making them twice as fast around the world. Cloudflare runs a globally distributed network. Once you enable Cloudflare on your website, the traffic routes through the Cloudflare network before it reaches your server. Cloudflare stops malicious web traffic, fights DDoS attacks and automatically caches and delivers content for faster load times.
Cloudflare ServerShield only accelerates and protects domains that have CNAME (canonical name) records - specifically, the www subdomain (for example, www.example.com). The root domain (example.com) uses an A record and cannot be routed directly through the Cloudflare network. Therefore, to make sure Cloudflare handles all traffic to your site, you should forward root domain requests to the www subdomain.
TipFor information about how to configure the WordPress URL so it includes the www subdomain, please see this article.
Activating Cloudflare ServerShield
To activate Cloudflare ServerShield for your domain, follow these steps:
-
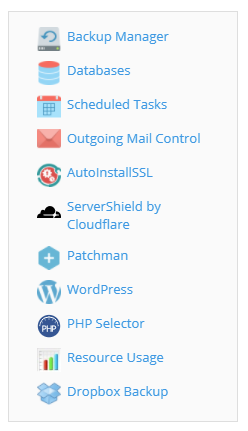
In the right-hand menu, click on ServerShield by Cloudflare.
-
On the Cloudflare page, enter your email and password and then click Submit to create a new account or sign in.

-
Click the button next to the root domain you want to enhance with Cloudflare.

Your site is now protected and accelerated by Cloudflare.
Configuring Cloudflare ServerShield
Once you have activated Cloudflare, you can access several configuration options by clicking the Manage Cloudflare link at the that appears to the right of the On / Off switch. Available configurations include:
-
Purge Cache Click the Purge Cache button to immediately purge cached resources for your website. This is useful to see your changes immediately after updating your website.
-
Security Level Select the security level from the list box. Adjust the basic security level to modify Cloudflare's protection behavior. The Security Level uses the IP reputation of a visitor to decide whether to present a challenge. Visitors with high reputation IP addresses will go directly to the site while visitors from lower reputation IP addresses may need to complete a CAPTCHA before viewing the site.
-
Always Online Select On or Off from the list box. The Always Online feature can keep your web pages online when your site loses connectivity or times out.
-
Development Mode Select On or Off from the list box. When Development Mode is on the cache is bypassed. Development mode remains on for 3 hours or until when it is toggled back off. Development mode is useful when updating the site so changes or errors can be seen immediately.
-
Manage more Cloudflare settings at Cloudflare.com Click the OK button to be taken to the Cloudflare site for even more configuration options.