OpenClaw Guide
This guide walks you through installing and configuring OpenClaw on a self-managed VPS, from the initial setup and AI model onboarding to exposing the ControlUI securely with Nginx and SSL. It also covers post-installation configuration, troubleshooting tips, and optional customization to help you get your AI agent up and running quickly.
Installing and Configuring OpenClaw
Installing OpenClaw requires initial preparation on the Self-Managed VPS:
- NodeJS
- Homebrew
- Separate use for OpenClaw
- OpenClaw
Optionally, if you intend to expose the AI Agent to the public, you would also require a Web Service installed, such as:
- Nginx
- Caddy
- Traefik
Once your Self Managed VPS has been provisioned, you will be provided with root credentials in the Product notes. This is located on the Product listing in the Client Area, Products -> VPS in question -> Product notes.
Connecting to the server can be done via Putty for Windows or directly in your terminal if on Linux/mac.
Once connected, in order to setup OpenClaw, it is advisable to start with Homebrew, as some setup steps with Openclaw will require it.
To install homebrew simply run:
/bin/bash -c "$(curl -fsSL https://raw.githubusercontent.com/Homebrew/install/HEAD/install.sh)"After installing Homebrew, it is advisable to create a separate user for OpenClaw to use, instead of root. Simply run the following 2 lines:
adduser openclaw
usermod -aG sudo openclaw
Once Homebrew and the additional user are ready, you can start with the OpenClaw download and then directly run it with:
su - openclaw
curl -fsSL https://openclaw.ai/install.sh | bash
The installation script will check for minimum requirements and then proceed with installing NodeJS, unless you have installed it prior to starting the install script.
NotePlease note that, if the AI agent is installed via root user, it can have access to its own environment and even core files of the server.
Doing a bad prompt can trick the bot into doing unsafe things on the server.
Once the installation of OpenClaw is complete, you can use the arrow keys to navigate the various options the onboarding process will ask and show.
After agreeing to the security notice, you will be presented with 2 initial setup options:
- QuickStart (recommended) (Recommended local setup. Change details later with openclaw configure.)
- Manual setup (Choose Gateway port, network exposure, Tailscale, and auth.)

When choosing Quick start, the installation will list Gateway information such as Port, bind and what type of token its going to be used.

You will be presented with the most common AI model providers. For this guide, we will be using Google/Gemini:
- OpenAI (ChatGPT/Codex sign-in or API key)
- Anthropic (Claude CLI + API key)
- xAI (Grok) (API key or browser OAuth)
- Google (Gemini API key + OAuth)
- OpenRouter (OAuth or API key)
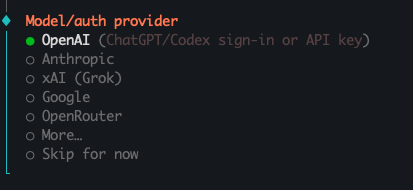
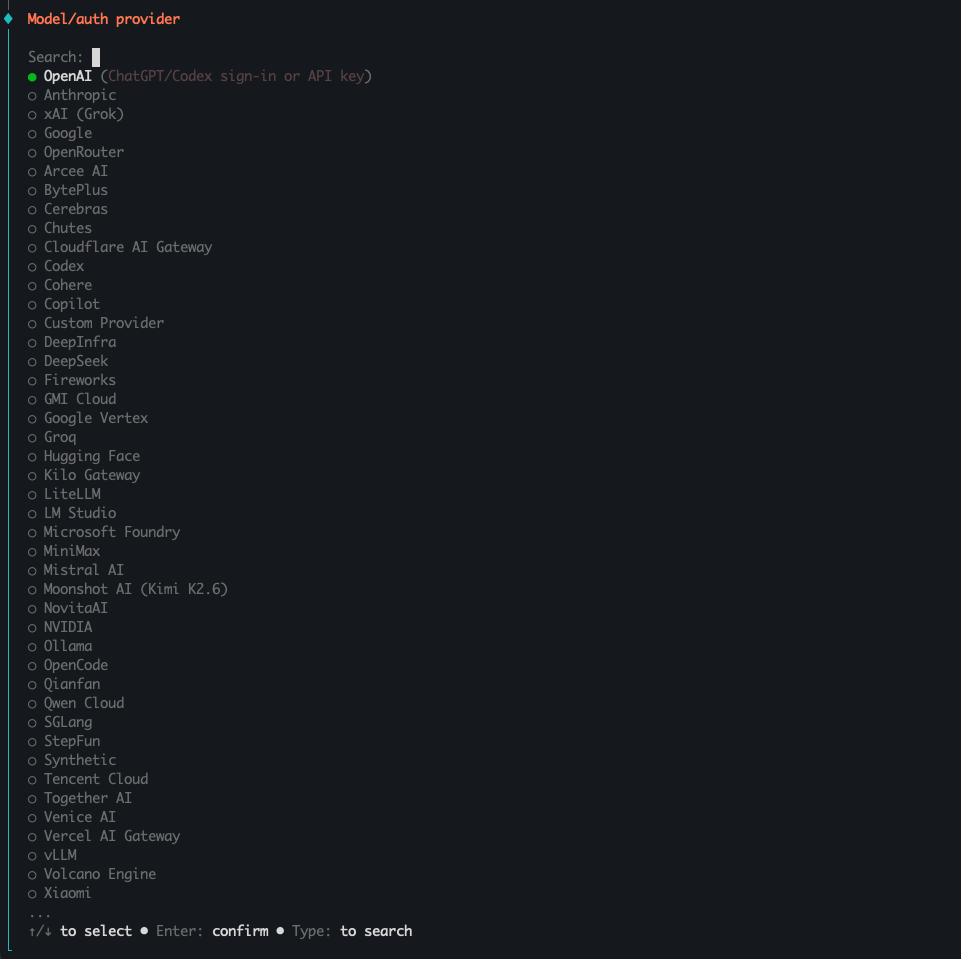
Alternatively, if the model you intend to use is not listed, you can use "More...", which will lest every AI model.
Once you have chosen your model, the onboarding with ask either for OAUTH or API token to be provided.
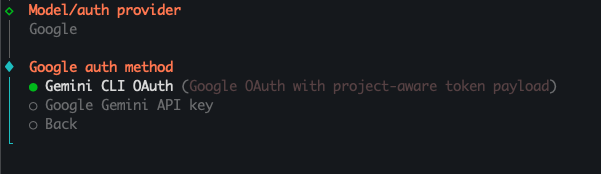
Choosing API key will prompt for the API created here:
https://aistudio.google.com/app/api-keys
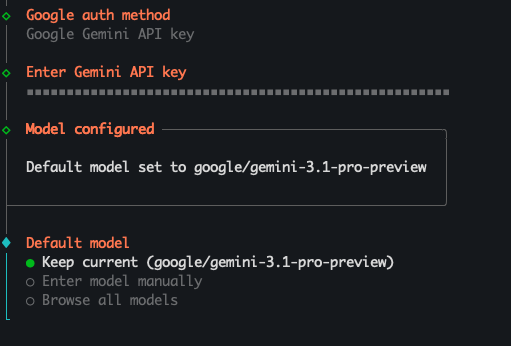
When the Token is provided, the onboarding will show a default model that can be used, alternatively you can enter a model name manually or enter the model name manually.
NotePlease note that even after onboarding is complete and there are issues with connecting with the desired model, you can use the following CLI command to list the available models and the subsequent command to set the model, without the need to go through the onboarding process again:
openclaw models list --provider [PROVIDER]Example:
openclaw models list --provider google openclaw models set [MODEL NAME]Example:
openclaw models set google/gemini-2.5-flash
Next, you will have to choose how you would like to communicate with your AI Agent.

This is personal preference. You can always set this later via "openclaw channels add". This is shown if you choose "Skip for now".
When skipped, you can still communicate with the AI Agent via SSH commands when typing "openclaw" and then "talk to agent" to switch from "crestodian" mode to the AI Agent.
Next, you will have to set up which web search engine the AI agent should use.
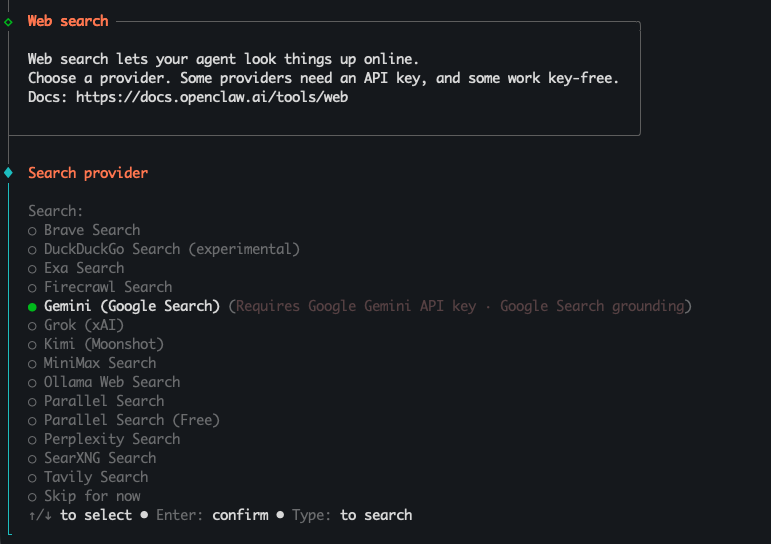
This is again personal preference, which can be setup later if "Skip for now" is chosen with:
openclaw configure --section webIn the case of our example of using Gemini, the API key had to be verified after choosing the Web Search engine Google.
Next, you will have to configure additional skills. This is where Homebrew will be used by the onboarding to install any missing skills.
Skills essentially allow you to customize how memory, speed, and searchability work for your AI agent. It does grow over time on its own.
You can proceed with "Yes" on the configuring skills, and this will list additional skills that can be enabled for the AI Agent.
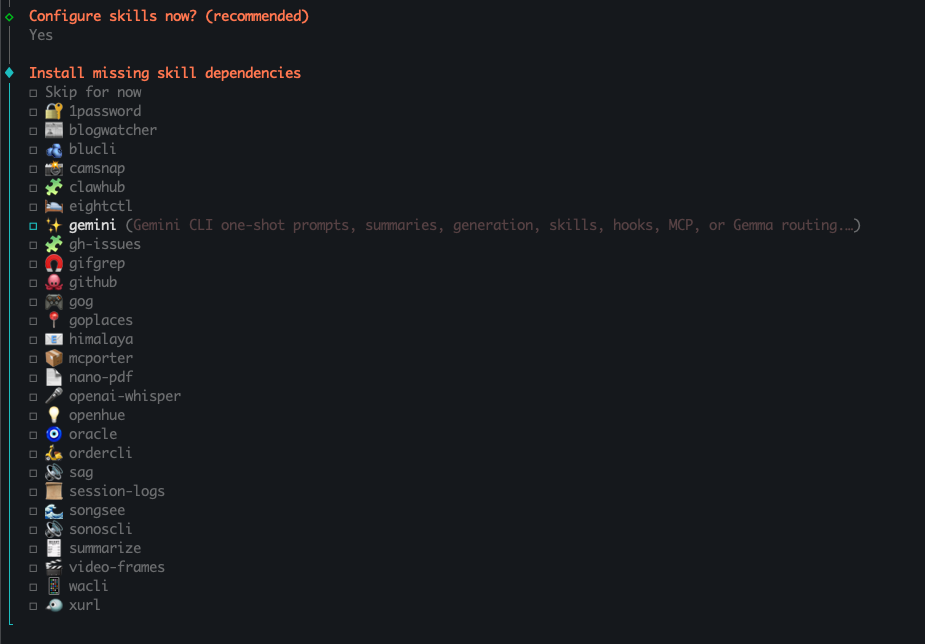
NotePlease note that the screenshot above lists available skills for Gemini, so depending on the AI Model you are using, it will list different compatible skills.
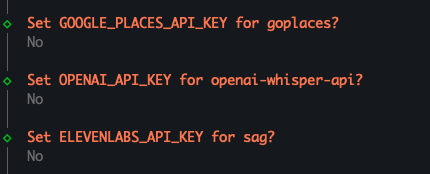
You can use SPACE to mark the skills you want to add. On the next prompt, depening on the requirements of the desired skills, additional API keys will be requested from the relevant providers.
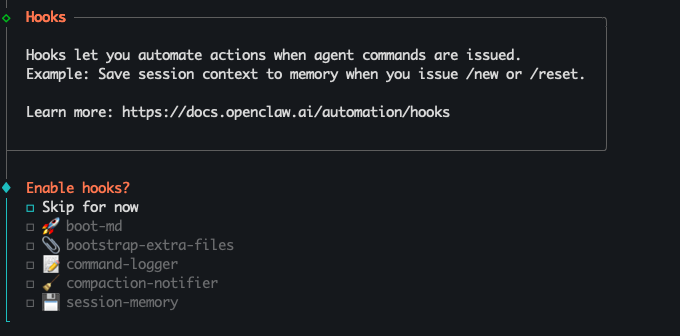
In the next step in the onboarding process, you will be presented with various hooks you can use. These can still be dependent on the AI model, but it helps solidify how the AI agent acts with memory or in case the server has been rebooted.
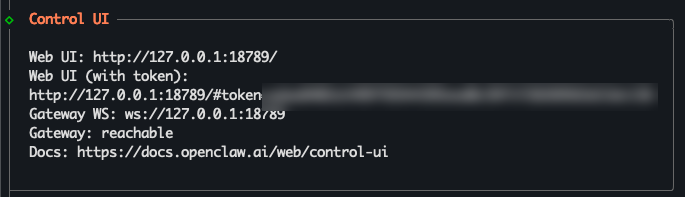
At this stage, the installation and onboarding are being finalized, with which you will be presented with various information such as:
ControlUI
This is a localhost only. If you want to expose the ControlUI to the public, you will have to install a web service and a domain name ( See below for Nginx installation steps and setting up your domain)
You can change how the agent introduces itself
This can be changed either manually via editing the BOOTSTRAP.md file or interacting with the AI Agent.
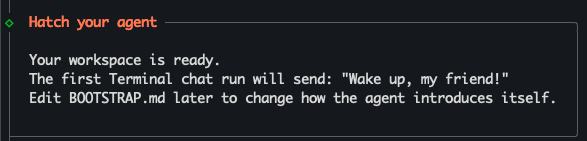
Main installation and onboarding are complete.
You can interact right away with the agent by either using "openclaw" or the onboarding will leave you with the initial message.
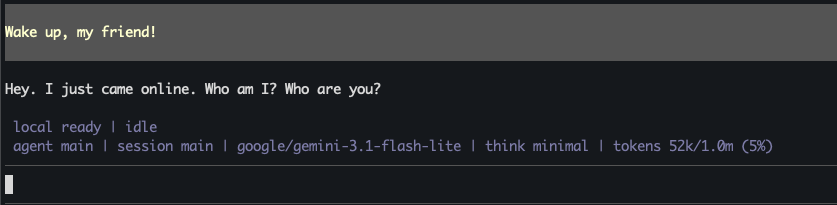
The AI agent will provide a response and also a status bellow to show current status such as tokens used and which model is being used.
Opening the ControlUI to the public
To open the ControlUI to the public, which is currently set up for localhost only, you will have to start by installing Nginx Reverse Proxy with SSL for OpenClaw.
The following steps are for Ubuntu 24.04:
1. Install Nginx, Certbot
sudo apt install -y nginx certbot python3-certbot-nginxCreate Nginx config
nano /etc/nginx/sites-available/openclawPaste the following block:
server {
    listen 80;
    server_name your-domain.com;

  location / {
      proxy_pass http://127.0.0.1:18789;
      proxy_http_version 1.1;
      proxy_set_header Upgrade $http_upgrade;
      proxy_set_header Connection "upgrade";
      proxy_set_header Host $host;
      proxy_set_header X-Real-IP $remote_addr;
      proxy_set_header X-Forwarded-For $proxy_add_x_forwarded_for;
      proxy_set_header X-Forwarded-Proto $scheme; proxy_read_timeout 86400;
  }
}
Make sure the proxy_pass matches the one provided during the OpenClaw onboarding if the port is different.
Save and exit the text editor (CTRL + C -> Y -> hit Enter)
Follow the next prompts one after the other:
ln -s /etc/nginx/sites-available/openclaw /etc/nginx/sites-enabled/
nginx -t
systemctl reload nginx
3. Open Firewall ports
ufw allow 80/tcp
ufw allow 443/tcp
ufw allow 22/tcp
ufw allow from [YOUR IP]
ufw enable
Make sure to allow both 22 port and to allow your own IP, to ensure access is allowed from your side once the firewall is enabled.
4. Setting up SSL
bashcertbot --nginx -d your-domain.comCertbot will auto-update Nginx config and will setup auto-renewal with Let's Encrypt Free SSL. Make sure to replace "your-domain.com" with your actual domain.
5. Configurate OpenClaw
You will have to locate the openclaw config file. This can easily be done by doing:
openclaw config file
In our case the path is:
~/.openclaw/openclaw.json
nano ~/.openclaw/openclaw.json
Under "Gateway" section, locate "mode" section and add the following:
"trustedProxies": ["127.0.0.1"],
And then under "ControlUi" section:
"controlUi": {

   "allowInsecureAuth": true,

   "allowedOrigins": [

"https://your-domain.com"

  ]

}
Make sure to save the file when exiting.
6. Restart the gateway
openclaw gateway stop
openclaw gateway start
7. Open the ControlUI
Open:
https://your-domain.com/#token=[YOUR_TOKEN_FROM_CONFIG]The token in question can be located from the same OpenCLAW config file
(~/.openclaw/openclaw.json) in the "Gateway" section.
You can easily grep for it with the following pattern:
grep -o '"token": "[^"]*"' ~/.openclaw/openclaw.json8. Allowing your device
On first-time opening the ControlUI page, you will be prompted to pair your device with the agent.
On the server, you get the current pending devices with:
openclaw devices listCopy the request ID and use the following to approve:
openclaw devices approve [request-id]In case you want to skip the device approval, simly run this:
openclaw config set gateway.controlUi.dangerouslyDisableDeviceAuth true
NotePlease note that this can cause anyone who finds your domain or AI agent page to use it without authentication. Use at your own risk.
InformationFor more information on OpenClaw and how you can customize it, you can check out OpenClaw's documentation here: