Viewing DNS Settings
To view DNS settings for your domains, follow these steps:
- Log in to the Hosting.com Client Area at https://my.hosting.com
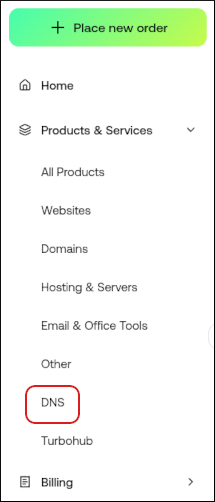
- In the left sidebar, under Products & Services, click DNS:
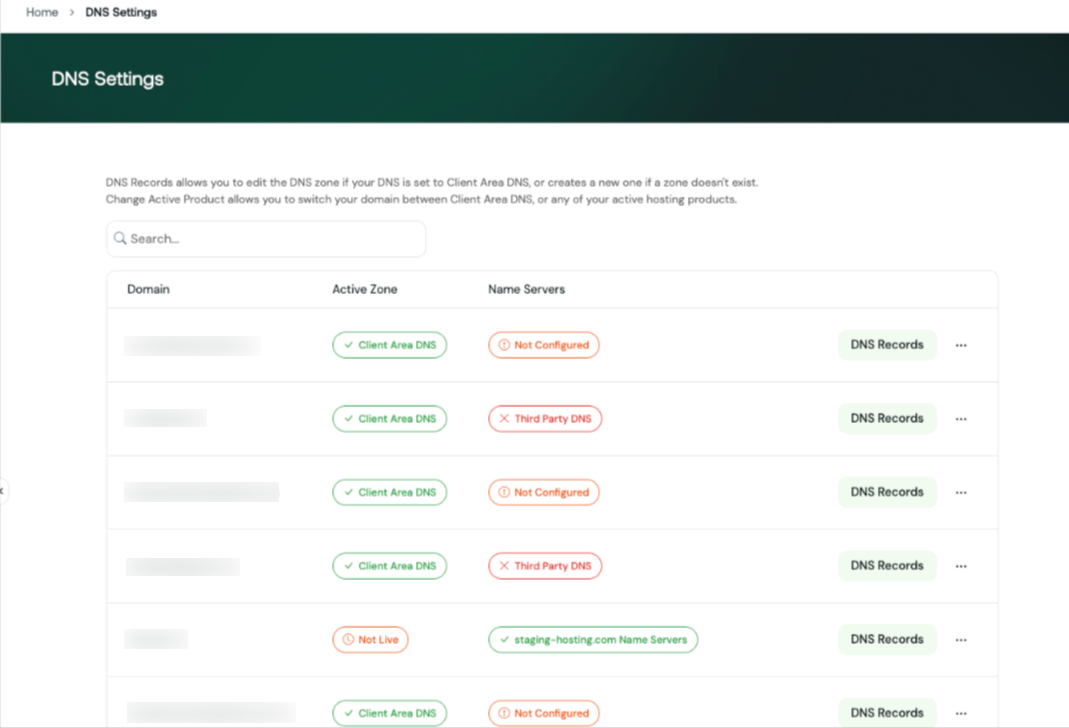
 The DNS Settings displays a list of your domains along with their DNS configuration.
The domain list shows:
The DNS Settings displays a list of your domains along with their DNS configuration.
The domain list shows:
- Domain – The domain name
- Active Zone – Where the DNS zone is currently managed
- Name Servers – The current nameserver status
- DNS Records – Opens the DNS editor for the domain
You can quickly see whether a domain is using Client Area DNS or another DNS provider.
Changing the DNS Master
You can now change the DNS master between the Client Area DNS and your active hosting products.
To change the DNS master:
- Go to DNS Settings.
- Locate the domain you want to manage.
- Click the three-dot menu (⋯) next to the domain.
- Select Change Active Product.
- Choose the DNS source you want to use.
This allows you to decide whether DNS records are managed in the Client Area or by your hosting service.

If you have more than one hosting package and want to switch the DNS zone, you can do this from Change Active Product, then choose the right package.
Using the DNS Editor
You can manage your Client Area DNS zone directly from the DNS Editor.
To access the DNS Editor:
- Go to DNS Settings in the Client Area.
- Locate the domain you want to manage.
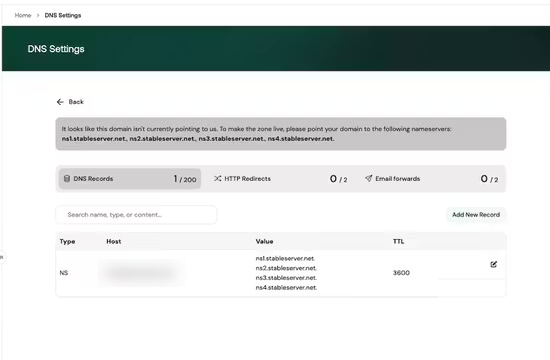
- Click DNS Records to open the DNS Editor.
From the DNS Editor, you can:
- View existing DNS records
- Add new DNS records
- Edit existing records
- Delete records
- Manage HTTP redirects
- Manage email forwards (if available)
DNS Zone Export
You can now export the DNS zone directly from the DNS Editor.
To export a DNS zone:
- Open the DNS Editor for your domain
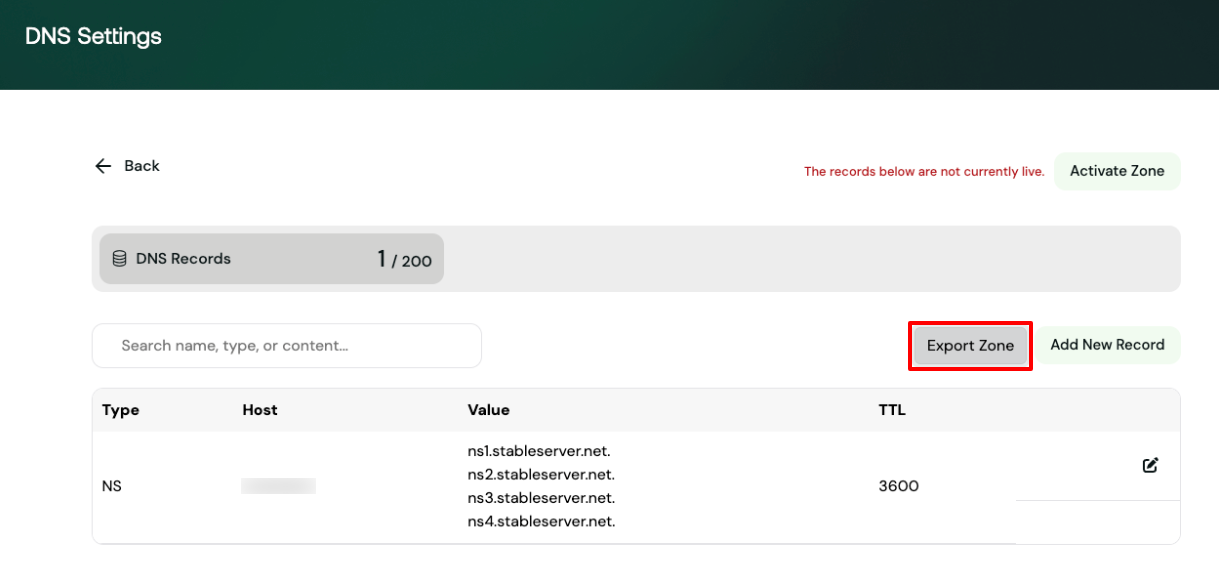
- Click the Export Zone button
- A copy of the DNS zone file will be downloaded
This is useful for backups, migrations, or reviewing your DNS configuration.
ImportantThe exported zone file reflects the Client Area DNS zone only. If your domain is using a hosting product (for example, cPanel) or external nameservers, those DNS records will not be included in the export.
Delegate Access for DNS
DNS Manager now supports delegated access.
If a domain has been delegated to another user, and the DNS zone is properly configured under the original owner, the delegated user will have access to manage DNS records just like the primary account holder.
This ensures consistent DNS management across shared or delegated accounts and allows delegated users to manage DNS without needing full account ownership.