

- Start Mailspring.
- On the Welcome to Mailspring page, click Get Started.
- On the next three pages, click Next.
-
On the Create a Mailspring ID page, click Just need the basics? Skip for now:
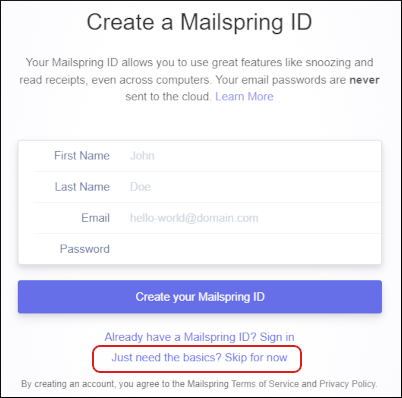
📘 Note The user interface displayed in these images may differ slightly from the version you have installed.
-
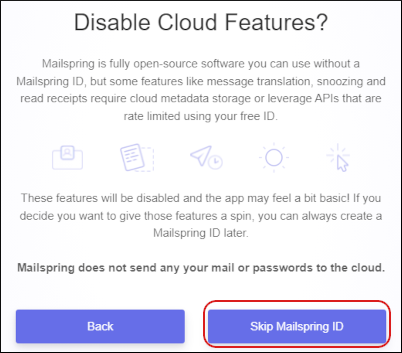
Click Skip Mailspring ID:
-
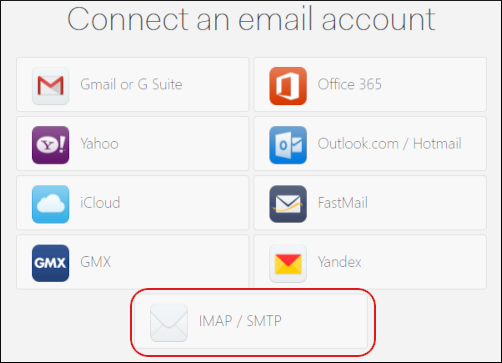
Under Connect an email account, click IMAP / SMTP:
-
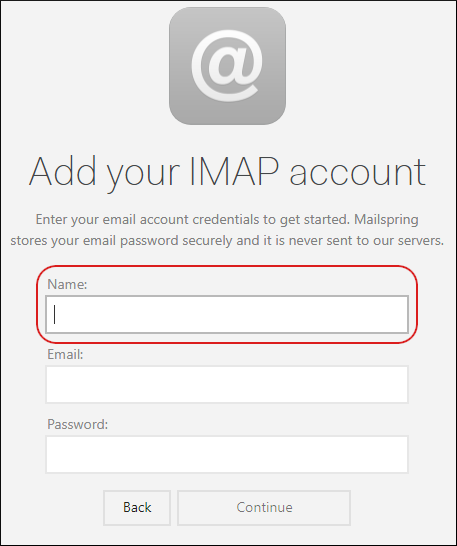
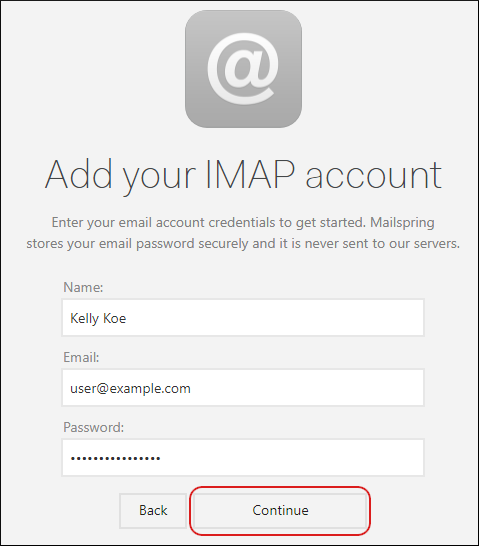
Under Add your IMAP account, in the Name text box, type the name you want to appear on messages you send from the account:
- In the Email text box, type the e-mail address of the account you created in cPanel.
- In the Password text box, type the password for the e-mail account you created in cPanel.
-
Click Continue:
-
Under Set up Account, in the Incoming Mail (IMAP) section, in the Server text box, typemail.example.com, where example.com represents your domain name:
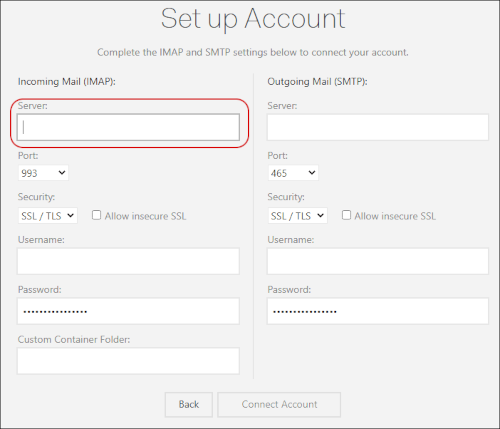
- Confirm the Port list box is set to 993 and the Security list box is set to SSL/TLS.
- In the Username text box, type the e-mail address of the account you created in cPanel.
-
In the Outgoing Mail (SMTP) section, in the Server text box, typemail.example.com, where example.com represents your domain name:
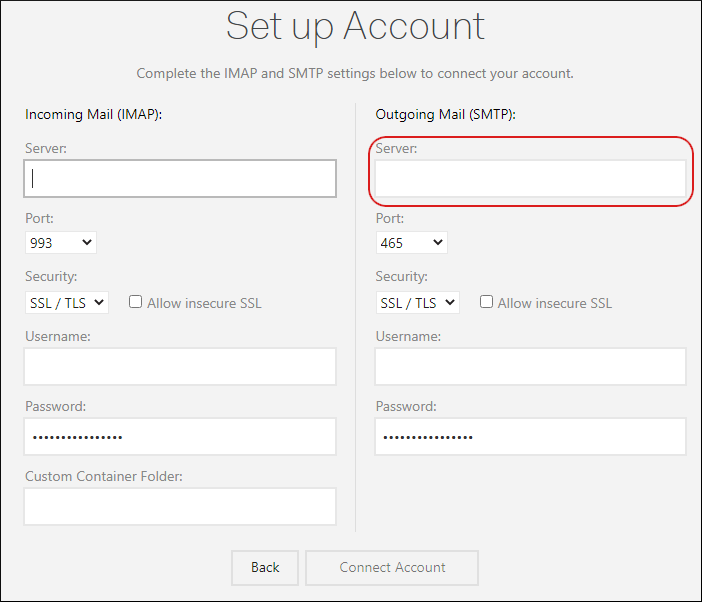
- Confirm the Port list box is set to 465 and the Security list box is set to SSL/TLS.
- In the Username text box, type the e-mail address of the account you created in cPanel.
-
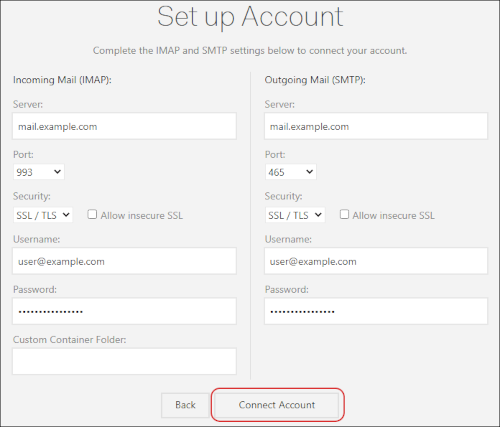
Click Connect Account:
-
Select the panel layout and keyboard shortcut settings you want, and then click Looks Good:
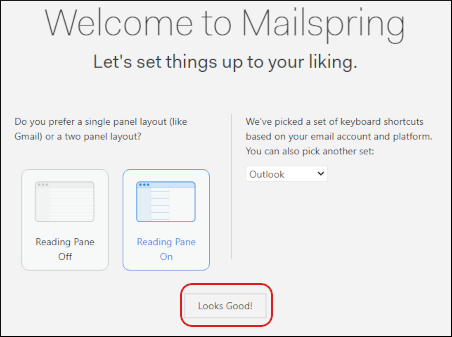
- Click Finish Setup.
-
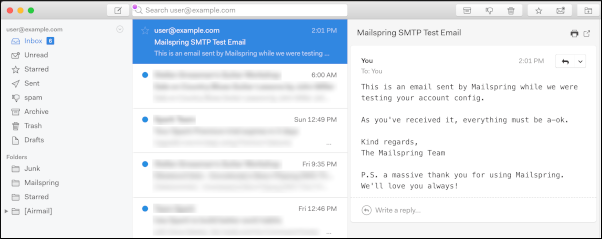
Mailspring downloads any messages in the account, and the inbox appears:
e-mail-client-application-setup
Setting up Mailspring on macOS
Set up Mailspring on macOS to access your hosting.com email with our step-by-step guide.
This article demonstrates how to set up the Mailspring email client on Apple macOS to access a hosting.com e-mail account.
To configure Mailspring to work with your hosting.com e-mail account, follow these steps: