.jpg?fit=max&auto=format&n=E2LlsT5gBITvo732&q=85&s=ec11e1673894bdf46663a5d73602eb87)

- Start Spark Mail.
-
In the Add your email text box, type the e-mail address of the account you created in cPanel, and then tap Log In:
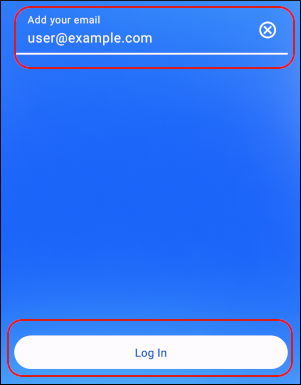
📘 Note The user interface displayed in these images may differ slightly from the version you have installed.
-
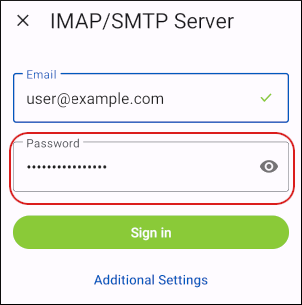
Under IMAP/SMTP Server, in the Password text box, type the password for the e-mail account you created in cPanel:
-
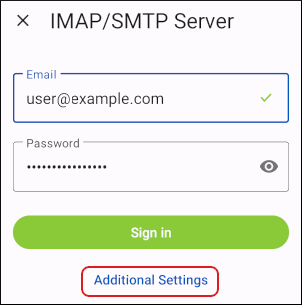
Tap Additional Settings:
-
Under Incoming Mail Server (IMAP), in the Username text box, type the e-mail address of the account you created in cPanel:
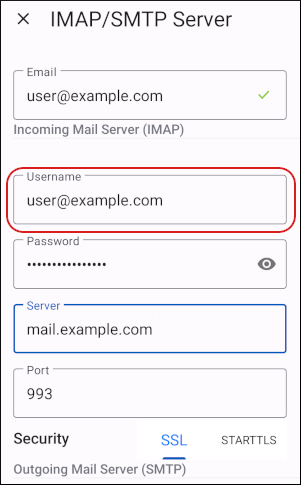
- In the Password text box, type the password for the e-mail account you created in cPanel.
- In the Server text box, type mail.example.com, where example.com represents your domain name.
-
In the Port text box, type
993. - Next to Security, tap SSL.
-
Scroll down to the Outgoing Mail Server (SMTP) section, and in the Username text box, type the e-mail address of the account you created in cPanel:
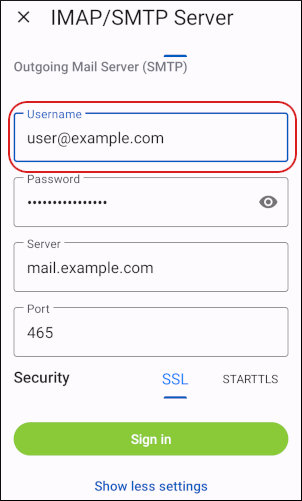
- In the Password text box, type the password for the e-mail account you created in cPanel.
- In the Server text box, type mail.example.com, where example.com represents your domain name.
-
In the Port text box, type
465. - Next to Security, tap SSL.
- Tap Sign in. Spark Mail verifies the account configuration settings.
-
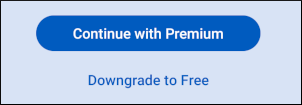
Tap Continue with Premium or tap Downgrade to Free:
-
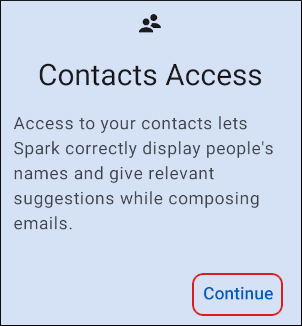
At the Contacts Access prompt, tap Continue:
-
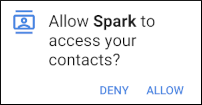
Tap DENY or ALLOW to configure access to your contacts:
-
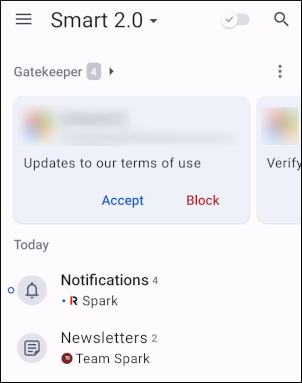
Spark Mail downloads any messages in the account, and the inbox appears:
Retired — pending deletion
Setting up Spark Mail on Android
Set up Spark Mail on Android to access your hosting.com email with our step-by-step guide. Manage your emails effortlessly.
This article demonstrates how to set up the Spark Mail email client on Android to access a hosting.com e-mail account.
To configure Spark Mail to work with your hosting.com e-mail account, follow these steps:
Was this page helpful?