

- Start Spike.
-
In the Welcome to Spike dialog box, type the e-mail address of the account you created in cPanel:
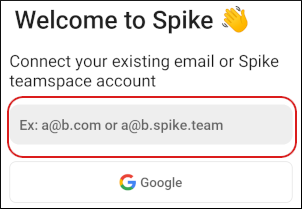
📘 Note The user interface displayed in these images may differ slightly from the version you have installed.
-
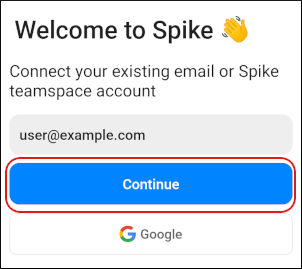
Tap Continue:
-
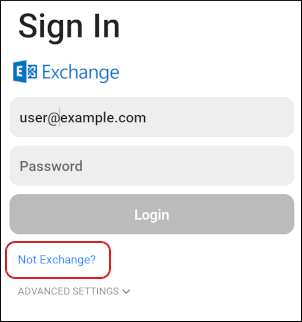
Tap Not Exchange:
-
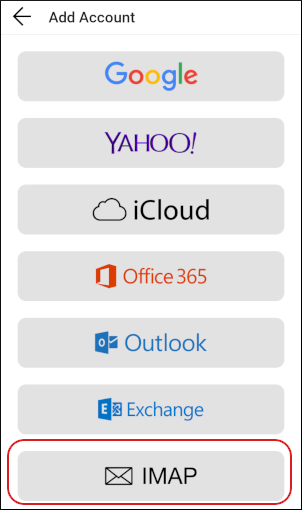
Tap IMAP:
-
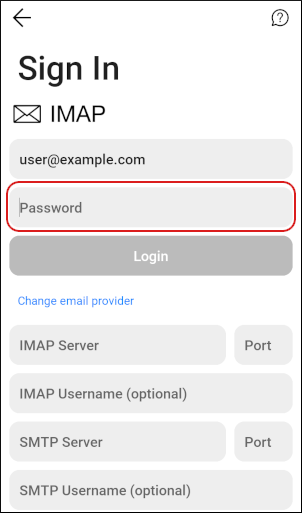
In the IMAP dialog box, in the Password text box, type the password for the e-mail account you created in cPanel:
-
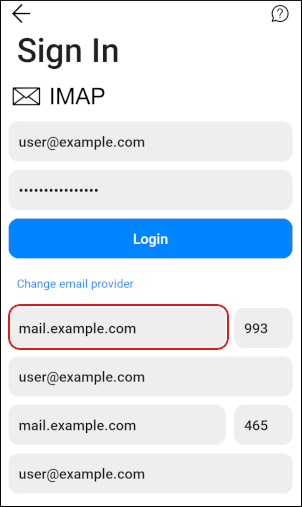
In the IMAP Server text box, typemail.example.com, where example.com represents your domain name:
-
In the Port text box, type
993. - In the IMAP Username text box, type the e-mail address of the account you created in cPanel.
- In the SMTP Server text box, type mail.example.com, where example.com represents your domain name.
-
In the Port text box, type
465. - In the SMTP Username text box, type the e-mail address of the account you created in cPanel.
-
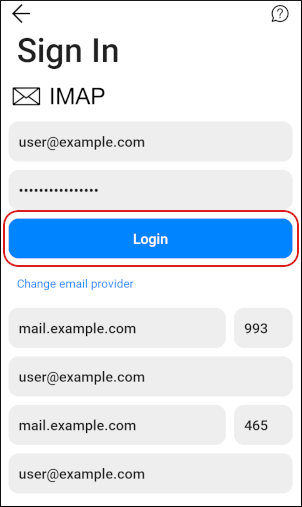
Tap Login:
-
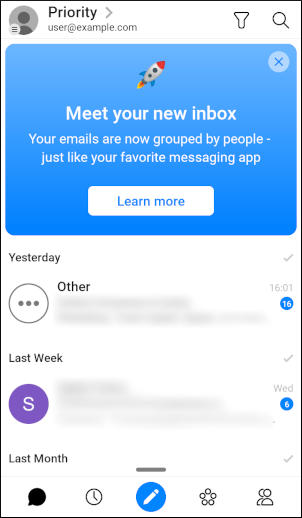
Spike downloads any messages in the account, and the inbox appears:
e-mail-client-application-setup
Setting up the Spike email client on Android
Set up Spike on Android to access your hosting.com email with our step-by-step guide.
This article demonstrates how to set up the Spike email client on Android to access a hosting.com e-mail account.
To configure Spike to work with your hosting.com e-mail account, follow these steps: