The following procedure describes how to set up an account using the Google e-mail app (Gmail) installed on all Android devices. However, there are many other e-mail applications available for Android. While the user interfaces vary, the general steps and concepts are the same as those described below.
-
Tap Settings, and then tap Passwords & accounts:
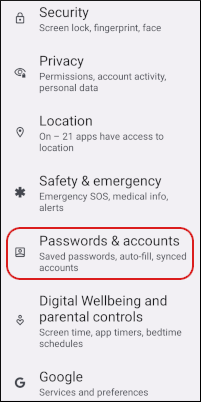
📘 Note The user interface displayed in these images may differ slightly from the version you have installed.
-
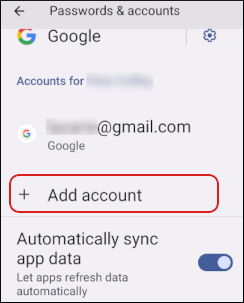
Tap Add account:
-
Choose the type of account:
- To set up an IMAP account, tap Personal (IMAP).
-
To set up a POP3 account, tap Personal (POP3).

-
In the Add your email address text box, type the e-mail address of the account that you created in cPanel (for example, user@example.com ):

- Tap MANUAL SETUP.
-
For the account type, tap Personal (POP3) or Personal (IMAP):

-
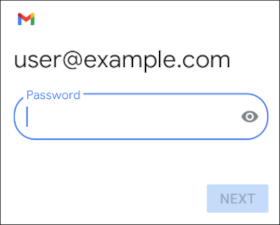
In the Password text box, type the password for the e-mail account that you created in cPanel:
-
Tap NEXT. The Incoming server settings page appears:
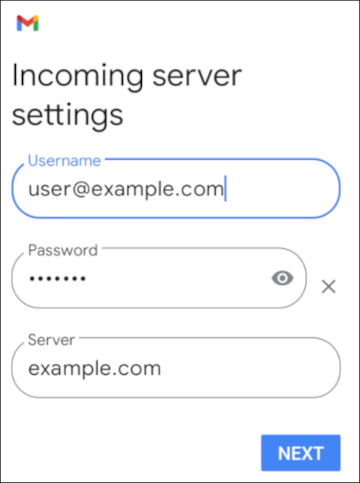
- In the Username text box, confirm the e-mail address that you typed in step 4.
- In the Password text box, confirm the password that you typed in step 7.
-
In the Server text box, type the hosting.com server name for your account.
📘 Note For information about how to determine your account’s server name, please see this article.
-
Tap NEXT. Android validates the incoming server settings, and then the Outgoing server settings page appears:

- In the Username text box, confirm the e-mail address that you typed in step 4.
- In the Password text box, confirm the password that you typed in step 7.
-
In the Server text box, type the hosting.com server name for your account.
📘 Note For information about how to determine your account’s server name, please see this article.
-
Tap NEXT. The Account options page appears:

- In the Sync frequency list box, select how often you want to synchronize the device with the e-mail account.
-
Configure the other account options:
- To receive notifications for new messages, select the Notify me when emails arrive check box.
- To synchronize messages, select the Sync email for this account check box.
- If you are configuring an IMAP account, to download attachments when the device is connected to a Wi-Fi network, select the Automatically download attachments when connected to WiFi check box.
-
Tap NEXT. The Your account is set up and emails are on their way! message appears:
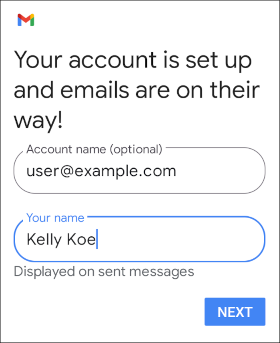
- To change the account name, type the new name in the Account name (optional) text box.
- To change the display name that appears on messages that you send from this account, type the new name in the Your name text box.
- Tap NEXT. The Accounts page appears again with the new account listed.
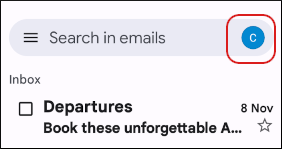
- To view the inbox for the new account, tap the home button, access the application list, and then tap Gmail.
-
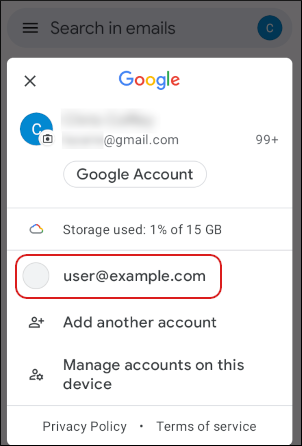
In Gmail, tap the account profile icon:
-
In Gmail, tap the new account name: