Setting up the Mailbird e-mail client
Learn how to set up the Mailbird e-mail client application to access a hosting.com e-mail account. This article includes step-by-step instructions and all the information you need to manage e-mail using Mailbird.
This article demonstrates how to set up the Mailbird e-mail client application to access a hosting.com e-mail account and send messages.
To configure Mailbird to work with your hosting.com e-mail account, follow these steps:
-
Start Mailbird:
-
If this is the first time you are setting up an account in Mailbird, the Add account dialog box appears automatically.
-
If you have previously set up another account in Mailbird, in the left sidebar click the settings icon, click Settings, and then click Accounts:
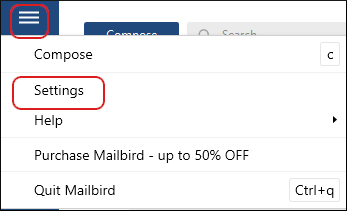
Click Add to add an account. The Add account dialog box appears.
-
-
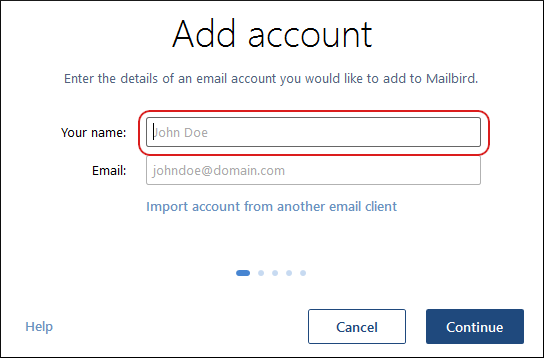
In the Add account dialog box, in the Your name text box, type the name that you want recipients to see on messages you send:
 Note
NoteThe user interface displayed in these images may differ slightly from the version you have installed.
-
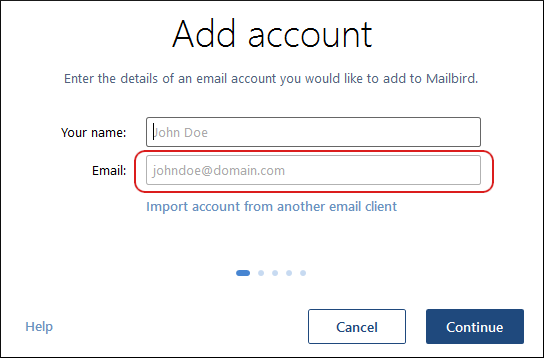
In the Email text box, type the e-mail address of the account you created in cPanel:
-
Click Continue. Mailbird detects the mail settings for the account.
-
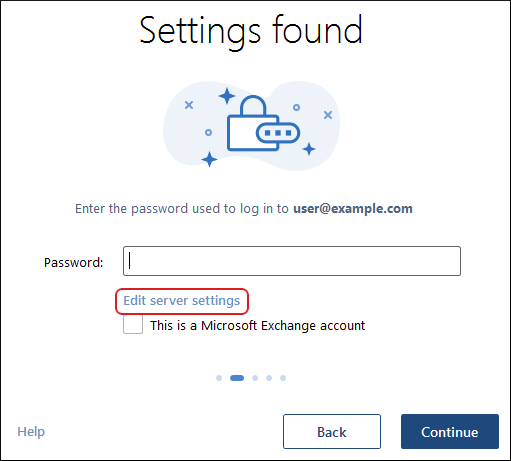
In the Settings found dialog box, click Edit server settings:
-
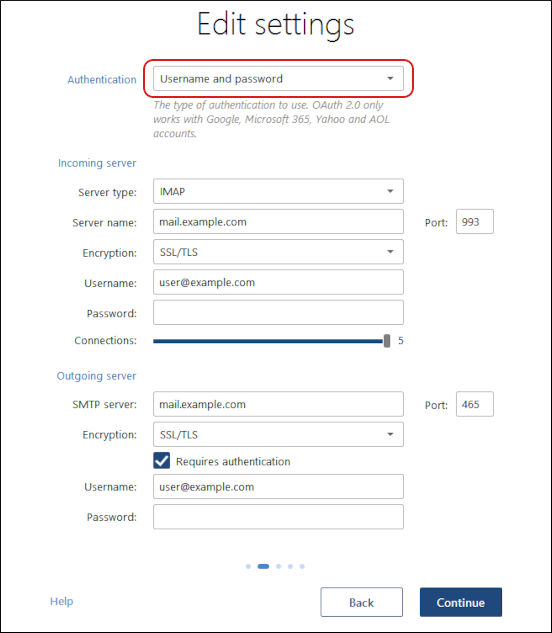
In the Edit settings dialog box, confirm the Authentication list box is set to Username and password:
-
Under Incoming server, in the Server type list box, select the protocol that you want to use:
-
If you want to use IMAP, select IMAP.
-
If you want to use POP, select POP3.
-
-
In the Server name text box, type the hosting.com server name for your account.
NoteFor information about how to determine your account's server name, please see this article.
-
In the Port text box, type one of the following:
-
If you selected IMAP in step 7, type
993. -
If you selected POP3 in step 7, type
995.
-
-
In the Encryption list box, select SSL/TLS.
-
Confirm that the Username text box contains the e-mail address of the account you created in cPanel.
-
In the Password text box, type the password for the e-mail account you created in cPanel.
-
Under Outgoing server, in the SMTP server text box, type the hosting.com server name for your account.
NoteFor information about how to determine your account's server name, please see this article.
-
In the Port text box, type
465. -
In the Encryption list box, select SSL/TLS.
-
Select the Requires authentication check box.
-
Confirm that the Username text box contains the e-mail address of the account you created in cPanel. The Password text box should already contain the password. If it does not, type the account password.
-
If you selected POP3 in step 7, some additional options appear under POP3 settings:
-
To maintain a copy of each message on the server, select the Leave a copy of messages on the server check box.
-
To automatically remove messages on the server after a specific length of time, select the Remove after days check box and type the number of days in the text box.
-
To remove messages from the server when you delete them, select the Remove when I permanently delete them check box.
-
-
Click Continue. Mailbird sets up the account.
-
Select your preferred layout, and then click Continue.
-
Select any apps you want to use, and then click Continue.
-
In the You're all set! dialog box, click Start using Mailbird:
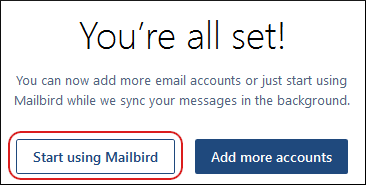
The inbox for the account appears.
More information
For more information about Mailbird, please visit http://www.getmailbird.com.
Related articles
Updated about 2 months ago
