Managing billing in the Hosting Panel
Learn how to manage billing for your hosting.com account. This article covers how to pay invoices, manage billing cycles, and more.
TipFor general questions about billing at hosting.com, please see our Hosting.com billing FAQ.
Viewing orders
To view and manage your orders, follow these steps:
-
Log in to the Hosting Panel at https://my.hosting.com.
-
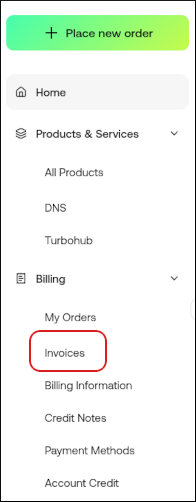
In the left sidebar, click Billing, and then click My Orders:

-
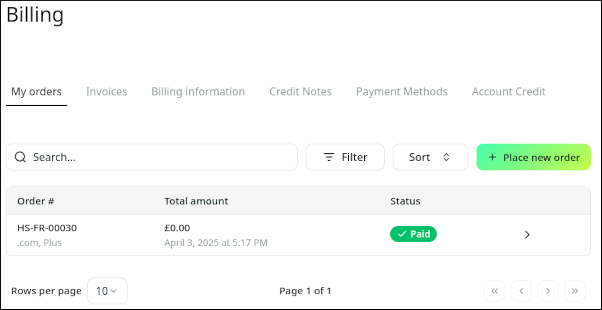
On the Billing page, the My Orders tab appears:
-
On the My Orders tab, you can:
- Search for a specific order in the Search text box.
- Click Filter, and then filter the orders that appear in the list by selecting from a list of criteria.
- Click Sort, and then sort orders by date, status, and other criteria.
- Place a new order for additional products and services.
-
To view an order in detail, click View.
Managing invoices
To view and manage your invoices, follow these steps:
-
Log in to the Hosting Panel at https://my.hosting.com.
-
In the left sidebar, click Billing, and then click Invoices:
-
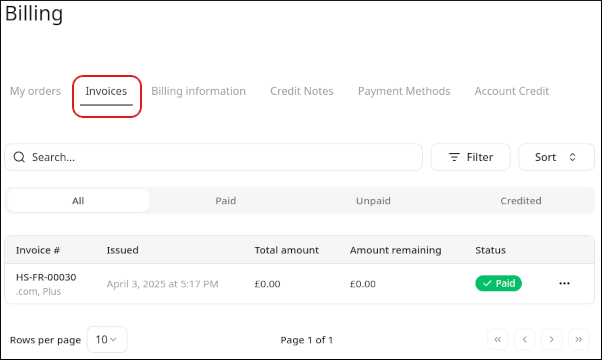
The Invoices tab appears:
-
On the Invoices tab, you can:
- Search for a specific invoice in the Search text box.
- Click Filter, and then filter the invoices that appear in the list by selecting from a list of criteria.
- Click Sort, and then sort invoices by date, status, and other criteria.
- To view an invoice in detail, click View.
- To download an invoice, click the three-dot menu, and then click Download.
- To pay an invoice, click the three-dot menu, and then click Pay invoice.
Setting billing information
You can specify your preferred currency and invoice consolidation options. To do this, follow these steps:
-
Log in to the Hosting Panel at https://my.hosting.com.
-
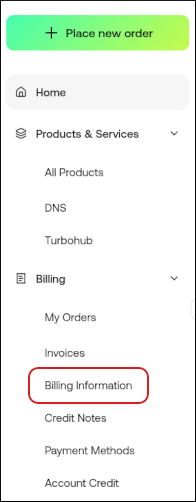
In the left sidebar, click Billing, and then click Billing Information:
-
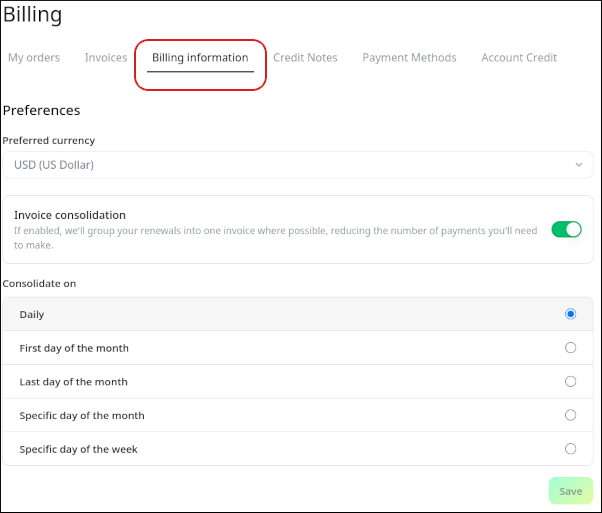
The Billing Information tab appears:
-
Specify the preferences you want, and then click Save.
Managing credit notes
To view credit notes for your account, follow these steps:
-
Log in to the Hosting Panel at https://my.hosting.com.
-
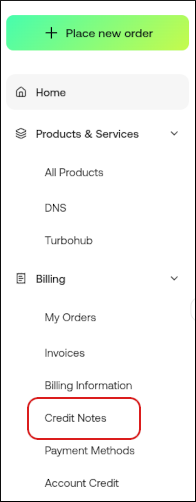
In the left sidebar, click Billing, and then click Credit Notes:
-
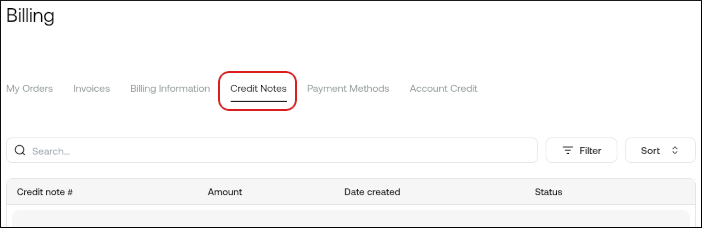
The Credit Notes tab appears:
-
On the Credit Notes tab, you can:
- Search for a specific credit note in the Search text box.
- Click Filter, and then filter the credit notes that appear in the list by selecting from a list of criteria.
- Click Sort, and then sort credit notes by date and other criteria.
- To view a credit note in detail, click View.
- To download a credit note, click the three-dot menu, and then click Download Credit Note.