Managing your website files in the Hosting Panel
Learn how to manage your website files from one convenient interface in the hosting.com Hosting Panel.
Some newer hosting accounts use an administration interface directly within the hosting.com Hosting Panel. Unlike cPanel, there is no separate login — you just log in to your hosting.com account at https://my.hosting.com and control your web site, email, and WordPress from one unified interface.
This article provides an overview on how to use this administration interface to manage your website files. It applies to the following account types:
- Starter Web Hosting
- Plus Web Hosting
- Pro Web Hosting
- Max Web Hosting
Managing your website files
You can create, edit, and delete files and directories, and much more. To do this, follow these steps:
-
Log in to your account as described in Managing your website in the Hosting Panel.
-
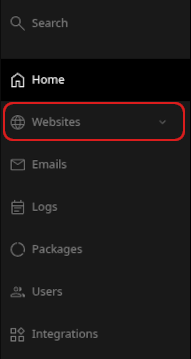
When the control panel appears, in the left sidebar, click Websites:
-
On the Manage websites page, click the website you want to manage.
-
A list of tabs appears at the top of the page. Click the Files tab:

-
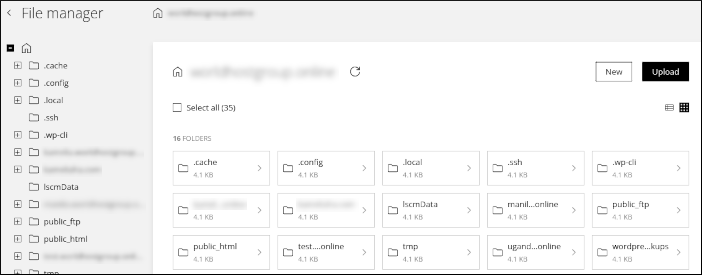
The File manager appears:
-
You can navigate the file system using the folder tree in the left sidebar:
- Click a folder name to view its contents in the right pane.
- Click the plus sign (+) icon to view subfolders beneath the current folder.
-
In the right pane you can do many operations:
-
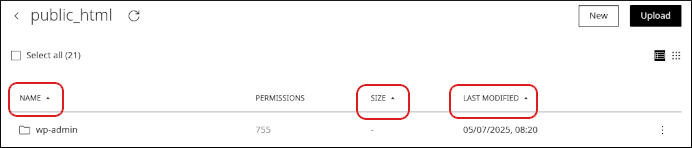
To sort the listing by name, size, or the date it was last modified, click the column heading:
-
To create a new file or folder, click New, and then click File or Folder.
-
To upload a file or folder to your account, click Upload, and then click File or Folder.
-
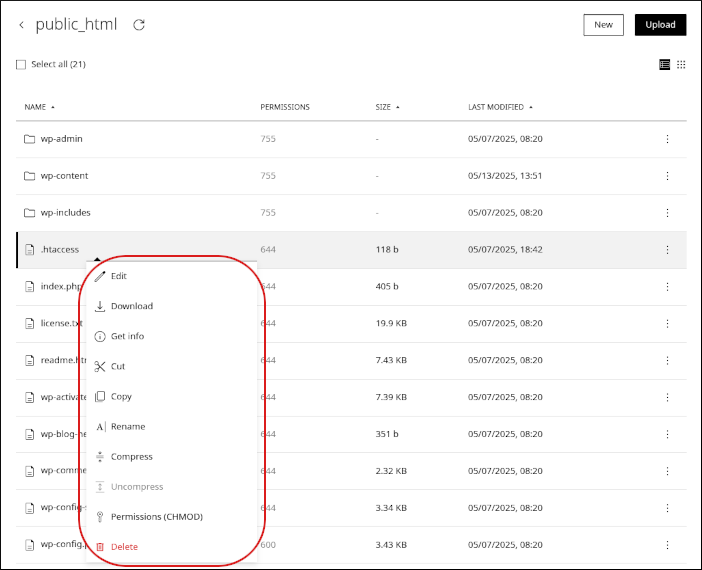
To modify an existing file or folder, right-click it, and then select an option:
-
To edit a file, click Edit.
-
To download a file to your local computer, click Download.
-
To view path, file size, permissions, and other information for a file or folder, click Get info.
-
To copy a file or folder, click Copy.
-
To rename a file or folder, click Rename.
-
To compress a file or folder, click Compress.
-
To decompress a compressed file or folder, click Uncompress.
-
To change the permissions for a file or folder, click Permissions (CHMOD).
-
To delete a file or folder, click Delete.
-
-
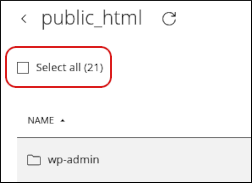
To process multiple files at once, select the Select all check box, and then select one of the options that appears at the bottom of the page:
 Important
Be careful when working with multiple files at once, especially if you are doing deletion operations.
-