Setting the nameservers for a domain
Already own a domain purchased from a different registrar or host? Learn how to change the domain's nameserver settings to point to hosting.com.
This article provides information about how to set up a domain's nameserver settings to work with hosting.com's servers.
When to set your domain's nameservers
If you already own a domain that you purchased from a different registrar or hosting company, you can change the nameserver (DNS) settings for the domain so they point to hosting.com's servers. (Billing and domain administration remain with the domain's current registrar.)
NoteIf you registered your domain directly with hosting.com, the nameserver settings are already configured. No further action is required on your part.
Setting your domain's name servers
When you change a domain's nameserver settings, you must specify at a minimum a primary nameserver and a secondary nameserver. This ensures that there is at least one alternate server available to provide DNS information about your site if one of the servers is unavailable.
WarningPlease note that this method does not apply to unmanaged VPS hosting, as DNS does not come preinstalled on these servers.
The correct nameservers for your domain depend on the type of account you have, and which hosting.com server hosts your account. You can view the nameserver information for your account on the Hosting Panel at https://my.hosting.com.
For example, some shared hosting accounts use ns1.a2hosting.com, ns2.a2hosting.com, ns3.a2hosting.com, and ns4.a2hosting.com as their nameservers. Some newer hosting accounts, such as those managed directly in the Hosting Panel (not cPanel), use ns1.stableserver.net, ns2.stableserver.net, ns3.stableserver.net, and ns4.stableserver.net.
Almost all domain registrars provide a control panel where you can manage a domain's nameserver settings. If you are unable to make these changes, contact the domain's registrar and ask them how to change your domain's nameserver or DNS settings.
NoteWhen you change a domain's nameserver settings or register a new domain, it generally takes 24 hours until the changes take full effect. This delay, known as DNS propagation delay, occurs with all hosts and is beyond our control. Therefore, until your domain fully resolves you cannot do the following:
Visit your web site by going to the URL http://www.example.com, where example.com represents your domain name. In the meantime, however, you can view your web site using shared URLs or a custom hosts file. For information about how to do this, please see this article.
Access your e-mail accounts. POP3, IMAP, SMTP, and webmail will not work until DNS propagation is complete.
Changing the nameservers for a domain at hosting.com
To change the nameservers for a domain at hosting.com, follow these steps:
-
Log in to the Hosting Panel at https://my.hosting.com.
-
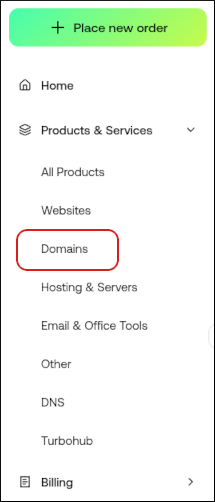
In the left sidebar, under Products & Services, click Domains:
-
On the Domains page, click the domain you want to configure.
TipYou can filter the list of domains to only display active, canceled, or all domains. To do this, click the Active, Cancelled, Pending Cancellation, or All tab.
-
Click Update Nameservers:

-
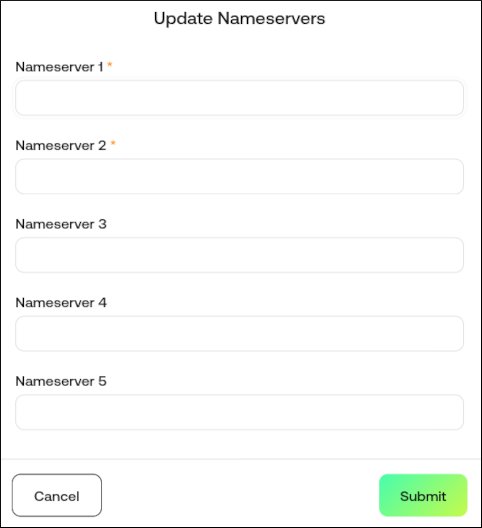
Type the nameservers you want to use. You must specify at least two (a primary and a secondary) nameservers:
-
Click Submit.
DNS changes can take up to 24 hours to fully propagate. For information about how to access your web site before DNS propagation is complete, please see this article.
More information
For more information about DNS, please visit http://en.wikipedia.org/wiki/Domain_Name_System.