Setting up DKIM (DomainKeys Identified Mail) for Titan Mail accounts
This article guides you through the steps to enable DKIM (DomainKeys Identified Mail) for your Titan Mail account. By enabling DKIM, you can help ensure that your messages are delivered reliably to recipients.
This article describes how to enable DKIM (DomainKeys Identified Mail) for a Titan Mail account.
About DKIM
DKIM (DomainKeys Identified Mail) helps ensure that your messages are delivered reliably to recipients. Recipients can use DKIM to verify that an incoming e-mail message is actually from the stated sender, and that the message has not been altered during transit.
When DKIM is enabled, the sender digitally signs a message using a private key. The recipient uses DNS to retrieve the sender's public key and verify the message's signature. If the signature is invalid, then the message is assumed to be forged and therefore spam.
To enable DKIM for your domain, you add a special TXT record to your domain's DNS settings.
Enabling DKIM
To enable DKIM for your account, follow these steps:
-
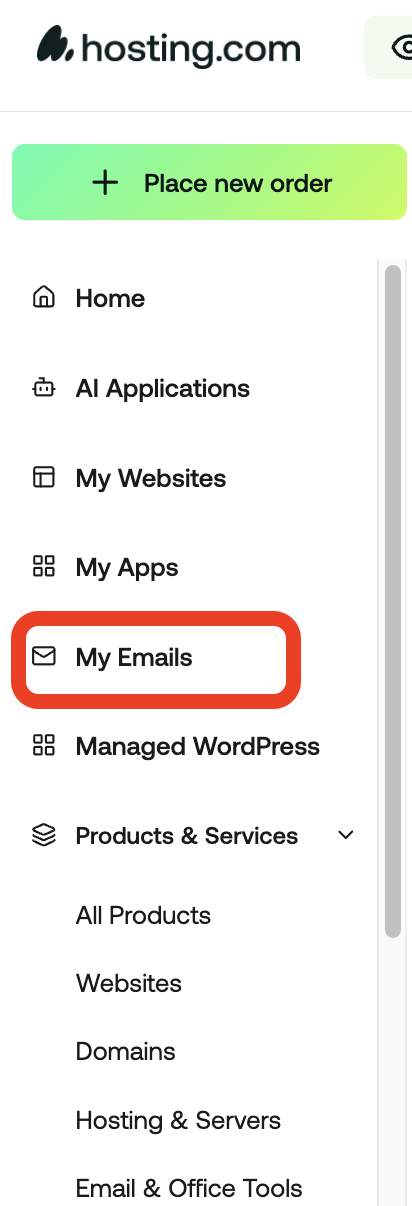
Log in to the Hosting Panel at https://my.hosting.com.
-
In the left sidebar, under My Emails:
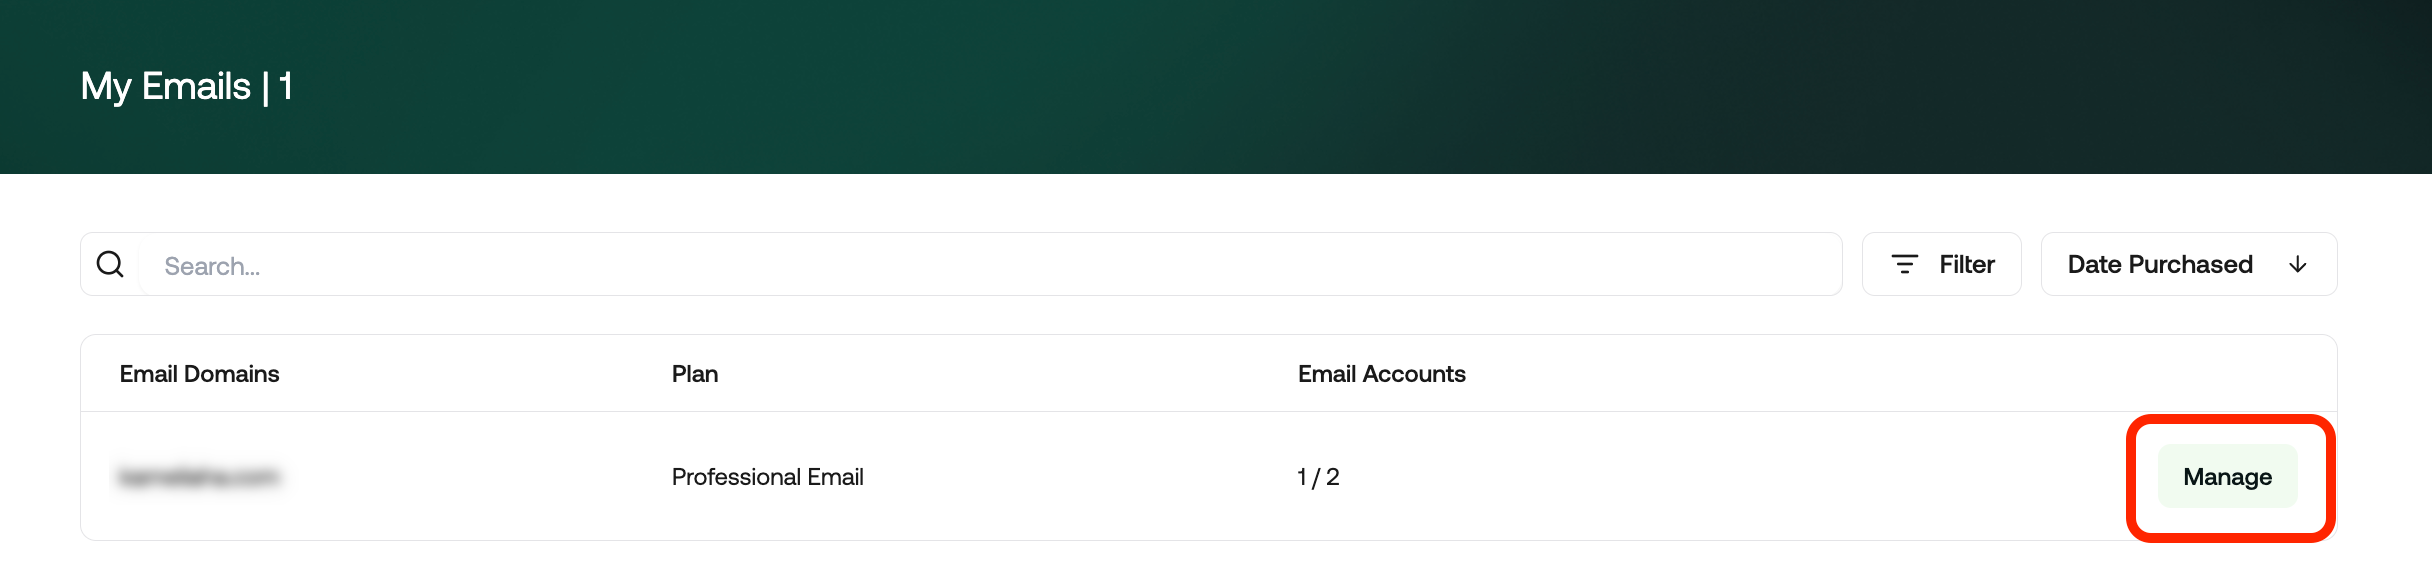
-
On the page, locate your email account, and then click Manage:
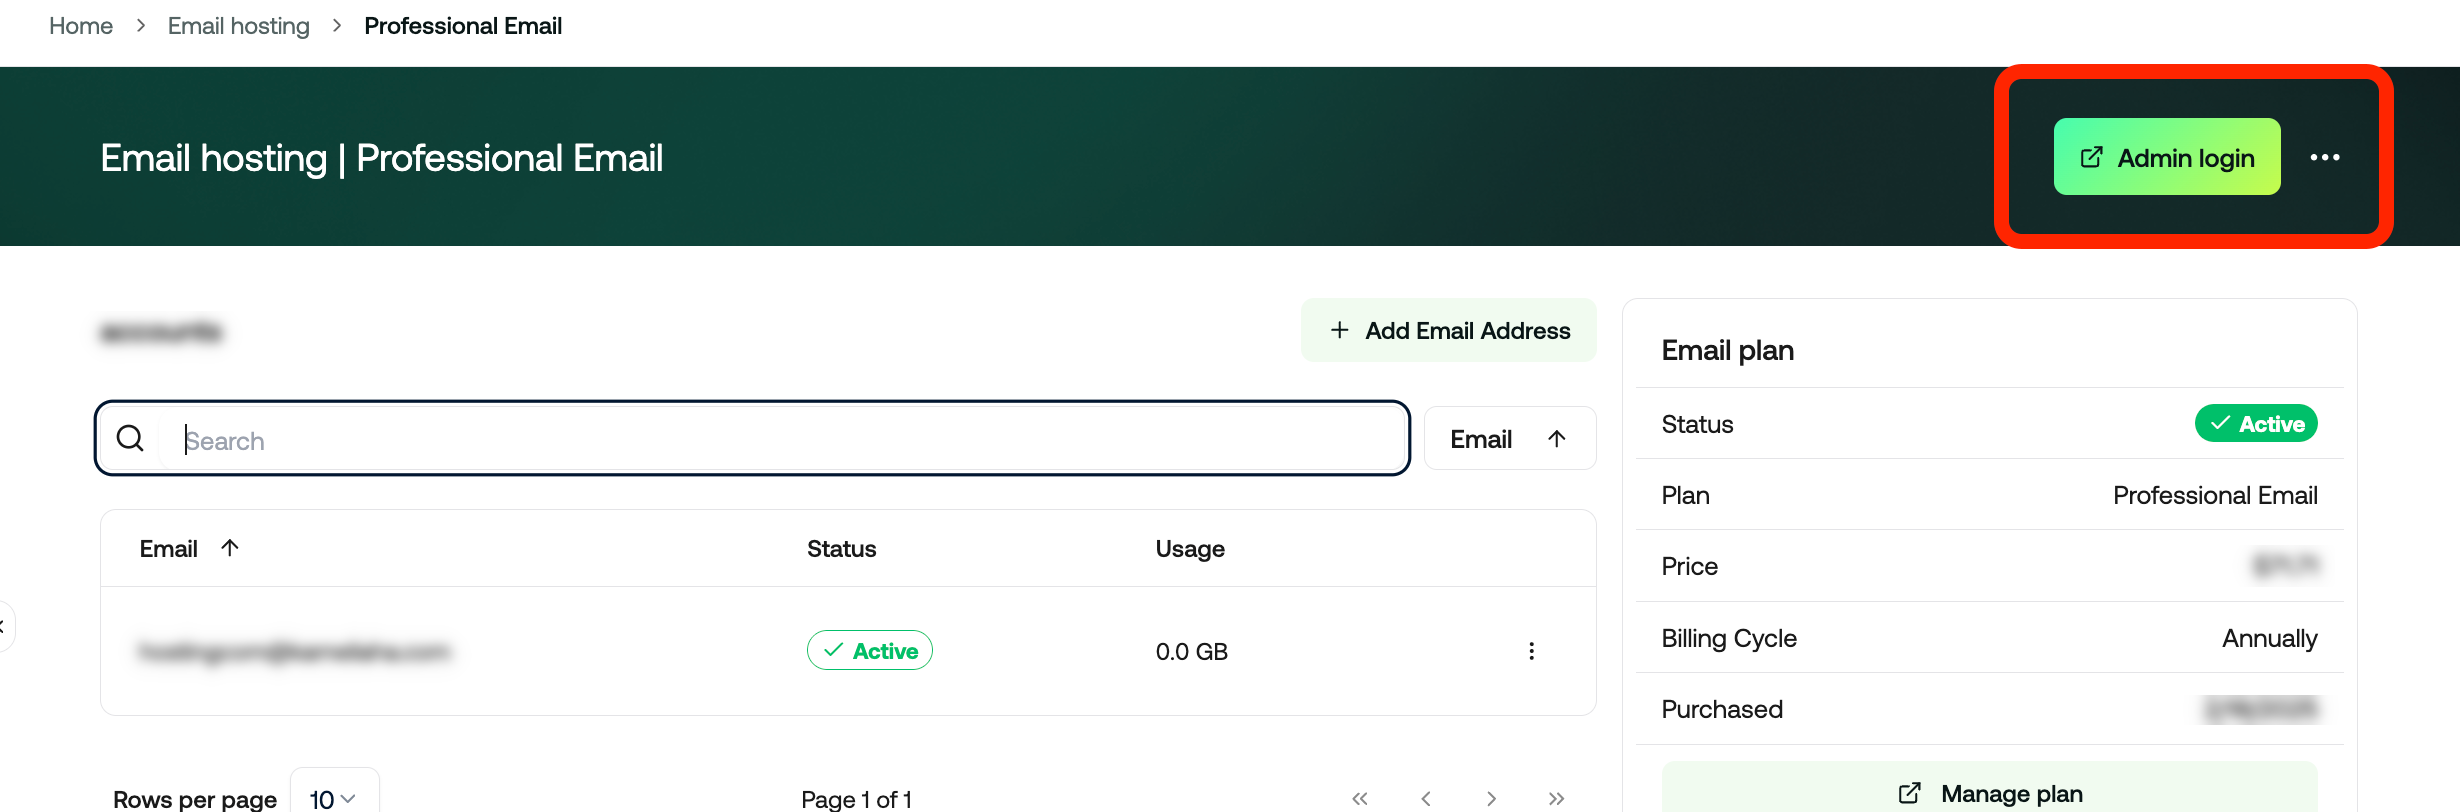
-
Click on Admin login
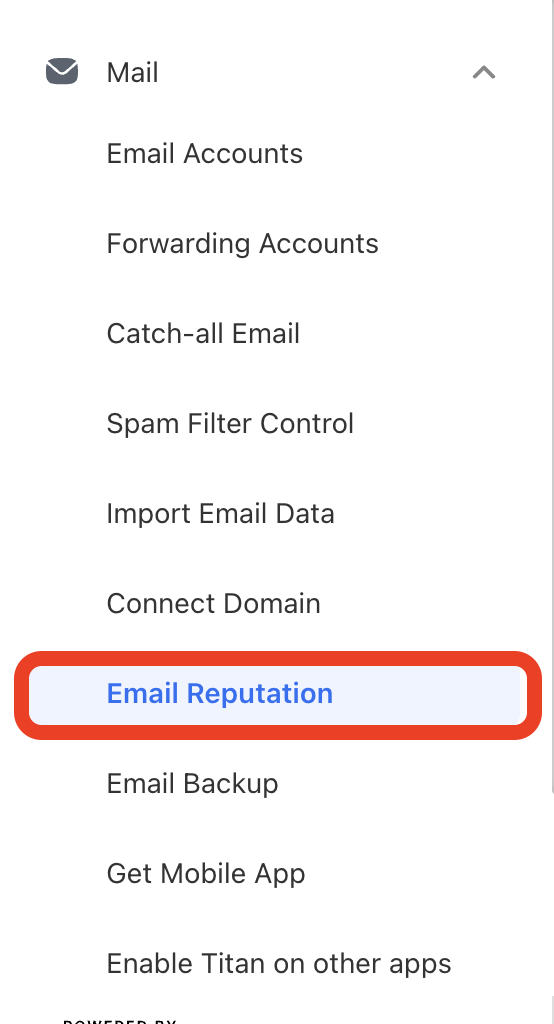
-
Go to Email Reputation
- Add a TXT record to your domain's DNS records with the DNS hostname and TXT record value you obtained in step 6. The procedure to do this varies based on the registrar for your domain. For more information, please see Setting up your domain's DNS records for Titan Mail.
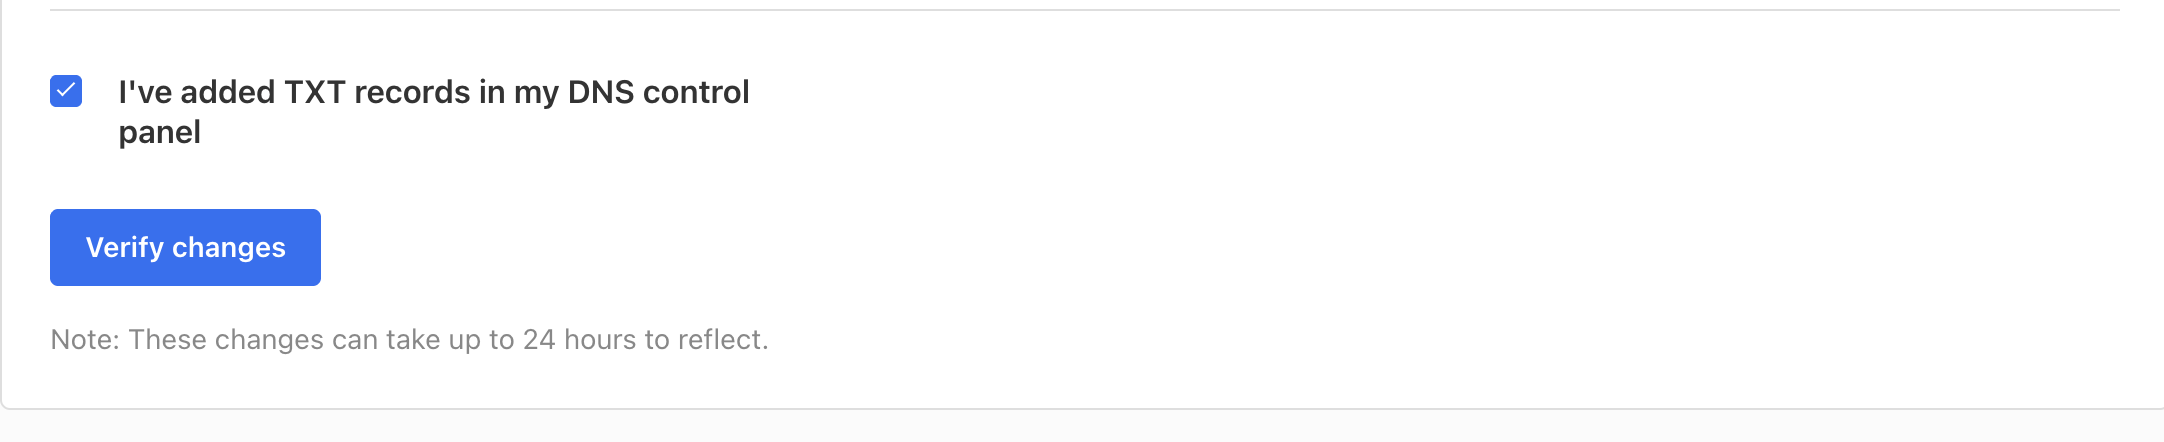
- After you have added the TXT record to your domain, select the I've added TXT records in my DNS control panel check box.
- Click Verify changes.
- In the Current status section, next to DKIM Record, you should see VERIFIED.
ImportantRemember that it can take up to 24 hours for DNS changes to fully propagate across the internet (though the process is usually much faster). If the DKIM status is not active yet, wait awhile, and then try again.
More information
For more information about DKIM, please visit http://dkim.org.
Related articles
Updated 27 days ago