Installing Configuring WooCommerce Shipping & Tax in WordPress
To configure and use WooCommerce Shipping Extension in your WordPress website, follow these steps:- Log in to your WordPress site with an administrator account.
-
On the Dashboard in the left sidebar, click Plugins, and then click Add New:

-
Search for “WooCommerce Shipping & Tax” and then install and activate the WooCommerce Shipping & Tax Plugin:
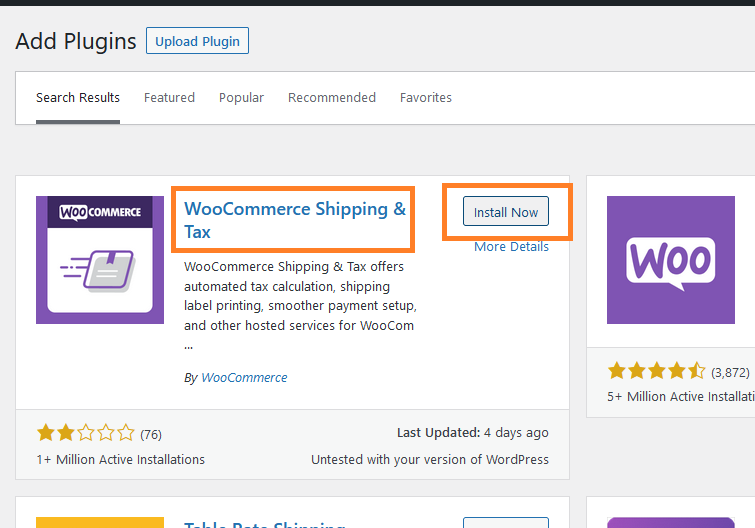
Alternatively, you can download it from here.
-
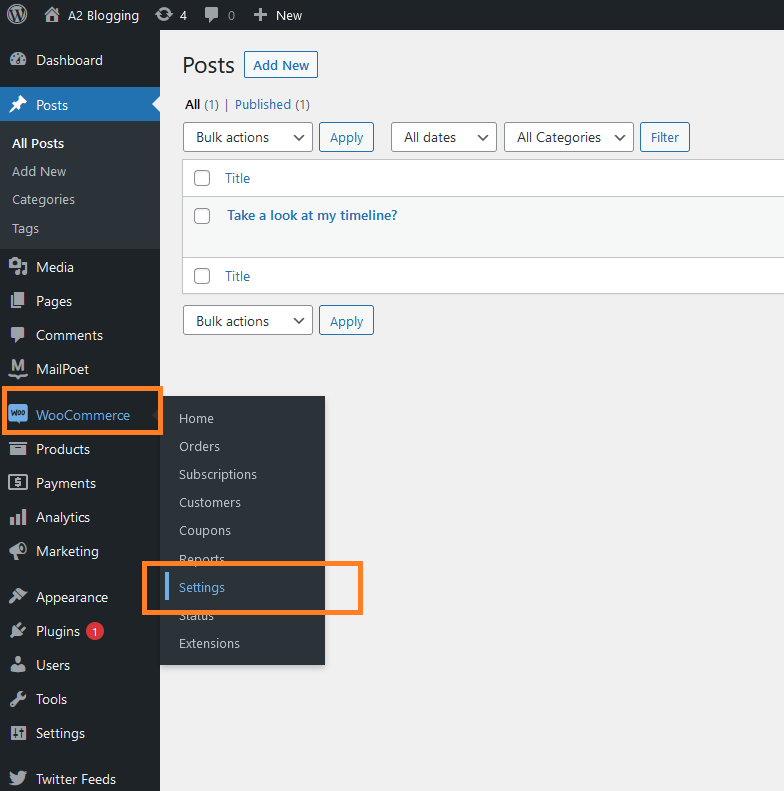
On the Dashboard in the left sidebar, click WooCommerce, and then click Settings:
-
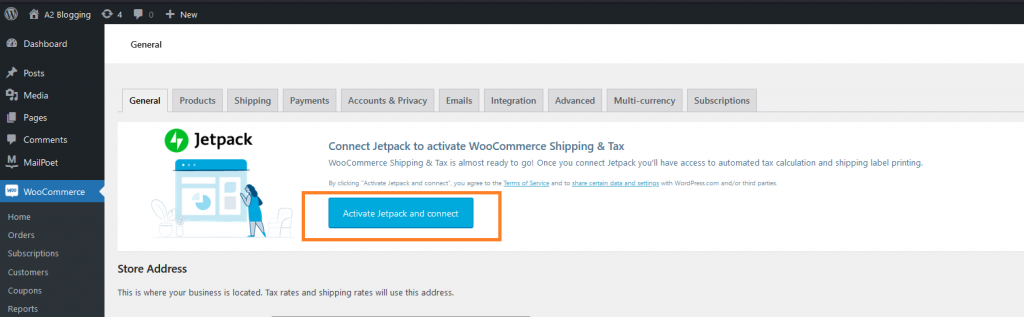
Activate JetPack if has not been activated:
-
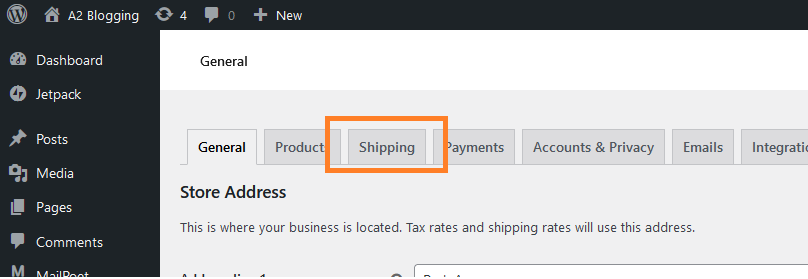
Click on the Shipping tab:
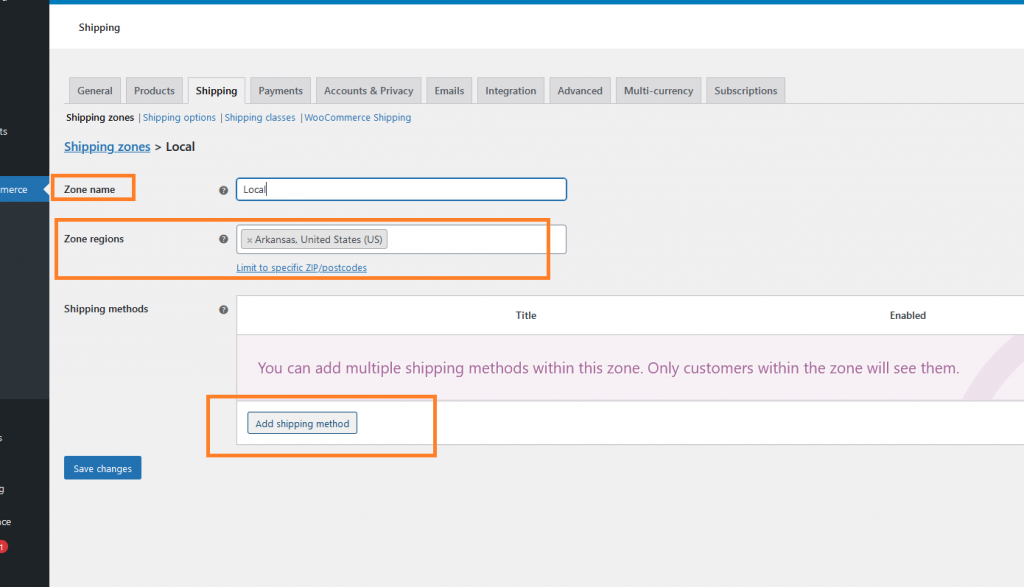
- Click on the Add Shipping Zone button to set up how much will it cost to send a product to an specific area/region:
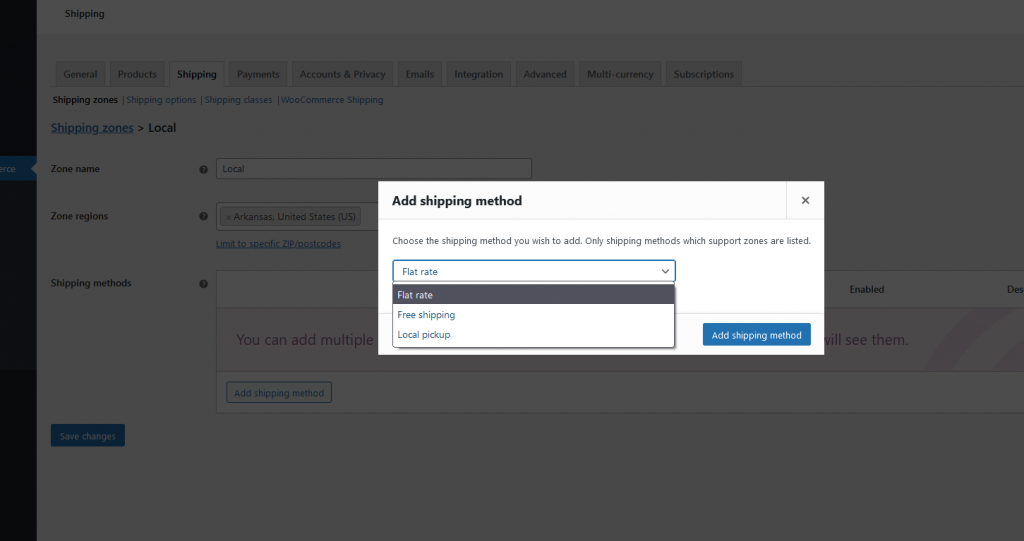
- Enter the name of the zone, coverage area, and the shipping method which could be any of the following:
- Flat rate
- Free shipping
-
Local pickup
-
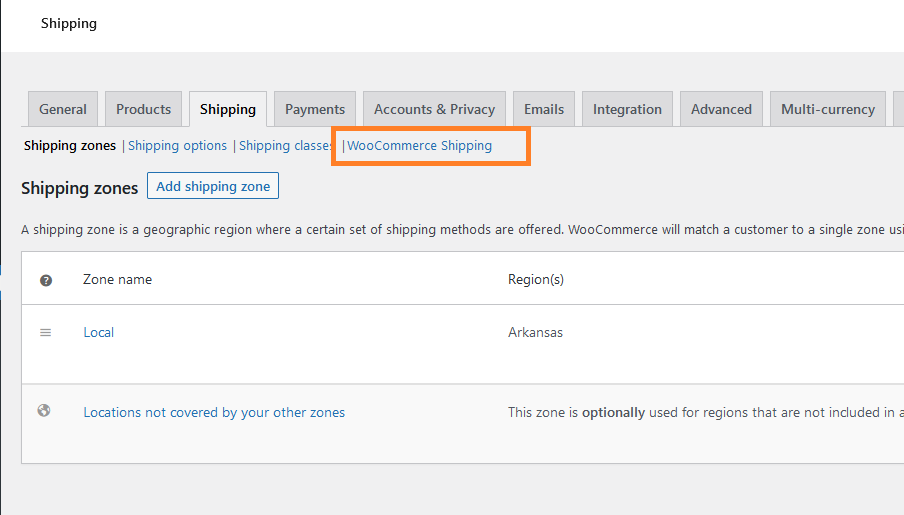
To print shipping labels, click on WooCommerce Shipping:
-
Select a label size, and the payment method for the shipping label and click Save changes:
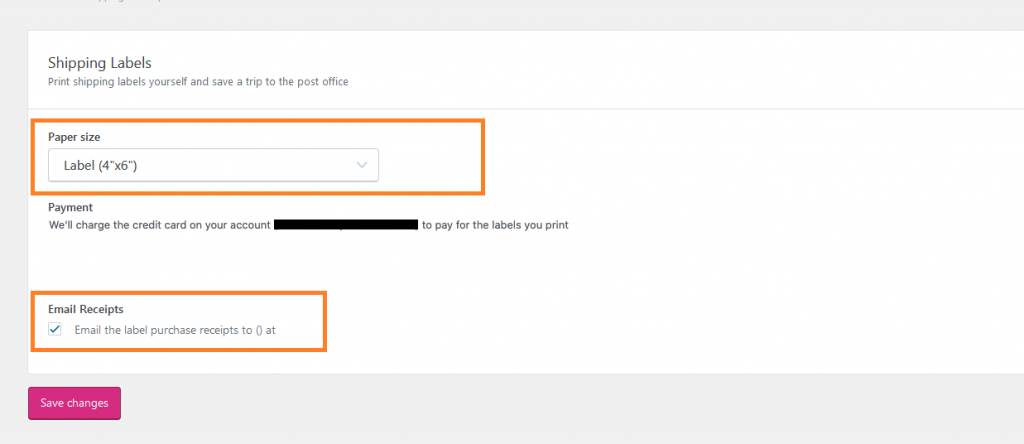
- Easily open any order and print the shipping label and send the product to the customer after this configuration.