Importing email data into Titan Mail accounts
Learn how to import messages from an email account to your Titan Mail account.
You can import messages from an email account on a remote server into your Titan Mail account. The process uses IMAP to access the remote account and transfer its messages over to the Titan Mail account that you specify.
NoteIf you want to integrate your account with a Gmail account, please see Integrating Titan Mail accounts with Gmail instead.
To import email data using the Hosting Panel, follow these steps:
-
Log in to the Hosting Panel at https://my.hosting.com.
-
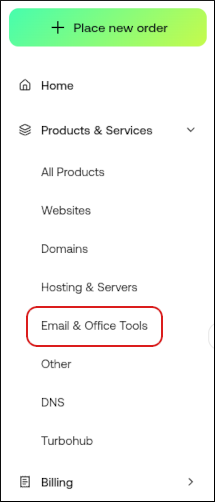
In the left sidebar, under Products & Services, click Email & Office Tools:
-
On the Email & Office Tools page, locate your email account, and then click Login:

-
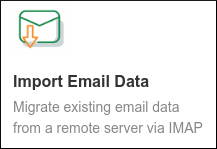
The administration interface appears in a new tab. Click the Import Email Data icon:
-
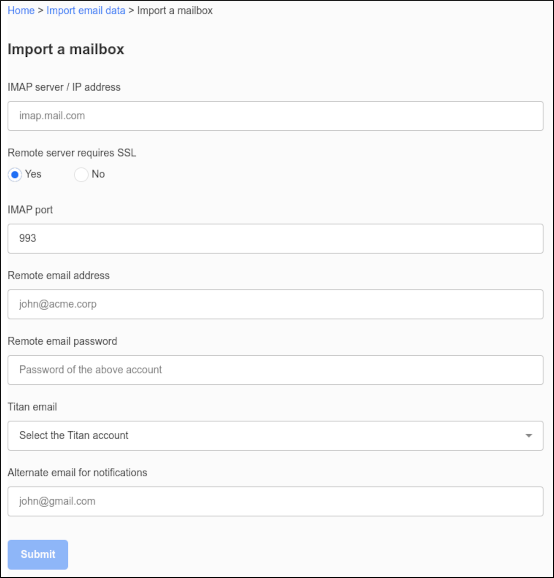
Click Import a mailbox. The Import a mailbox dialog appears:
-
In the IMAP server / IP address text box, type the FQDN (fully qualified domain name) or IP address of the remote server (for example, imap.example.com).
-
If the remote server requires an SSL connection, click Yes.
-
In the IMAP port text box, type the IMAP port number on the remote server. The default value is 993.
-
In the Remote email address text box, type the email address of the remote account that you want to transfer (for example, [email protected]).
-
In the Remote email password text box, type the password for the account you specified in step 9.
-
In the Titan email list box, select the account to which you want to transfer the email data.
-
In the Alternate email for notifications text box, type a different email address where you can receive notifications regarding the email transfer.
-
Click Submit. When the import process completes, you receive an email notification at the address you specified. The notification tells you if the import was successful or not.
Updated 16 days ago