- Starter Web Hosting
- Plus Web Hosting
- Pro Web Hosting
- Max Web Hosting
Managing domains
You can manage the following settings for a domain:- Document root directory.
- Email authentication (DKIM).
- Mail routing.
- DNS records.
- Log in to your account as described in Managing your website in the Hosting Panel.
-
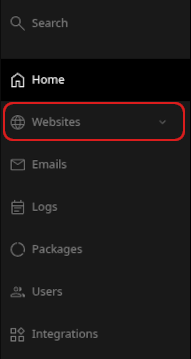
When the control panel appears, in the left sidebar, click Websites:
- On the Manage websites page, click the website you want to manage.
-
A list of tabs appears at the top of the page. Click the Domains tab:

-
The Domains page appears:

-
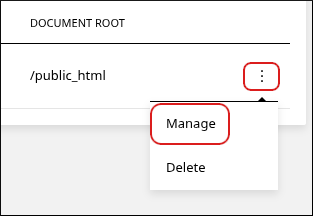
Locate the domain you want to manage, click the three-dot menu, and then click Manage:
-
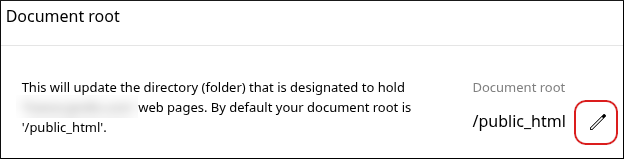
To change the document root directory, in the Document root section, click the pencil icon:
-
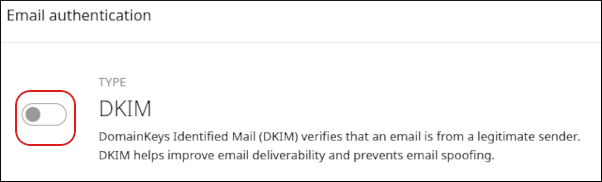
To enable DKIM (DomainKeys Identified Mail) for the domain, in the Email authentication section, click the DKIM slider:
-
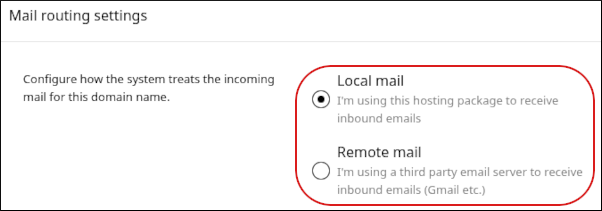
To configure mail routing for the domain, in the Mail routing settings section, click Local mail or Remote mail.
🚧 Important You only need to change this setting if you are using a third-party email provider to receive inbound email messages.
-
To manage DNS records for the domain, scroll down to the DNS records section. A list of DNS records for the domain appears:
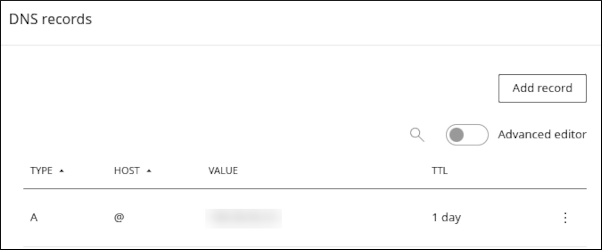
- To modify an existing record, click the three-dot menu, and then click Edit.
- To delete an existing record, click the three-dot menu, and then click Delete.
-
To add a new DNS record for the domain, click Add record. The Add record dialog appears. Complete the fields for the record, and then click Create:
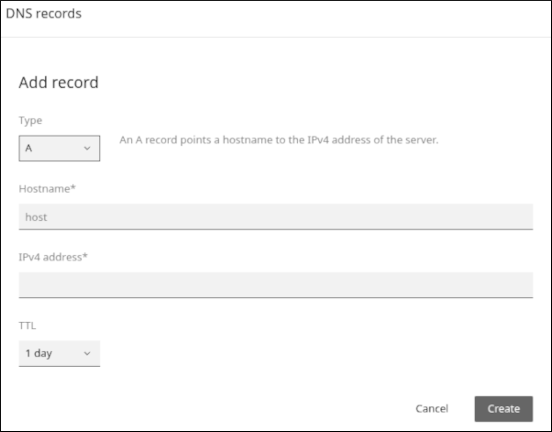
📘 Note The fields change depending on the type of record you select. For example, an A record requires different settings from an MX record.
Adding domains
You can add subdomains and aliases. To add a subdomain or alias, follow these steps:- Log in to your account as described in Managing your website in the Hosting Panel.
-
When the control panel appears, in the left sidebar, click Websites:
- On the Manage websites page, click the website you want to manage.
-
A list of tabs appears at the top of the page. Click the Domains tab:
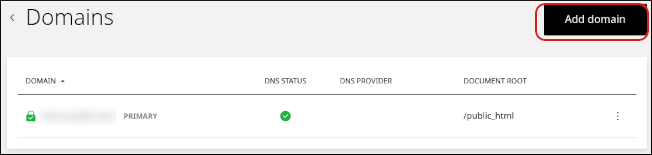
- The Domains page appears. Click Add domain:
-
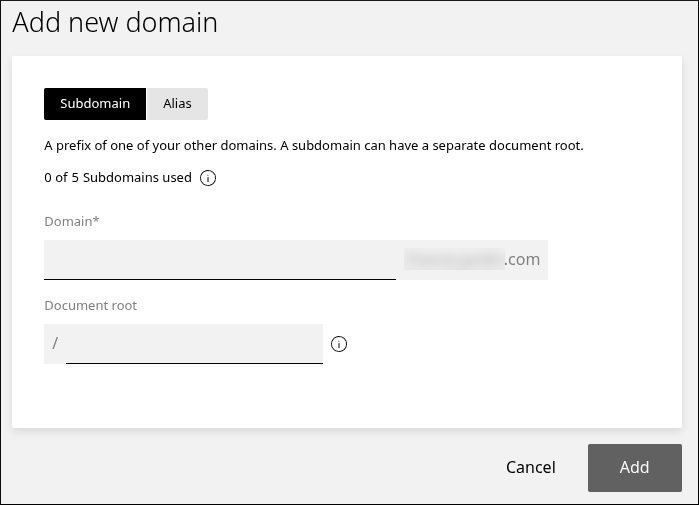
The Add new domain dialog appears:
-
To add a subdomain, specify the name and document root directory, and then click Add:
-
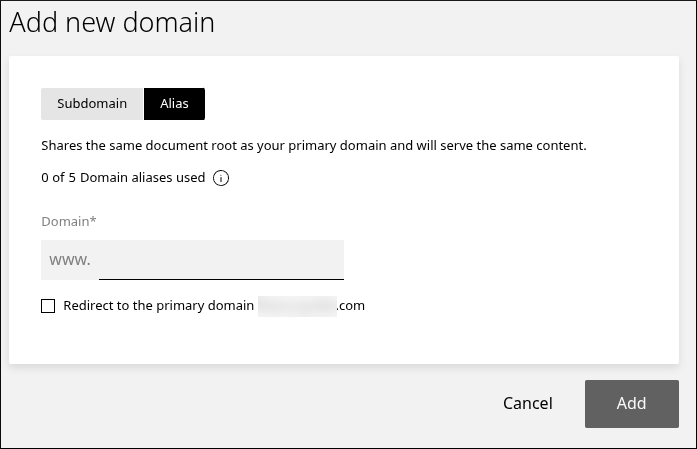
To add an alias, click Alias, specify the name, and then click Add. If you want the alias to redirect to the primary domain, select the Redirect to the primary domain check box:
-
To add a subdomain, specify the name and document root directory, and then click Add: