Changing the favicon in WordPress
Learn how to add a new favicon ("favorite icon") to WordPress sites to leave an impression and identify the site for your users. This article shows how to add a favicon in a few steps.
A favicon ("favorite icon") helps represent a website's identity. It is a small image that usually appears on a web browser tab next to the site’s URL, bookmark bar, or history. This article explains how to add a custom favicon to WordPress that leaves an icon mark for your site visitors.
Adding a favicon to a WordPress site
To add a favicon to a WordPress site, follow these steps:
-
Log in to your WordPress site with an administrator account.
-
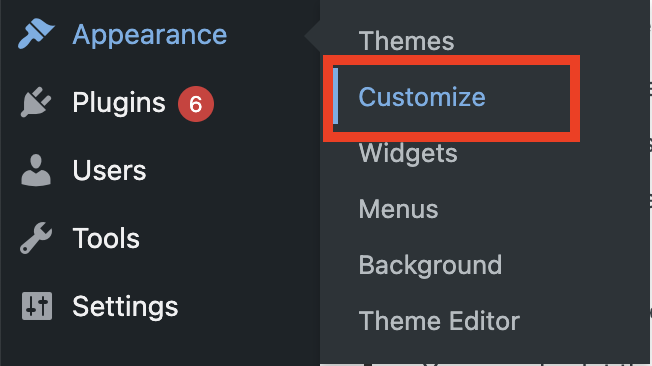
On the Dashboard in the left sidebar, click Appearance, and then click Customize:
-
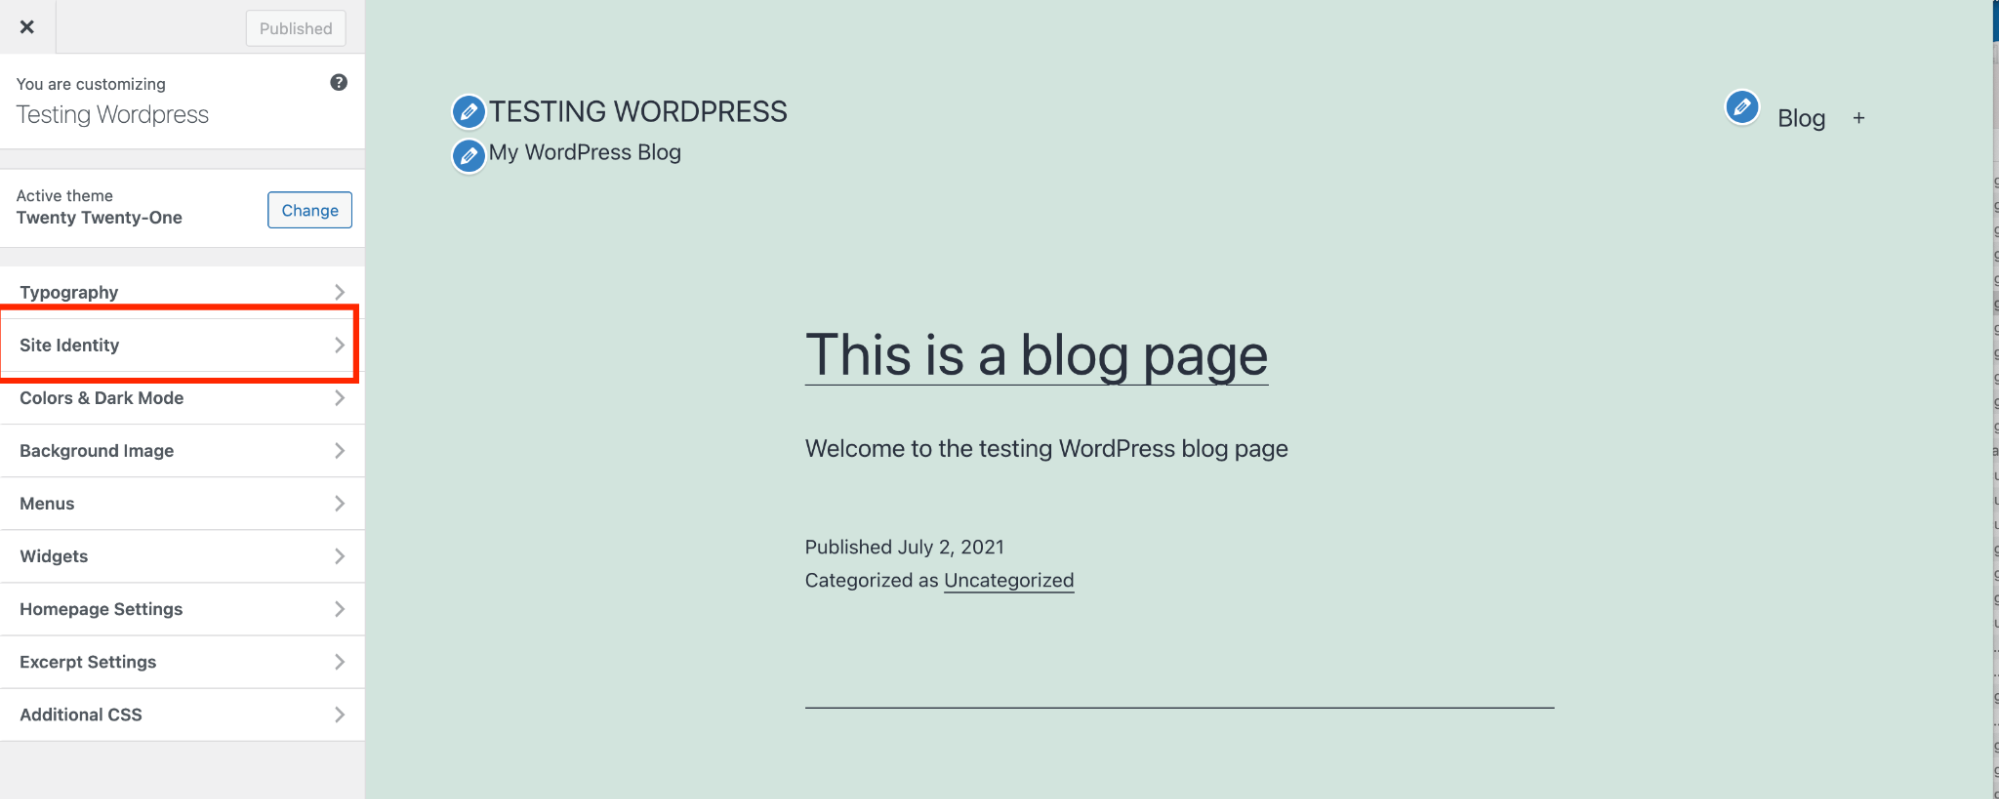
Click the Site Identity tab:
-
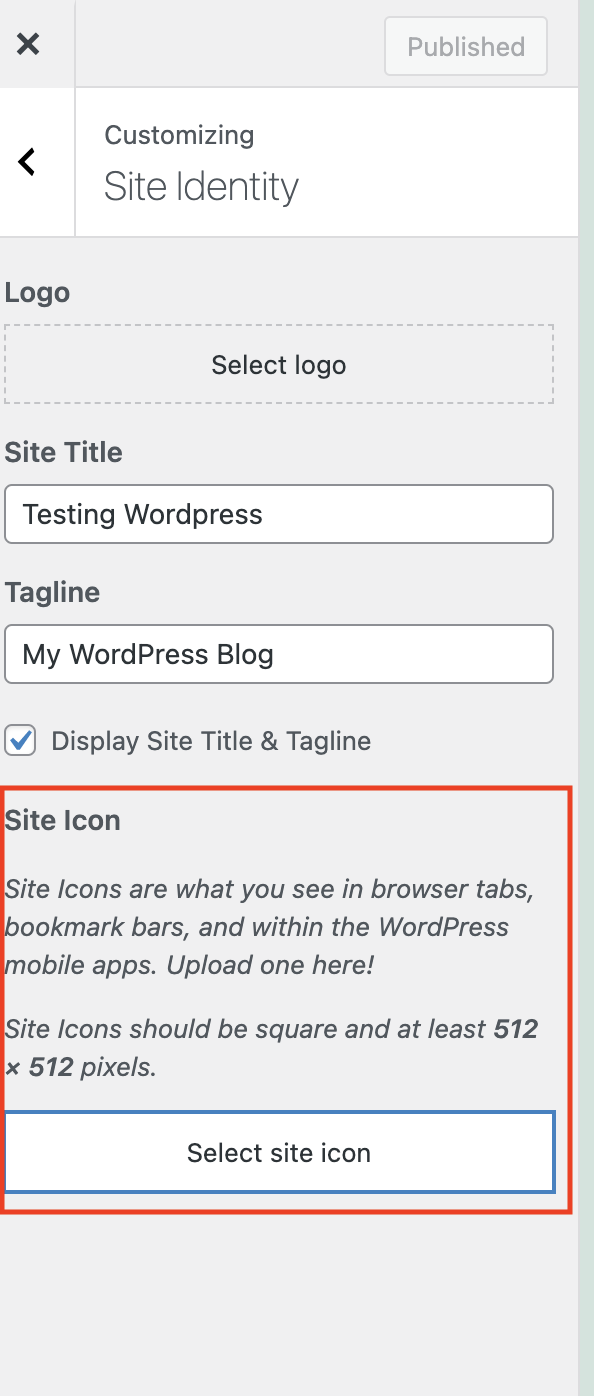
Under Site Icon, click Select site icon to upload the icon image:
-
Click Select Files, and then select the favicon file on your local computer.
-
Click Select.
-
If you want to crop the image, click Crop image. Otherwise, click Skip cropping.
-
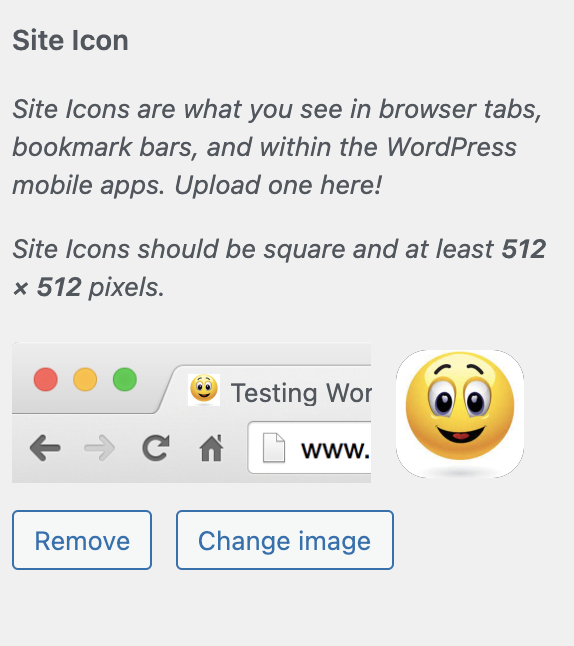
WordPress updates the favicon for your site with the new image file:
More information
For more information about favicon files, please visit https://en.wikipedia.org/wiki/Favicon.