Improving speed and performance in WordPress
A slow-loading WordPress website frequently frustrates site users and visitors, resulting in a higher bounce rate and fewer conversions. Learn how to improve WordPress site speed and performance using the Autoptimize plugin.
A slow-loading website frequently frustrates site users and visitors, resulting in a higher bounce rate and fewer conversions.This article will show you how to use the Autoptimize Plugin to improve the speed and performance of your WordPress -powered website. This plugin enables you to optimise the use of JS, CSS, HTML, and image files in order to provide a better experience to visitors.
What is Autoptimize Plugin?
The Autoptimize Plugin is a plugin that allows you to optimize your site using a simple user interface.Following are some of the features the plugin offers for site optimization:
-
Minify and cache scripts and styles
-
Injects CSS in the page head by default
-
Inline critical CSS
-
Defer the aggregated full CSS
-
Move and defer scripts to the footer
-
Minify HTML
-
Defer the aggregated full CSS
-
Optimize images
-
Optimize Google Fonts
-
Async non-aggregated JavaScript can be used.
Installing Autoptimize Plugin in WordPress
To install Autoptimize Plugin in WordPress, follow these steps:
-
Log in to WordPress as the administrator.
-
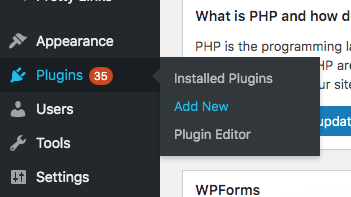
On the Dashboard in the left sidebar, click Plugins, and then click Add New:
-
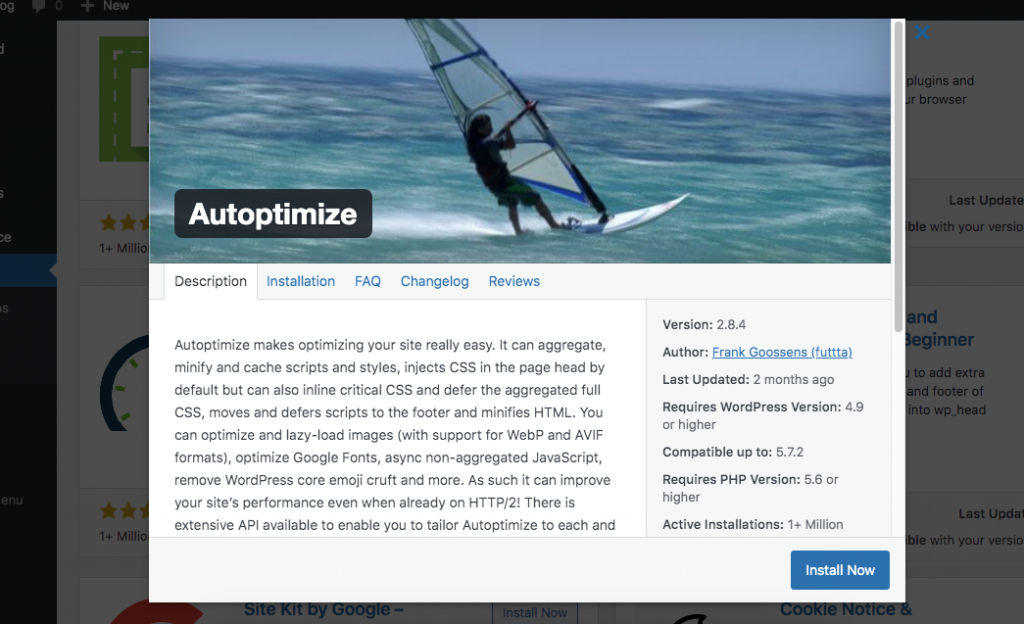
Search for "Autoptimize Plugin" click Install, and then click Activate the plugin:
-
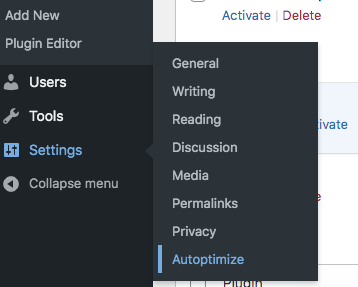
On the Dashboard in the left sidebar, click Settings, and then click Autoptimize:
-
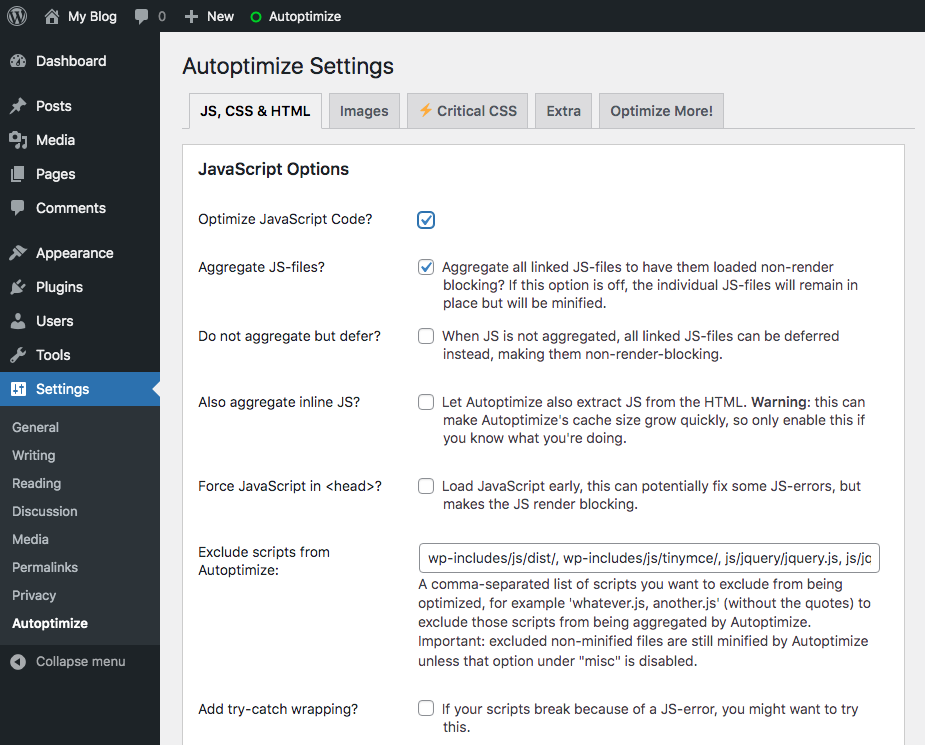
In the Autoptimize Settings page, configure the settings for JavaScript, CSS and HTML files optimization:
-
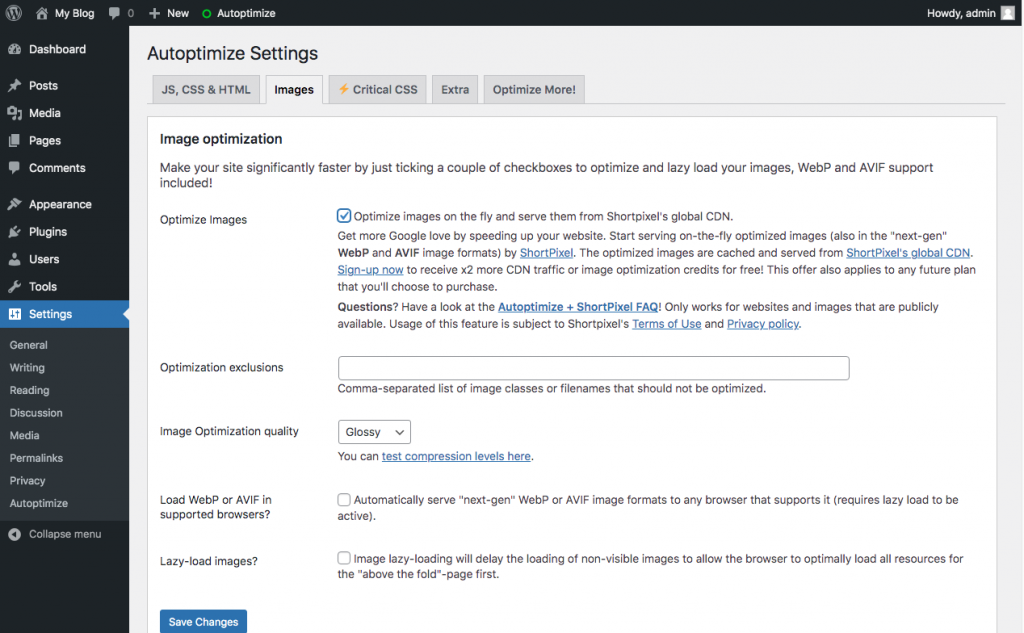
Click the Images tab and optimize the images, to improve your website's loading speed and performance:
More information
For more information about the Autoptimize Plugin, please visit https://wordpress.org/plugins/autoptimize/