Installing LoginPress Plugin for WordPress
To install and configure Easy Appointments Plugin, follow these steps:- Log in to your WordPress site with an administrator account.
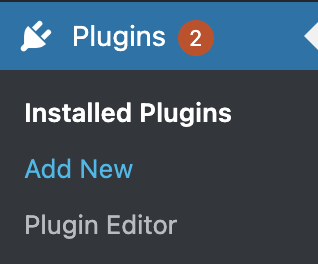
- On the Dashboard in the left sidebar, click Plugins, and then click Add New:\
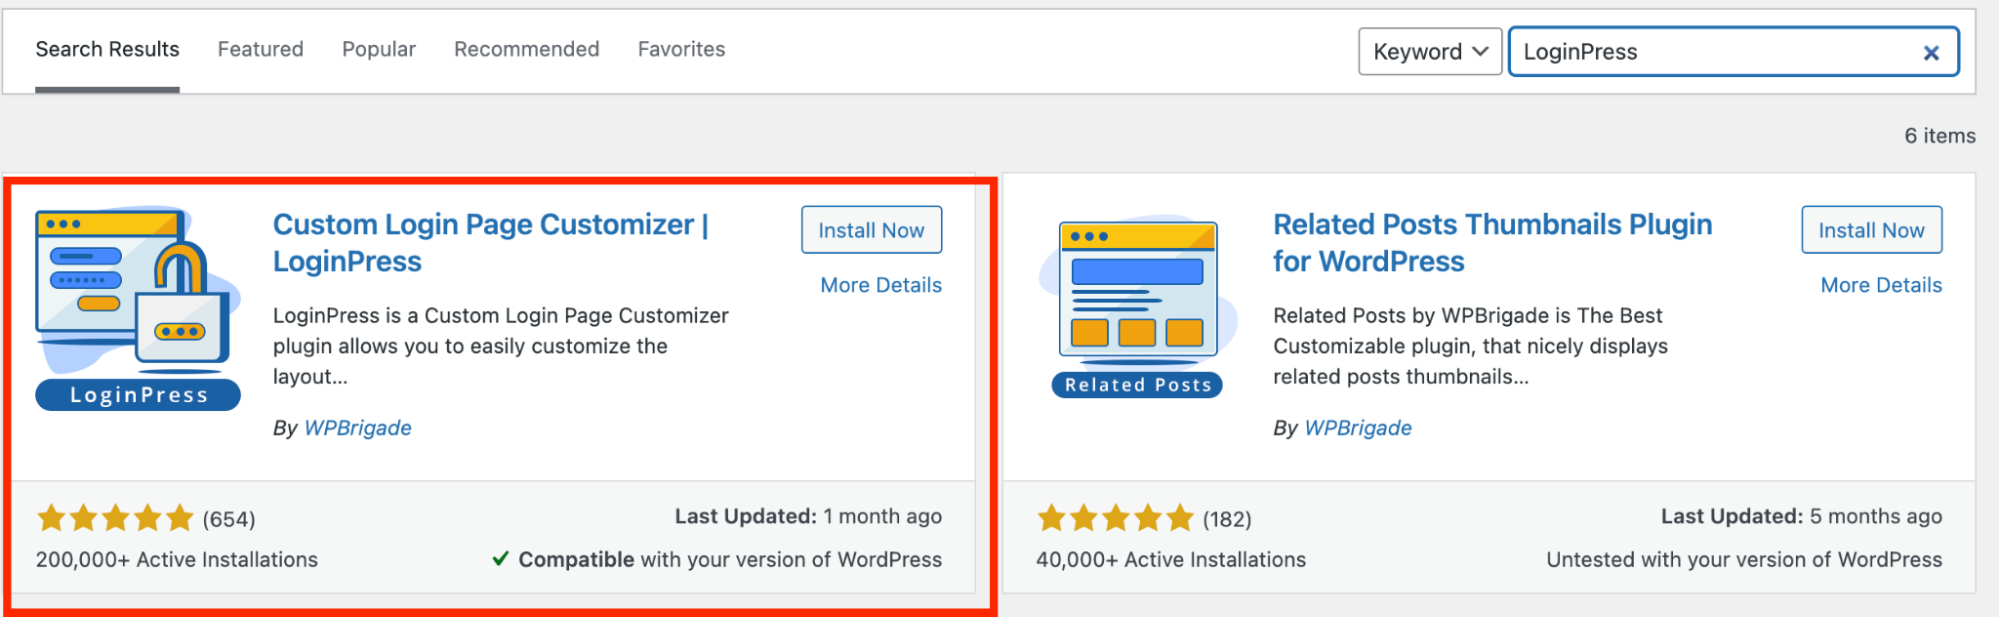
- Search for “LoginPress” click Install, and then click Activate the plugin:\
- On the Dashboard in the left sidebar, click Appearance, and then click on LoginPress:\
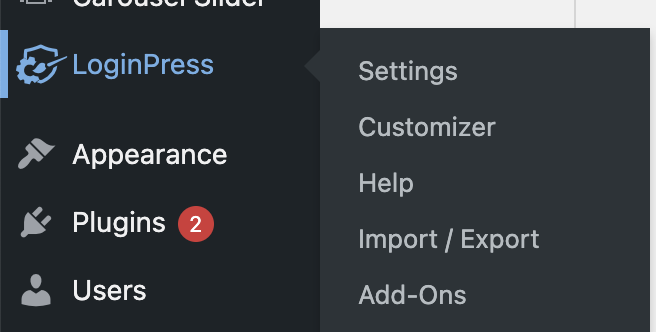
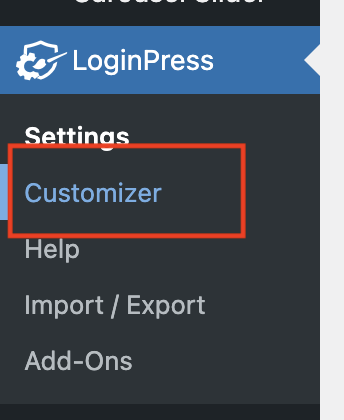
- On the LoginPress menu, click on Customizer, to customize the login page:\
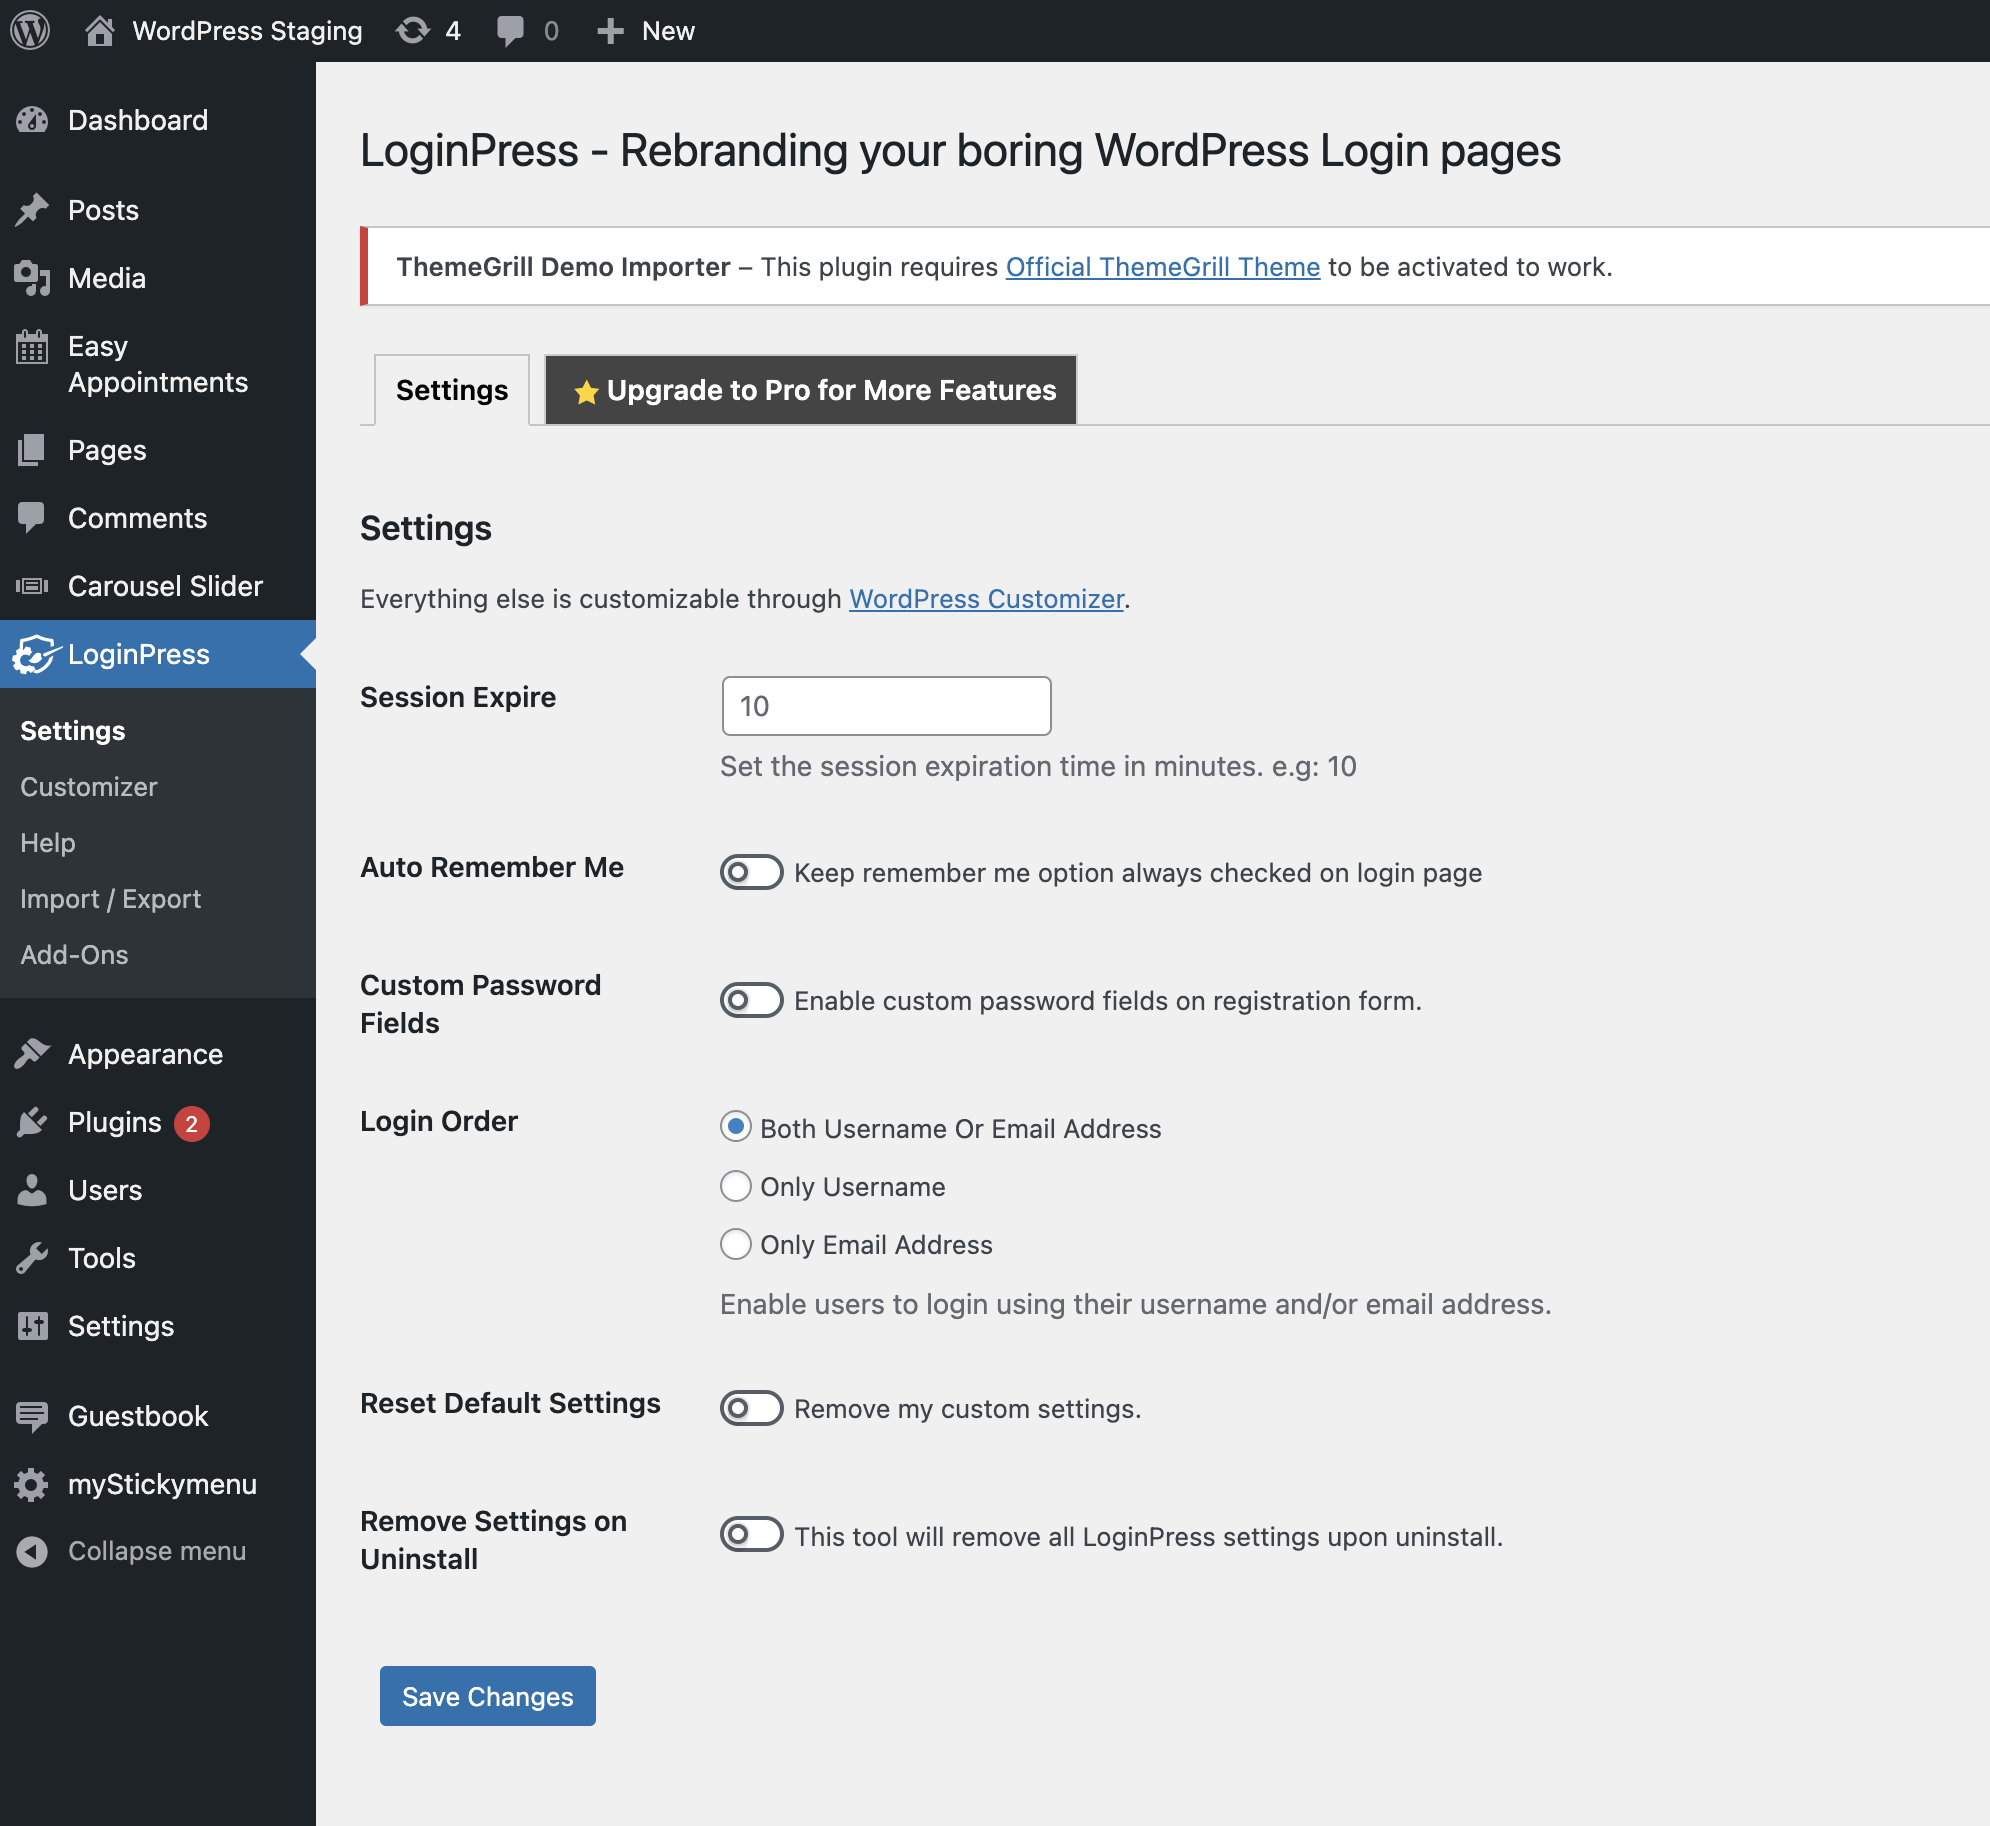
- Click on the individual options to change to change logos, background, reCAPTCHA, Error Messages, Welcome Messages and others:\
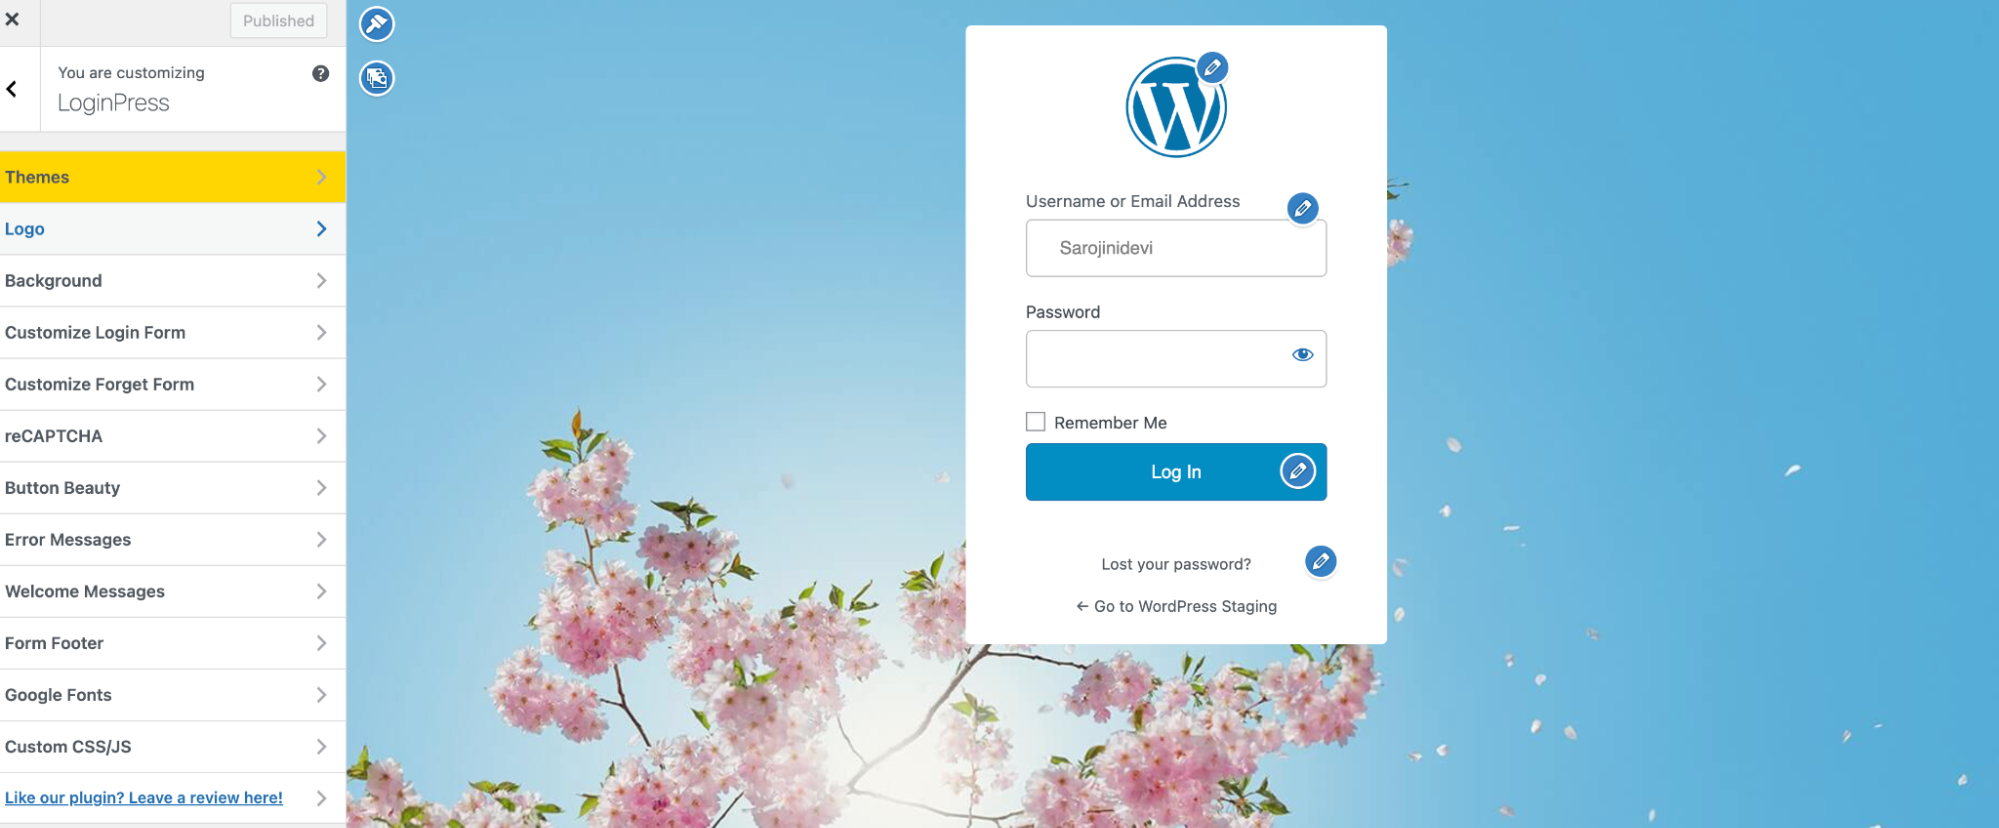
- Click on Logo to change the Logo on the Login form:

- Set the parameter for the Logo on the login page:\

- Click on Background, and then select the background image from the gallery:\
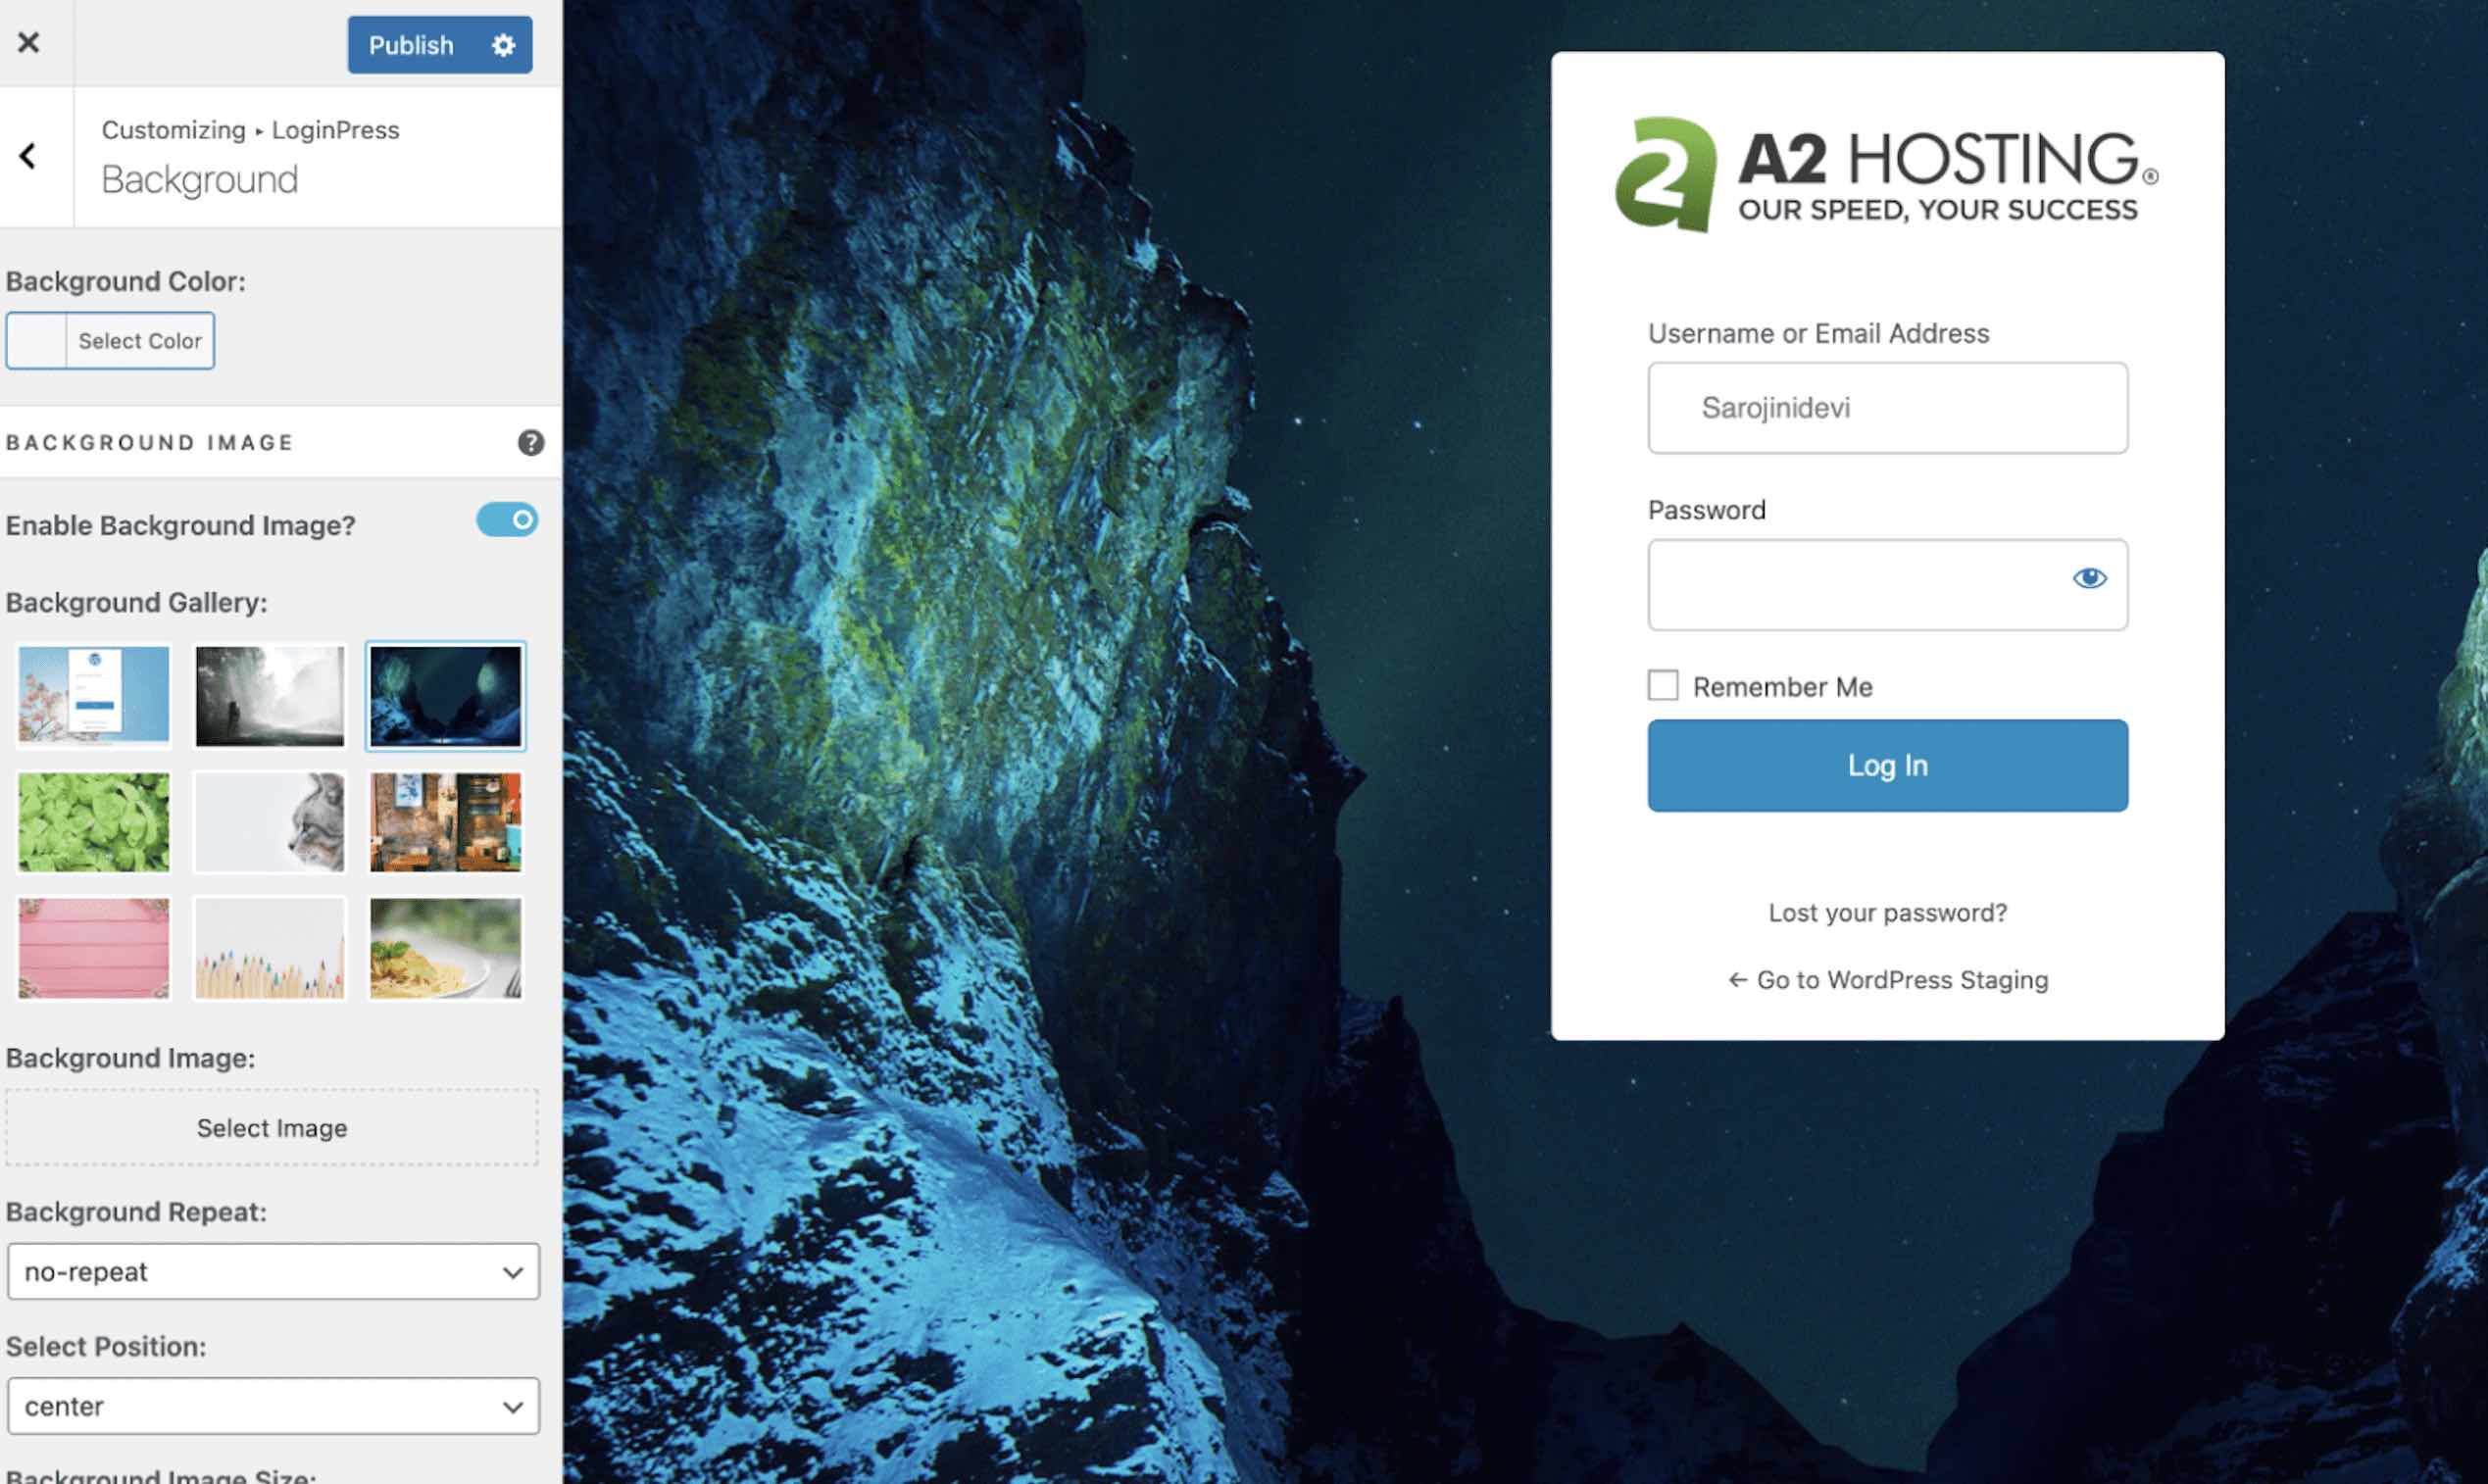
- Click on Publish to publish the page.
More information
For more information about the LoginPress plugin please visit:https://wordpress.org/plugins/loginpress/