.jpg?fit=max&auto=format&n=E2LlsT5gBITvo732&q=85&s=ec11e1673894bdf46663a5d73602eb87)
Activating Cloudflare
To activate Cloudflare for your web site, follow these steps:- Go to https://www.cloudflare.com, and then click Sign Up. A new page appears:\
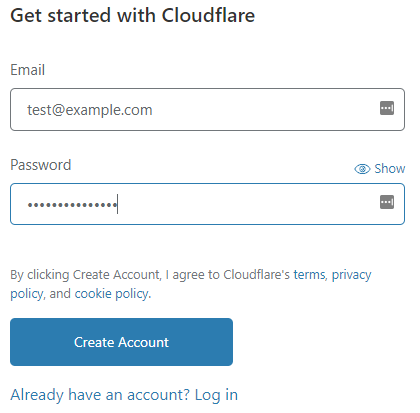
- In the Email text box, type an e-mail address.
- In the Password text box, type a password.
- Click Create Account to continue.
📘 Note If you already have a Cloudflare account, you do not need to follow this step. Log in to Cloudflare with your existing account instead.
- The Welcome to Cloudflare page appears. At the top of the page, click Add site.
- in the Enter your site text box, type the domain to be proxied by Cloudflare, and then click Add site.
- Select a plan, and then click Continue. Cloudflare scans the domain’s DNS records.
👍 Tip If you are unsure which plan to use, start with the Free plan.
- Review the DNS settings and make sure they are correct. Make any necessary changes, and then click Continue.
- The next page displays the Cloudflare nameservers to use for your domain. Make a note of the nameservers.
- Change the domain’s nameservers at the registrar to the nameservers provided by Cloudflare in step 6.
📘 Note The exact procedure to do this depends on the registrar for your domain:
- If you registered your domain with hosting.com, please see this article.
- If you registered your domain with GoDaddy, please see this article.
- If you registered your domain with OpenSRS, please see this article.
- Cloudflare is active once the nameserver changes have propagated. This usually takes 24 hours or less.
🚧 Important Use the Cloudflare site to manage all of the Cloudflare settings for your account. For information about how to do this, please visit https://support.cloudflare.com.