Using a plugin to optimize WordPress database
Learn how to optimize your WordPress database using a simple plugin. This article shows you how to create a install and configure Optimize Database after Deleting Revisions plugin to optimise WordPress databases.
The Optimize Database after Deleting Revisions plugin will tidy up your WordPress databases by deleting unwanted data with one click.This will reduce your database size thereby increasing the performance of your website. This guide describes how to install the Optimize Database after Deleting Revisions plugin for your WordPress website.
Installing and configuring the Optimize Database after Deleting Revisions plugin
To add Optimize Database after Deleting Revisions Plugin in your WordPress website, follow these steps:
-
Log in to WordPress as the administrator.
-
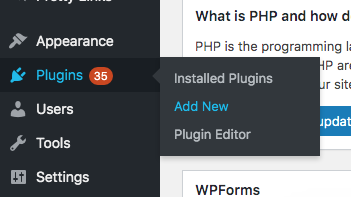
On the Dashboard in the left sidebar, click Plugins, and then click Add New:
-
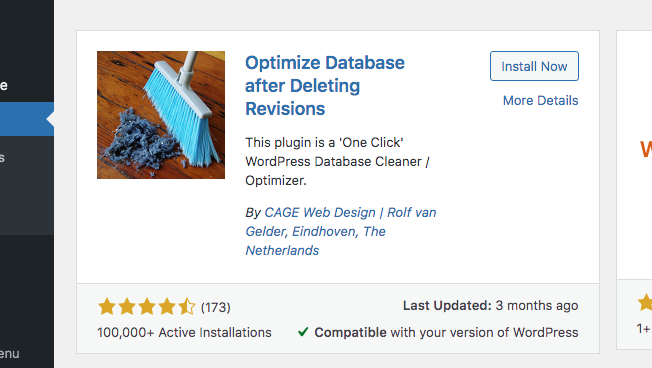
Search for "optimize database"" and, you will see a display of available plugins on your screen.
-
Install and Activate the Optimize Database after Deleting Revisions Plugin:
-
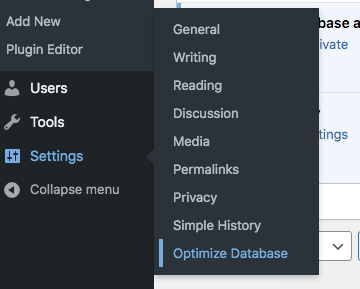
On the Dashboard in the left sidebar, click on Settings, then click on Optimize Database:
-
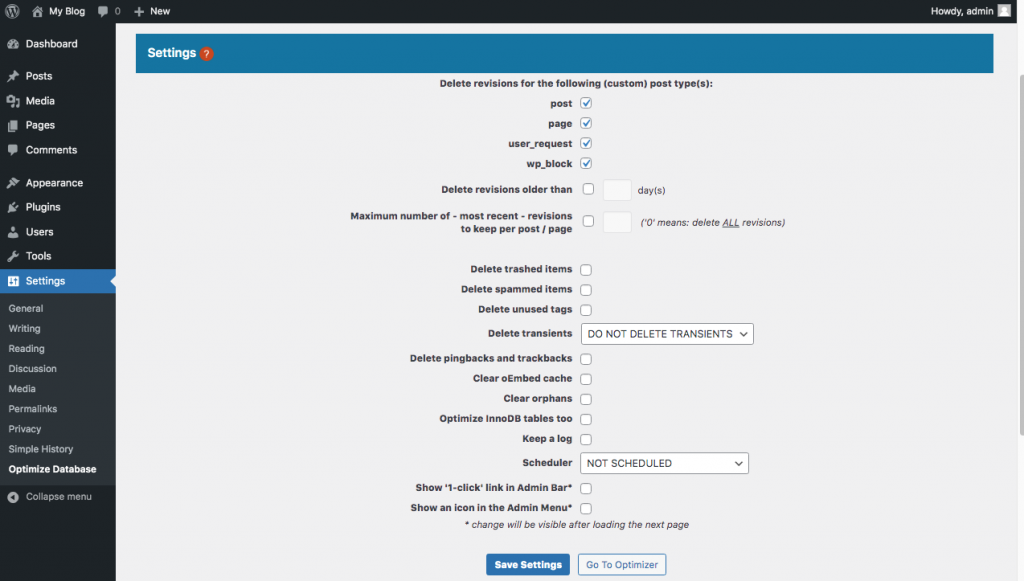
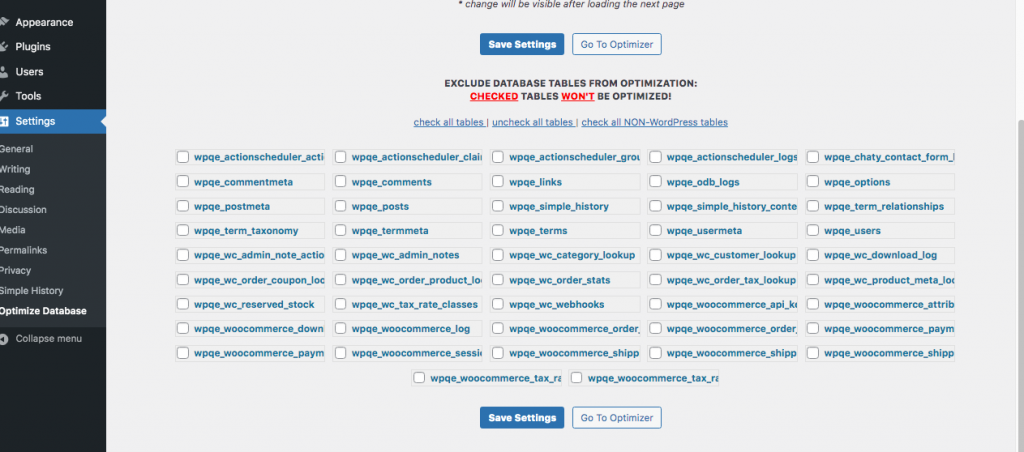
Configure the Delete Revisions for the post types, and exclude database tables from optimization. Click Save Settings:
-
To add the Optimise Database on the on the admin bar tick the "Show '1-click' link in Admin Bar" checkbox and save the settings:

-
The Optimize Database link is displayed on the top menu bar. Click on the link to optmize your WordPress database:

More information
For more information about the Optimize Database after Deleting Revisions Plugin, please visit https://wordpress.org/plugins/rvg-optimize-database/