Adding custom CSS file to your WordPress site
Learn how to add custom CSS file in WordPress theme.
You may want to customize your WordPress theme with custom styling attributes, which can be easily accomplished with the help of a custom style-sheet (CSS). This article will demonstrate how to include your own custom CSS file in your WordPress theme.
Adding custom CSS in WordPress
To add custom CSS in WordPress, follow these steps:
-
Log in to WordPress as the administrator.
-
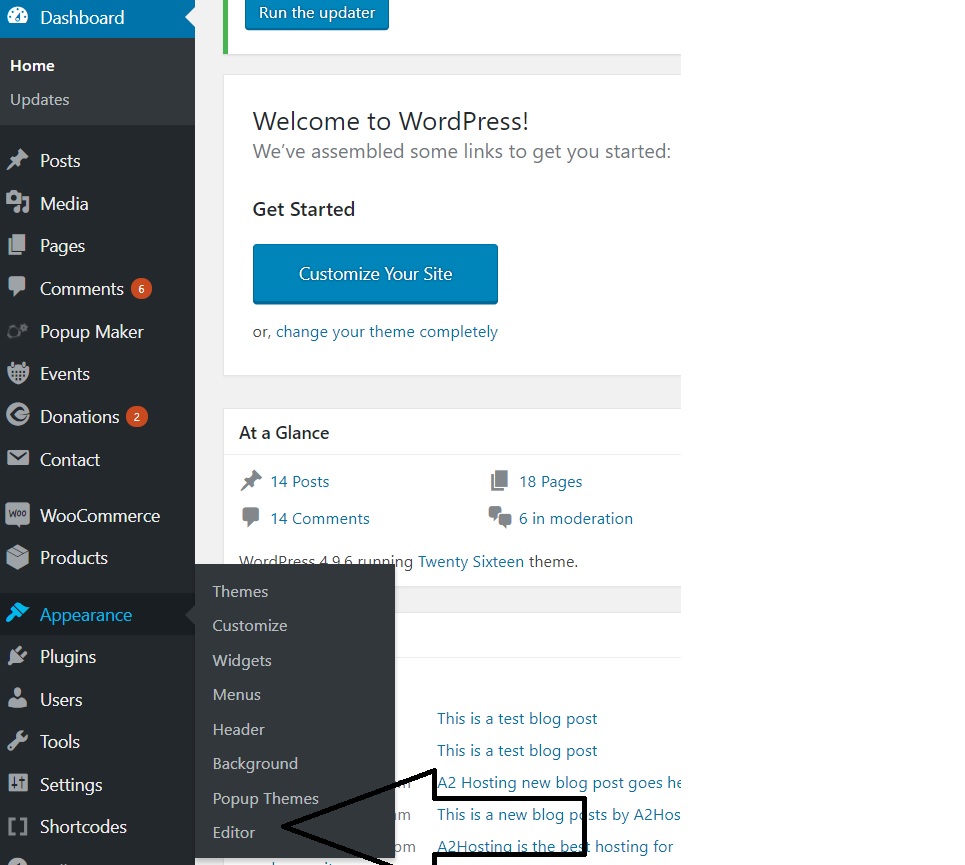
On the Dashboard in the left sidebar, click Appearance, and then click Editor:
-
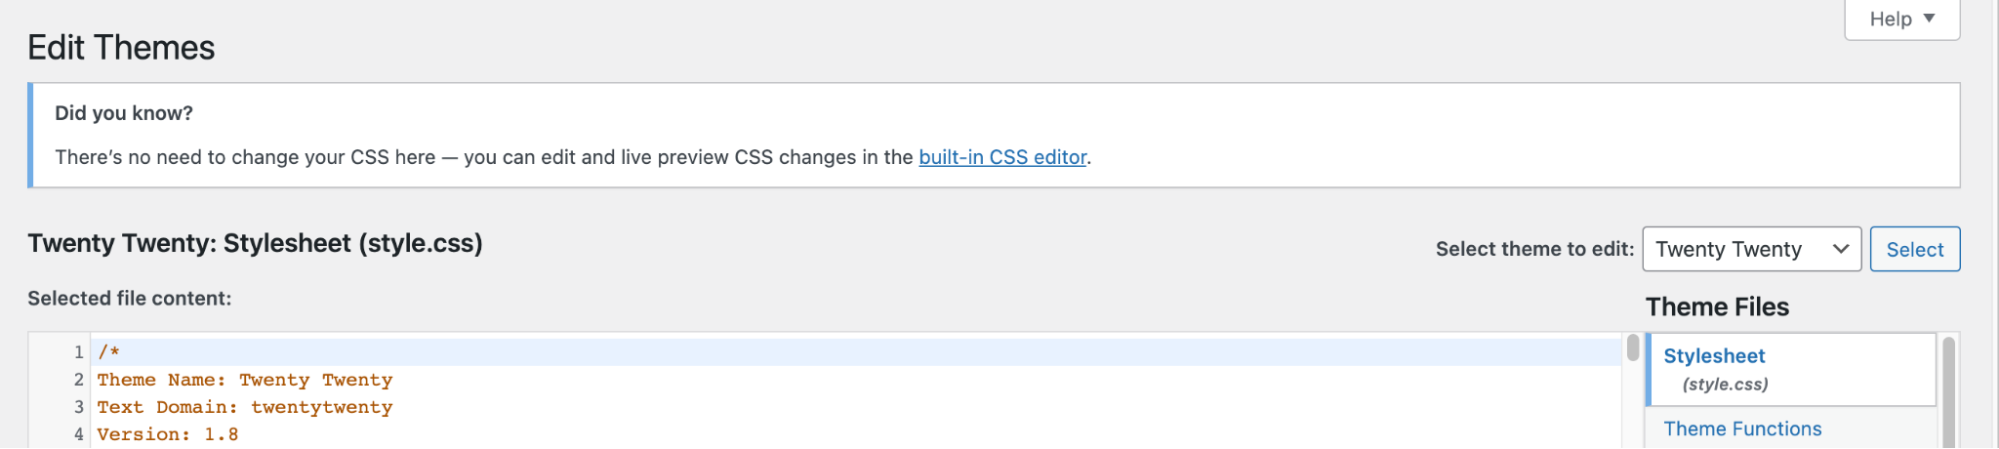
On the Theme Editor, select the Theme you want to edit from the dropdown:
-
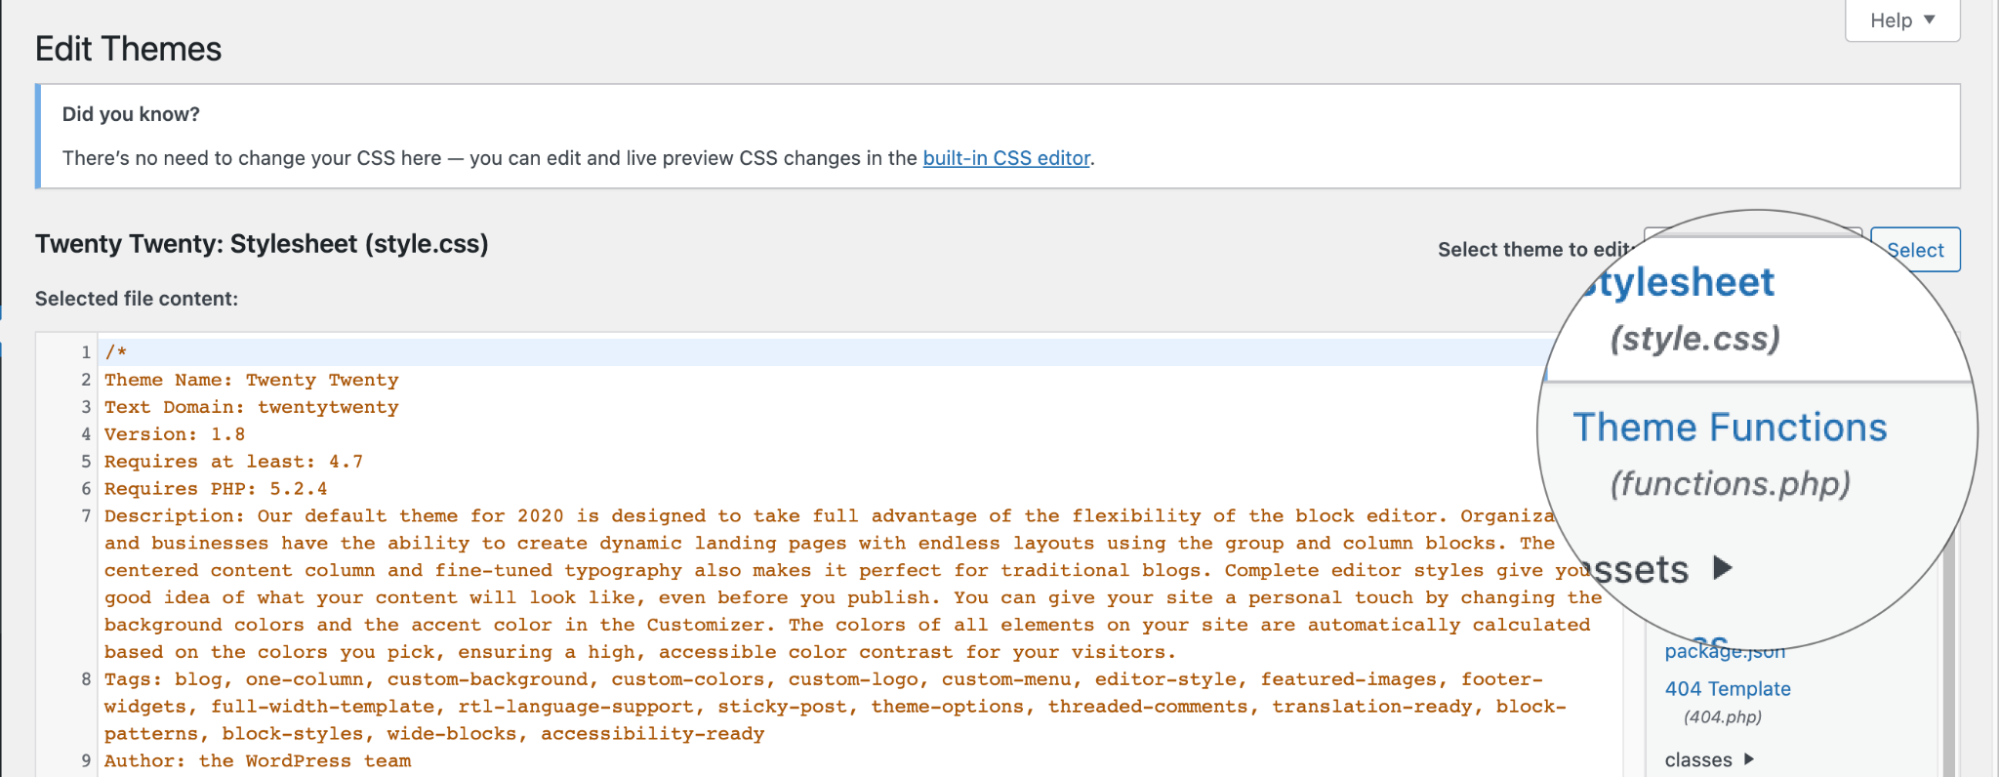
The files for this selected theme are listed on the right column under Theme Files. Click on the file named "functions.php":
-
Insert the following code to the end of functions.php file and click Update File Button to save the changes:
function custom_style_sheet() {

wp_enqueue_style( 'custom-styling', get_stylesheet_directory_uri(). '/Your_custom_css_file_goes_here.css' );

}

add_action('wp_enqueue_scripts', 'custom_style_sheet');
Note
In this case, "Your_custom_css_file_goes_here.css" is the name of your stylesheet.
Make sure your "Your_custom_css_file_goes_here.css" file is located on the same directory that of main css file.
Once you save changes, your theme will start reading this custom css file.