Customizing PHP settings for WordPress using the Custom PHP Settings plugin
This article shows how to modify PHP settings for WordPress using the Custom PHP Settings plugin.
Learn how to change the current PHP settings from the Settings page in WordPress without an external editor. This article shows you how to install the Custom PHP Settings plugin and directly modify configuration files from the WordPress dashboard.
What is the PHP Settings plugin?
The PHP Settings plugin allows you to customize PHP settings for WordPress without using an external editor. The plugin allows you to make edits to the PHP file and modify either the .htaccess file or .user.ini file directly from the settings page. Additionally, this plugin requires the configuration file in a write mode to show the effect of any changes made through the plugin.
Installing and configuring the Custom PHP Settings plugin
To install the Custom PHP Settings plugin, follow these steps:
-
Log in to your WordPress site with an administrator account.
-
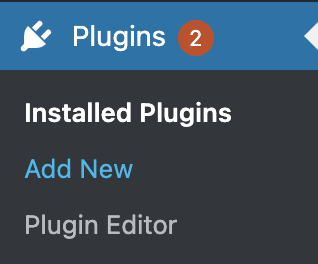
On the Dashboard in the left sidebar, click Plugins, and then click Add New:
-
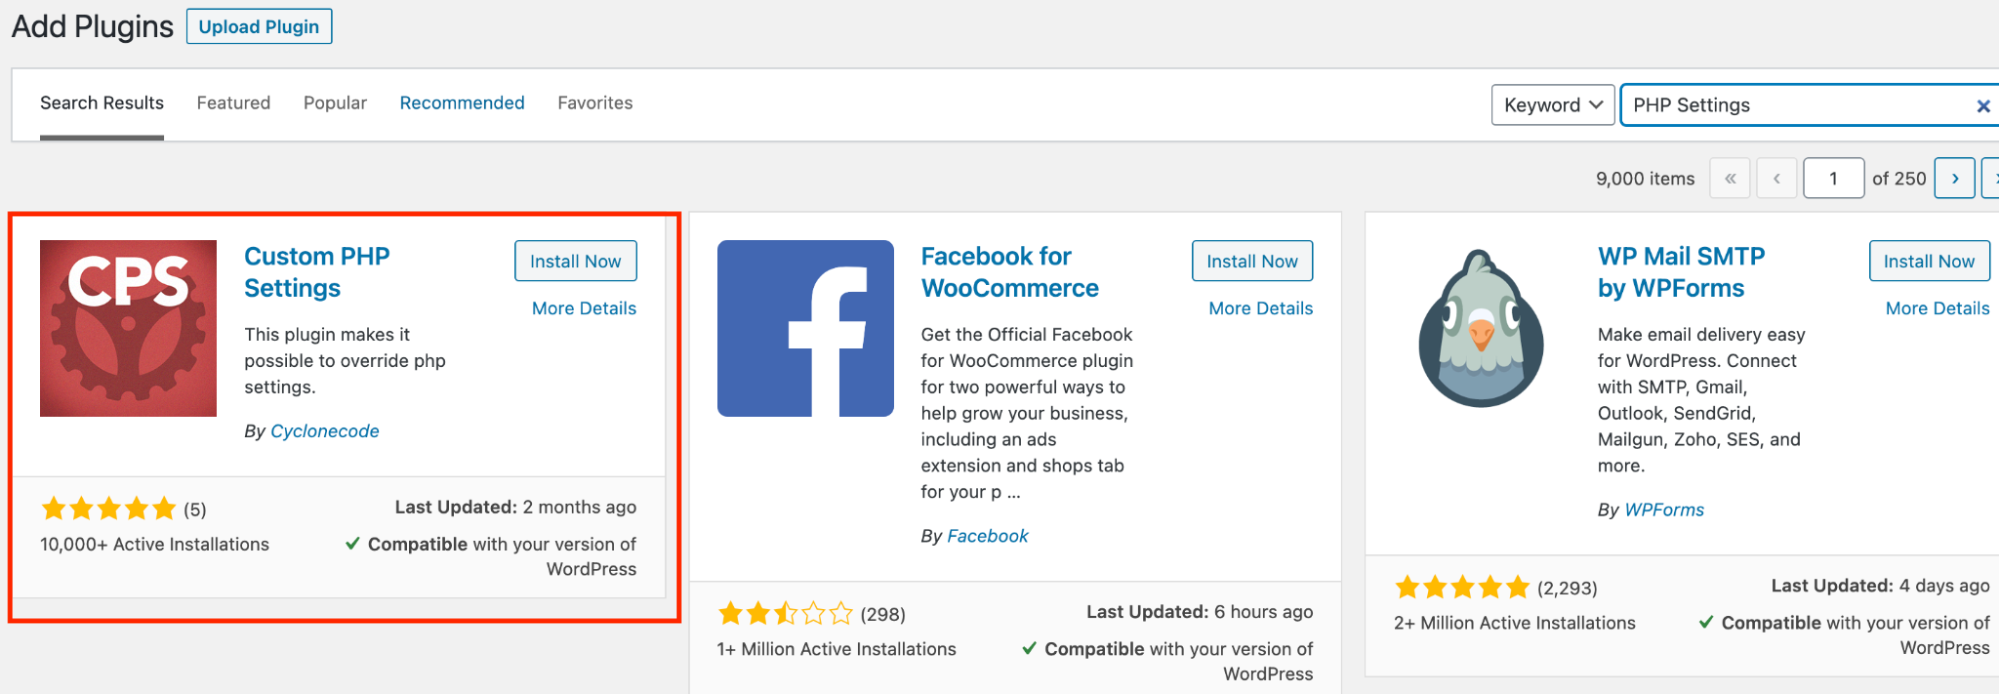
Search for the Custom PHP Settings plugin:
-
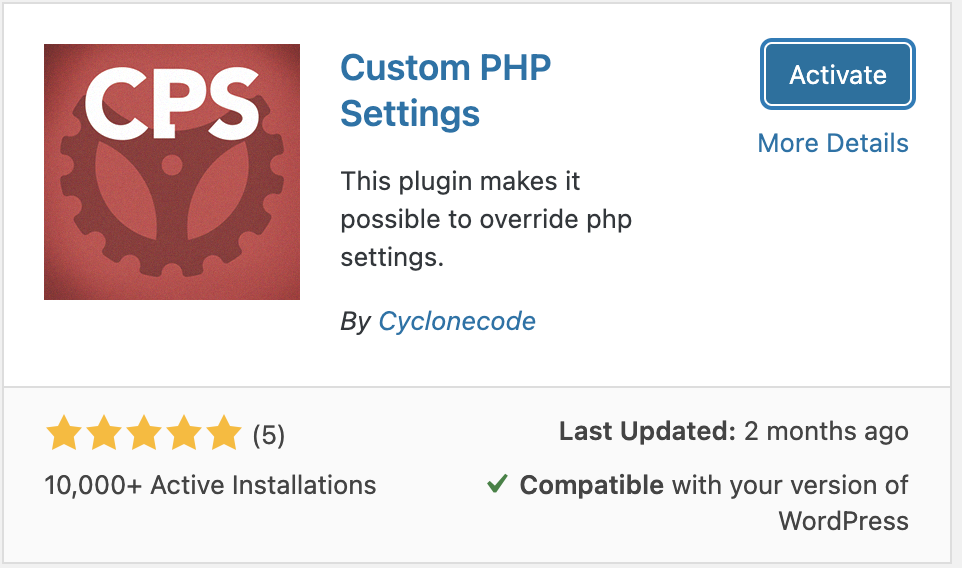
Click Install Now, and then click Activate:
-
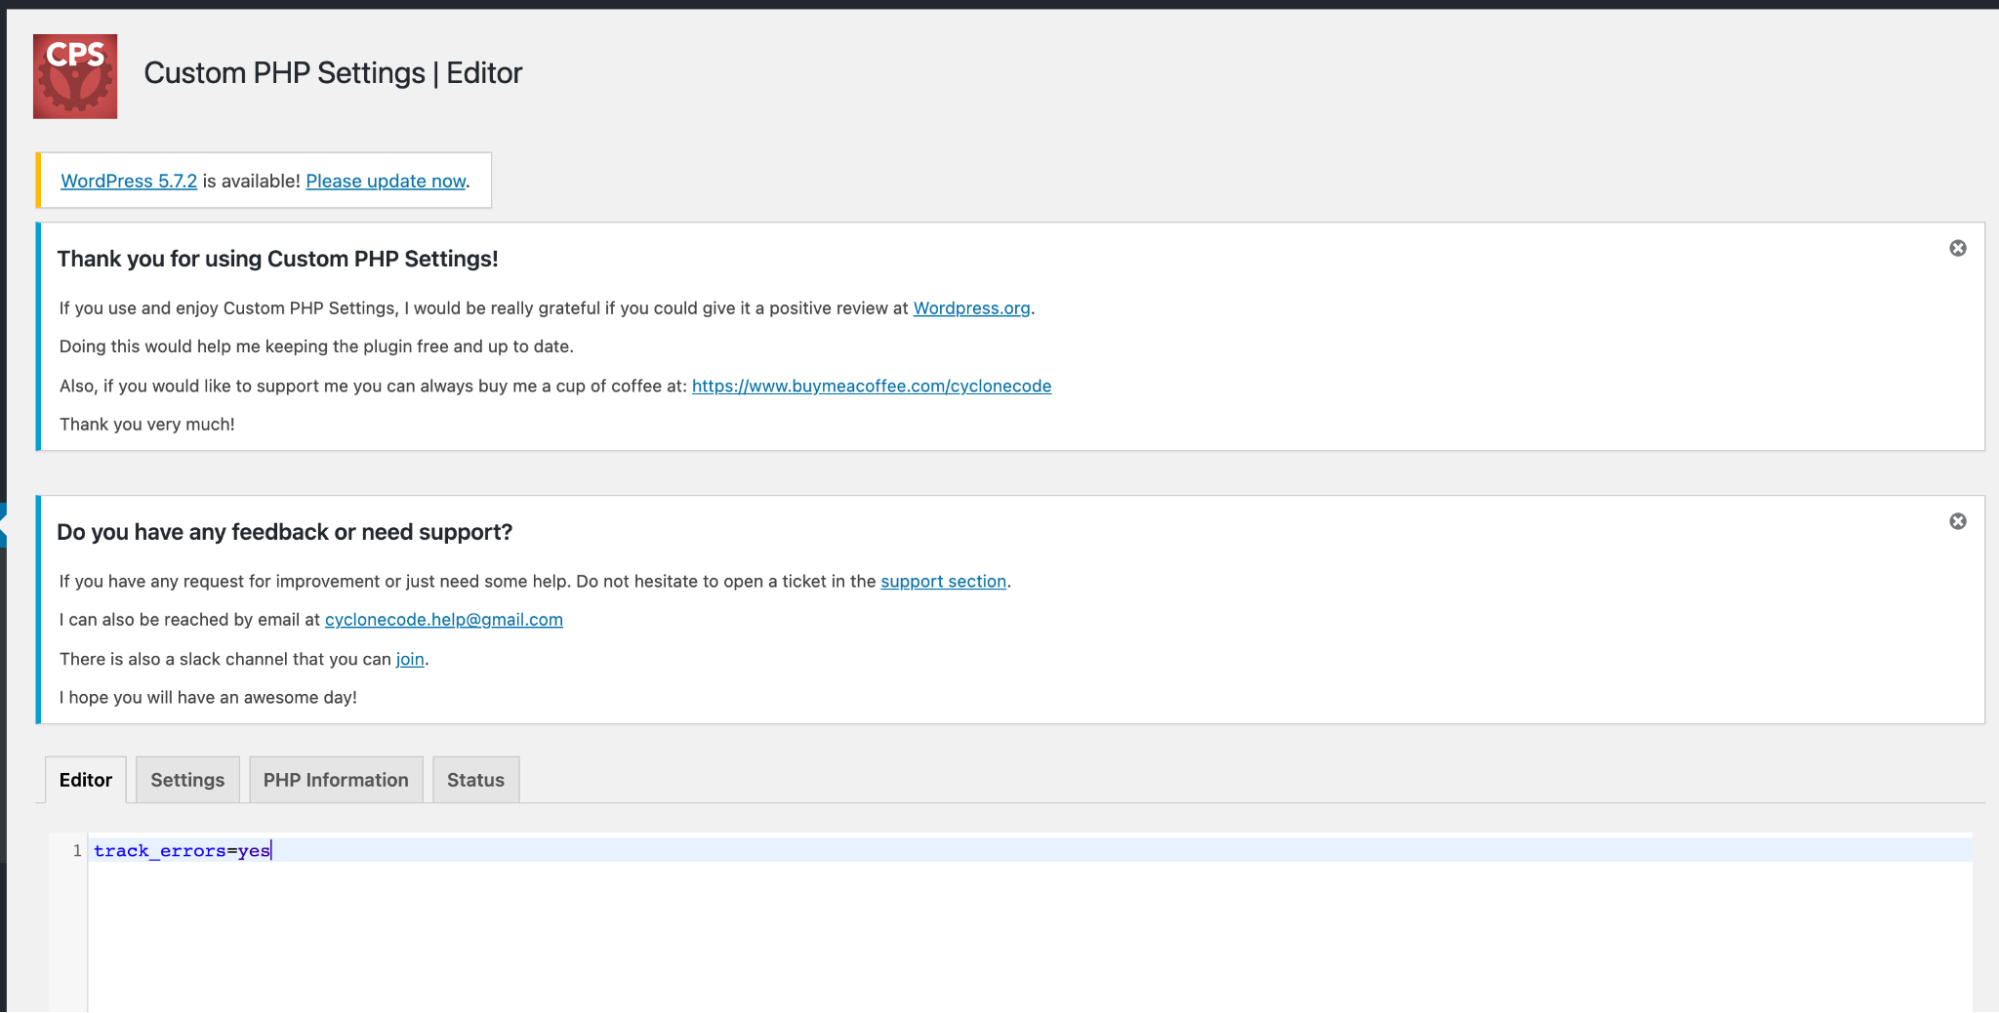
On the Dashboard, in the left sidebar, click Tools, and then click Custom PHP Settings:

-
The plugin page has four tabs. Click the Editor tab to add a new configuration setting for the PHP settings, and then click Save Settings:
-
Click the Settings tab to view the current PHP settings for your WordPress installation:
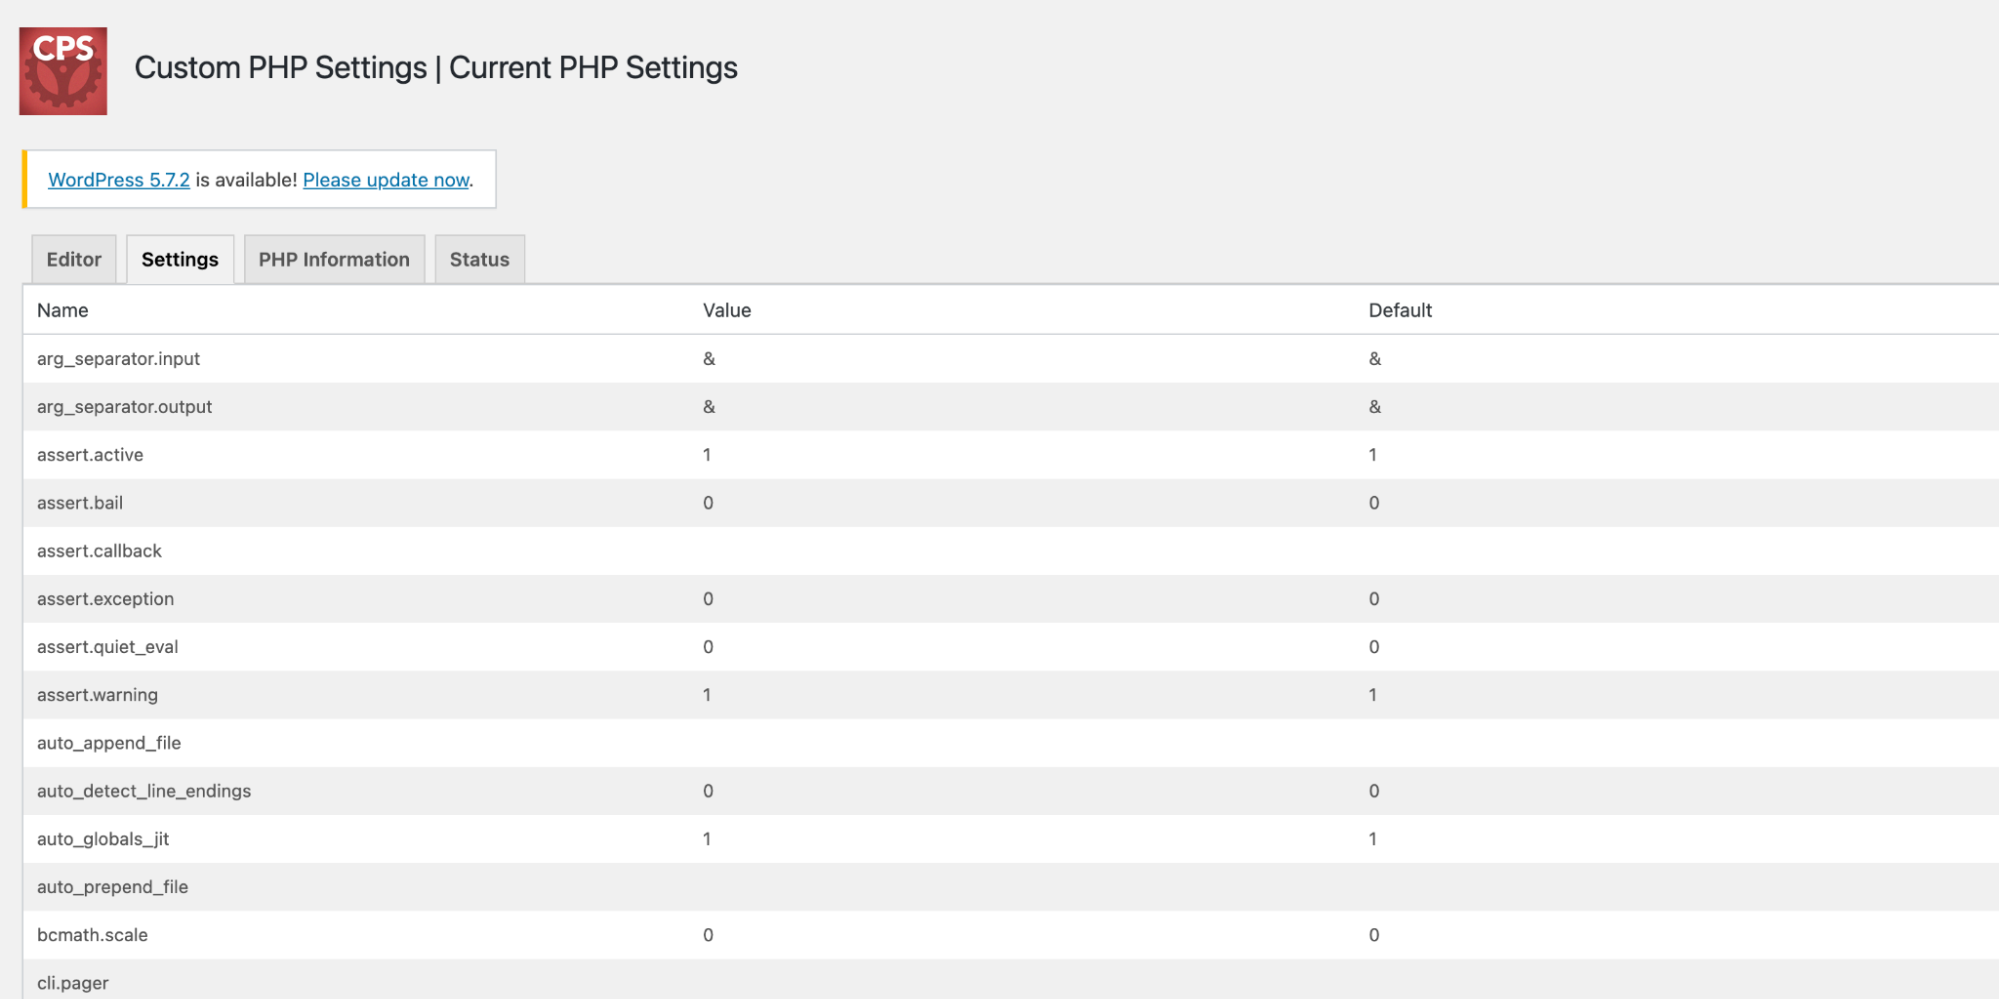
-
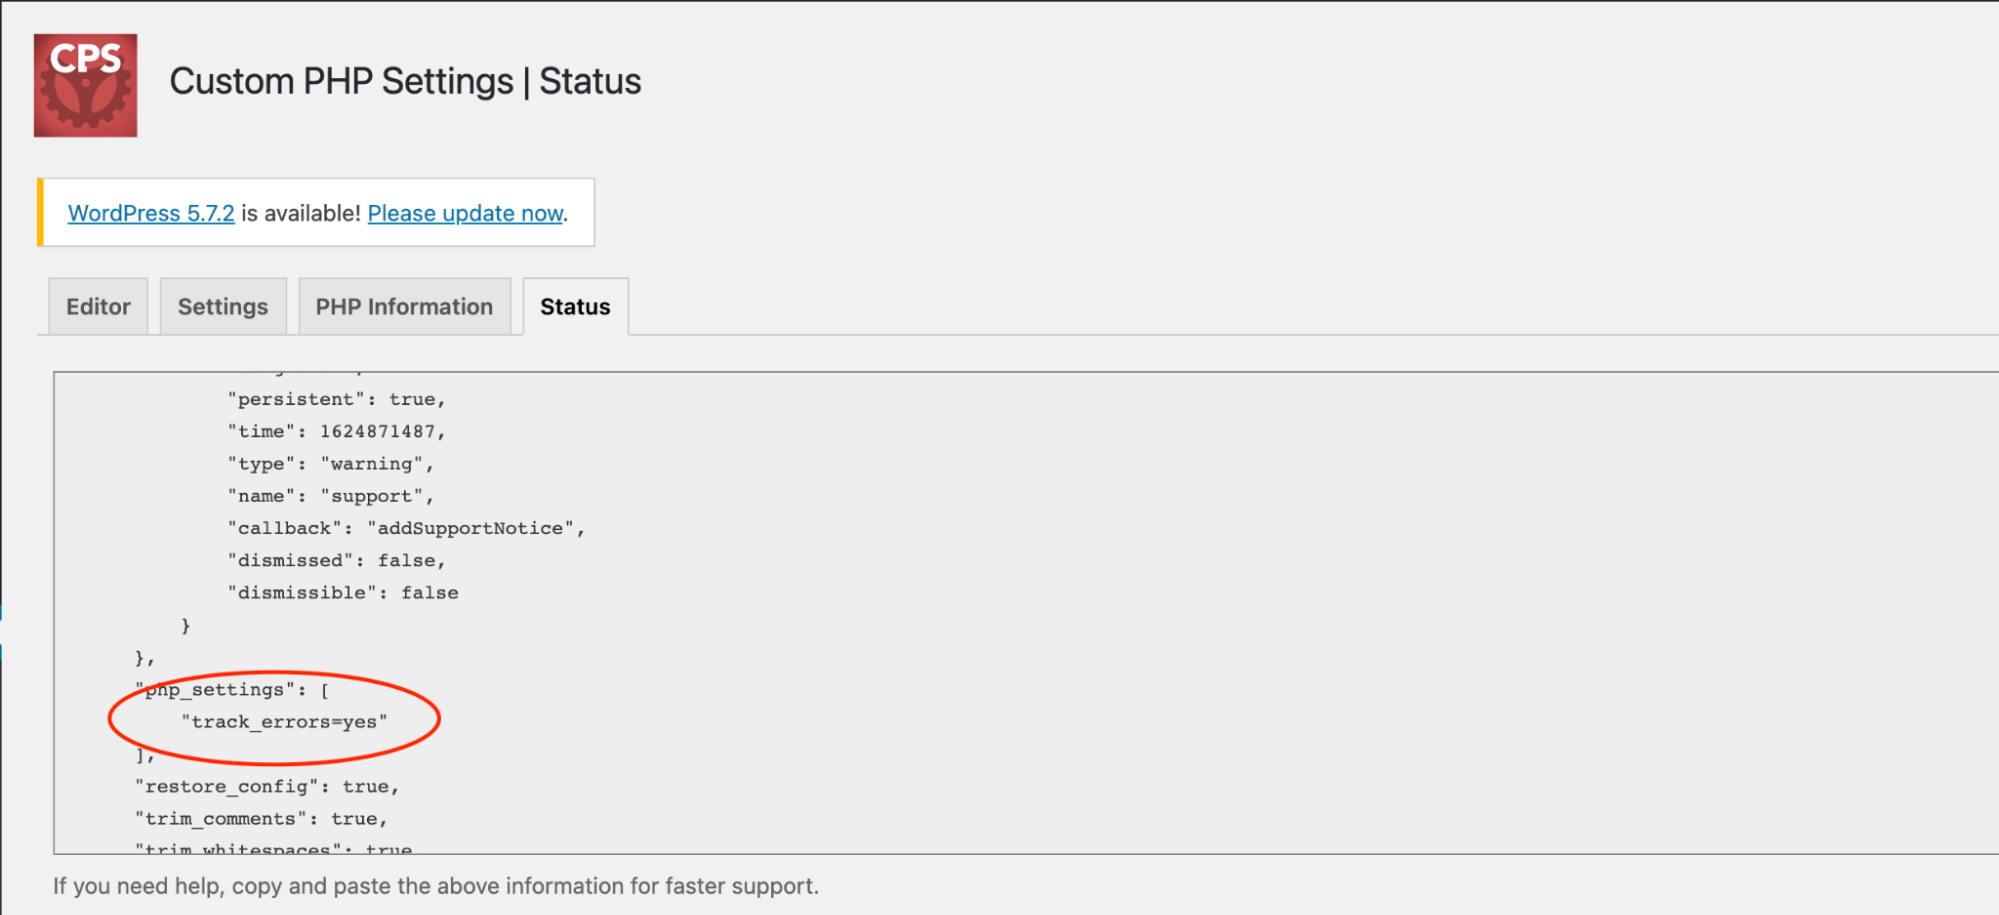
Click the Status tab to view the configuration settings changes:
More information
For more information about the Custom PHP Settings plugin, please visit https://wordpress.org/plugins/custom-php-settings.