This article describes how to migrate data from another web hosting provider to your hosting.com account. When you migrate from another hosting provider, we recommend that you leave plenty of overlap time (no less than 7 days) between opening your hosting.com account and closing your previous account. Doing so helps ensure that your web site’s downtime is minimal during migration.
Our migrations are processed in the order in which they are received. We take great pride in providing fast migrations. However, several factors, such as the current host’s network speed, the number of sites being migrated, and migration complexity can all influence the migration speed. Our Migrations team will keep you informed of your migration’s progress.
cPanel migration
If your current web hosting provider uses cPanel, we can migrate your existing site for you by doing an account transfer. Account transfers are available for the following types of accounts:
-
Shared hosting accounts.
-
Reseller hosting accounts.
-
Managed WordPress hosting accounts.
📘 Note
WordPress sites are included with migrations to Managed WordPress hosting accounts. Your WordPress sites appear automatically in cPanel’s WP Toolkit for quick and easy site management.
-
Managed VPS accounts.
-
Managed Dedicated Server accounts.
ImportantWe strongly recommend that you do not cancel your old hosting account until you have changed your DNS settings and thoroughly tested your new hosting.com account to make sure the migration has been completed to your satisfaction.
-
If you have not already done so, sign up for your hosting.com account.
🚧 Important
We recommend you provide an e-mail address that does not belong to the domain that you want to migrate. This minimizes the possibility of messages getting lost during the migration.
-
Log in to the Hosting Panel at https://my.hosting.com.
-
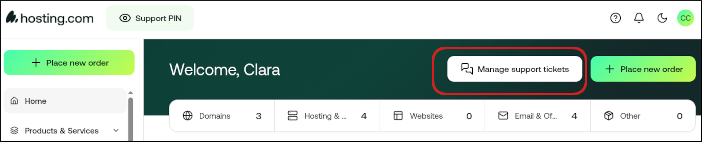
On the home page, click Manage support tickets:
-
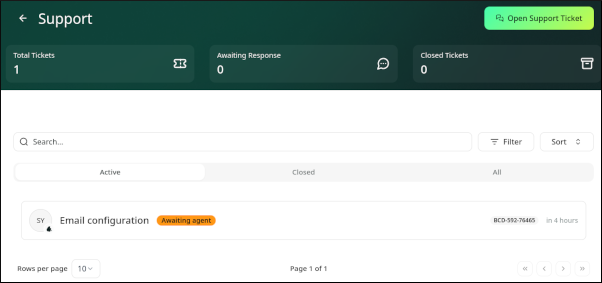
The Support page appears:
-
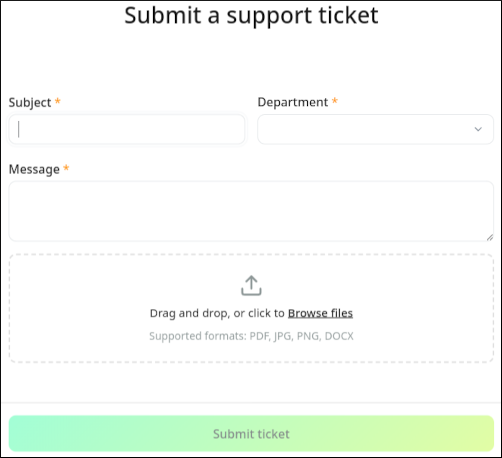
Click Open Support Ticket, and then in the Submit a support ticket section, complete the following information:
- In the Subject text box, type Site migration request.
- In the Department list box, select Migrations.
- In the Message text box, please specify the following:
- Destination product or service for the migration.
- The domain(s) for the migration.
- Any SSL certificates you may have.
- Access methods for your account, including any cPanel, FTP, or SSH connection details.
- Any other special directions or information you want us to know about your account.
-
Click Submit ticket. We will notify you when the account transfer is complete.
-
Test your web site on the hosting.com server before you change the domain’s name server settings. To do this, you can use a custom hosts file. For more information about how to do this, please see this article.
-
Change your domain’s name server settings to use hosting.com name servers. For more information about how to do this, please see this article.
-
Wait 24 hours for DNS propagation to complete.
-
After you verify that the web site on the hosting.com server is accessible and working correctly, you can cancel your account with the other hosting provider.
Manual migration
If your current hosting provider does not support cPanel, you can migrate your data manually. To do this, follow these steps:
-
If you have not already done so, sign up for your hosting.com account.
🚧 Important
When you sign up with hosting.com, we recommend you provide an e-mail address that does not belong to the domain that you want to migrate. This minimizes the possibility of messages getting lost during the migration.
-
Migrate your files, e-mail accounts, and databases to your hosting.com account:
-
Your web site files should go in the public_html directory of your hosting.com account. For information about how to use FTP to transfer files, please see this article.
-
For information about how to migrate e-mail accounts and data to your hosting.com account, please see this article.
-
For information about how to export and import MySQL databases, please see this article.
-
For information about how to export and import PostgreSQL databases, please see this article.
-
Test your web site on the hosting.com server before you change the domain’s name server settings. To do this, you can use the shared URL for your account provided in the hosting.com Hosting Panel at https://my.hosting.com, or you can use a custom hosts file. For more information about how to do this, please see this article.
-
Change your domain’s name server settings to use hosting.com name servers. For more information about how to do this, please see this article.
-
Wait 24 hours for DNS propagation to complete.
-
After you verify that the web site on the hosting.com server is accessible and working correctly, you can cancel your account with the other hosting provider.
Related articles