About the LiteSpeed Cache crawler
Using the crawler, you can ensure that LiteSpeed Cache has up-to-date versions of your pages in its cache ready to serve immediately to visitors. Without the crawler enabled, pages may take significantly longer to load, even though you are using a caching plugin. This is because after a page expires in the cache, the next visitor to the page must wait for LiteSpeed Cache to generate a fresh copy for the cache.Enabling the LiteSpeed Cache crawler
To enable the LiteSpeed Cache crawler for your site, follow these steps:- Log in to your WordPress site as the administrator.
-
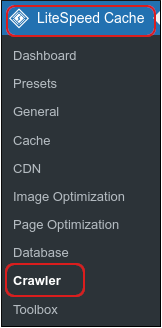
In the left sidebar, click LiteSpeed Cache, and then click Crawler:
-
Click the Sitemap Settings tab:

-
In the Custom Sitemap text box, type the sitemap URL:
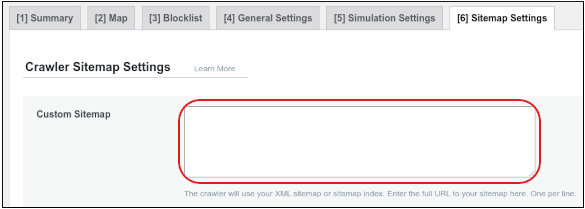
📘 Note The WordPress sitemap URL is typically https://example.com/wp-sitemap.xml, where example.com represents your domain name. However, some WordPress plugins use a different sitemap URL. Consult the documentation for your sitemap plugin if this is the case.
- Click Save Changes.
-
Click the General Settings tab, and then click the Crawler slider to ON:
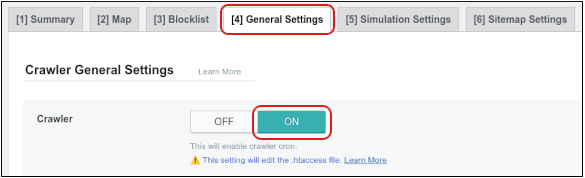
- Click Save Changes.
-
Click the Map tab, and then click Refresh Crawler Map:

-
Click the Summary tab, and then click Manually run:
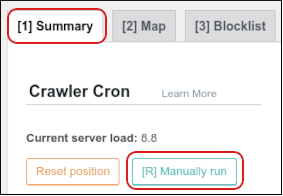 LiteSpeed Cache starts a new crawl process immediately.
📘 Note Depending on the size of your site, this process can take a few hours.