- Files.
- Email accounts.
- MySQL databases.
Please note that email notifications from JetBackup are not functional at this time. If you enter your email address in the My Account section, you will not receive email notifications from JetBackup.
Restoring files
To restore your site’s files using JetBackup, follow these steps:-
Log in to cPanel.
📘 Note If you do not know how to log in to your cPanel account, please see this article.
-
On the Tools page, in the Files section, click JetBackup 5:

👍 Tip If you do not see the JetBackup 5 icon in cPanel, then your account uses Server Rewind for backups instead. For more information about how to restore files using Server Rewind, please see this article.
-
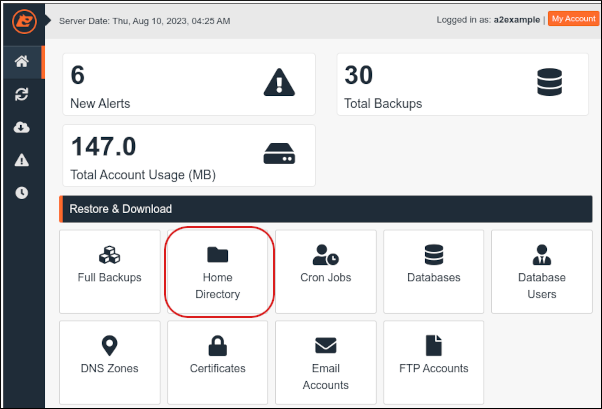
After a few seconds, the JetBackup dashboard appears. Click Home Directory:
-
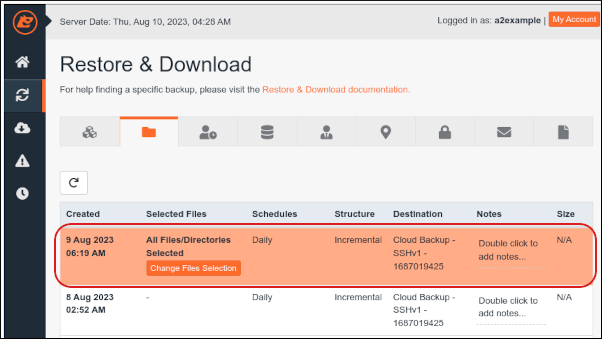
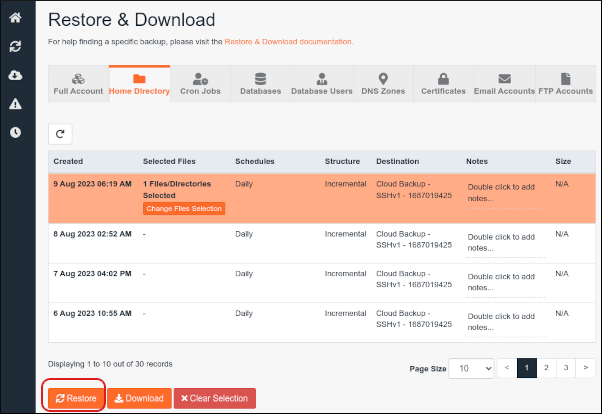
Click the backup from which you want to restore files:
-
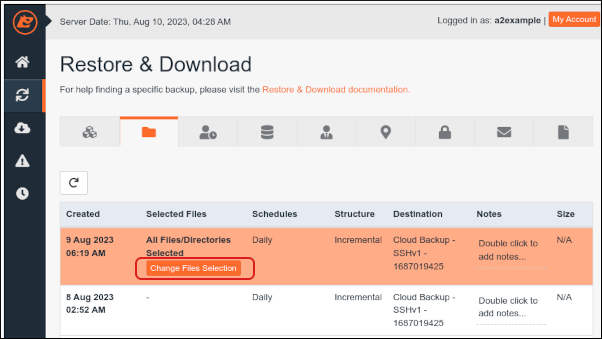
Click Change Files Selection:
-
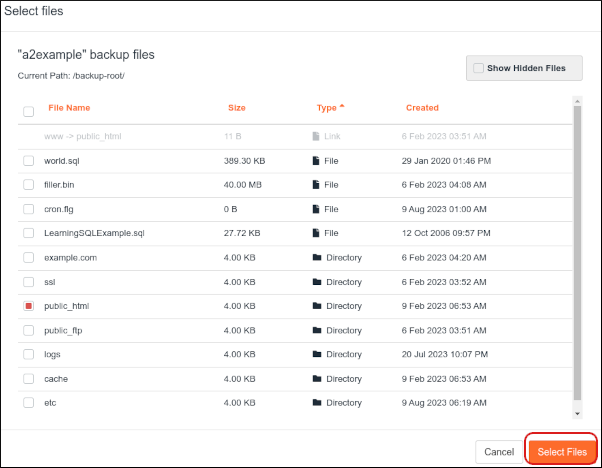
Click the folder or folders you want to restore. You can also select individual files to restore as well:
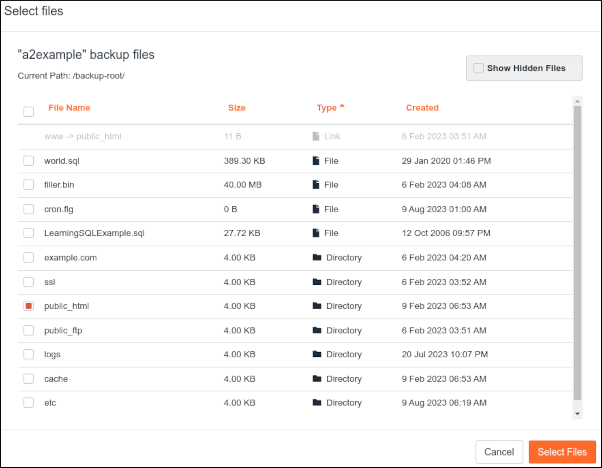
📘 Note For example, if your web site files are stored in the public_html folder, then select public_html to restore your web site.
-
Click Select Files:
-
Click Restore:
-
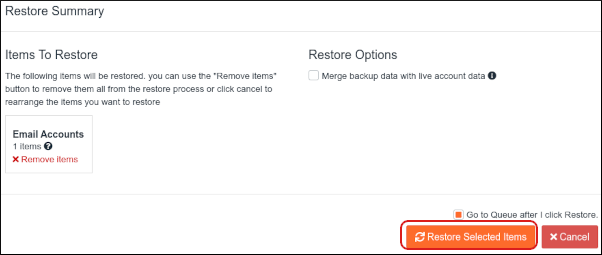
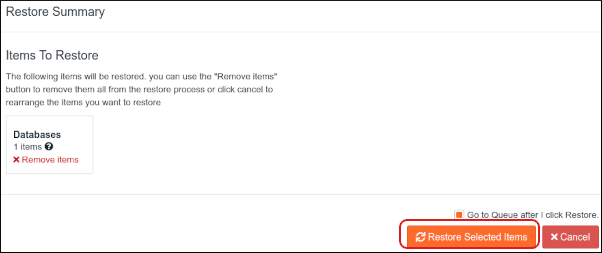
In the Restore Summary dialog box, click Restore Selected Items. JetBackup adds the selected items to the queue and starts the restore process:
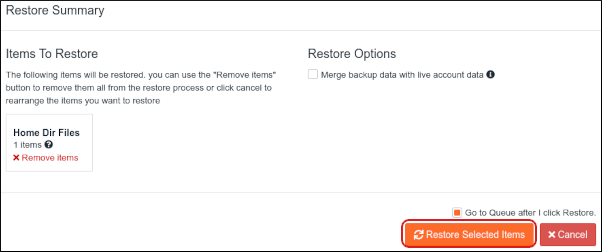
-
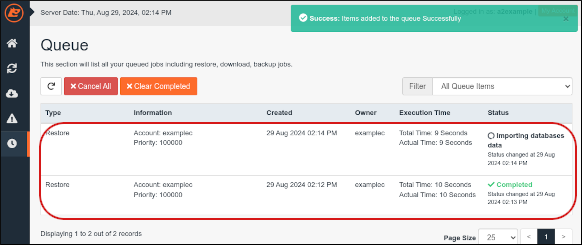
To see the progress of the restore process, in the left sidebar, click the Queue icon:

-
The Queue page appears, showing a list of all queued jobs and their current status:
Restoring email accounts
To restore your email accounts using JetBackup, follow these steps:-
Log in to cPanel.
📘 Note If you do not know how to log in to your cPanel account, please see this article.
-
On the Tools page, in the Files section, click JetBackup 5:
👍 Tip If you do not see the JetBackup 5 icon in cPanel, then your account uses Server Rewind for backups instead. For more information about how to restore email accounts using Server Rewind, please see this article.
-
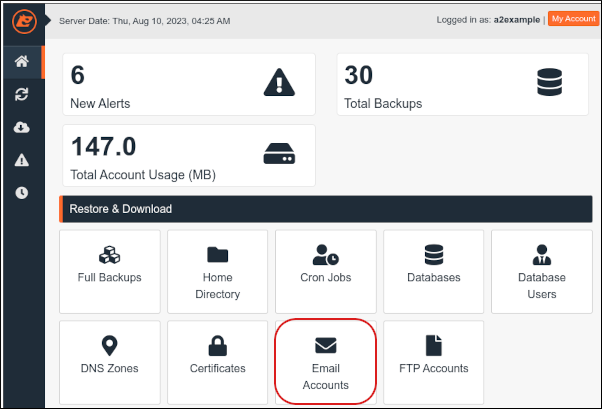
After a few seconds, the JetBackup dashboard appears. Click Email Accounts:
-
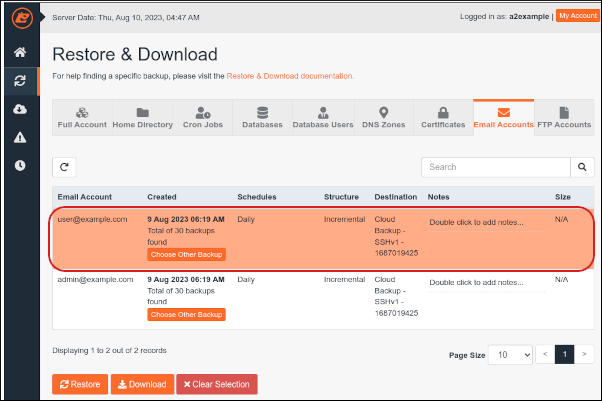
Click the email account or accounts you want to restore:
-
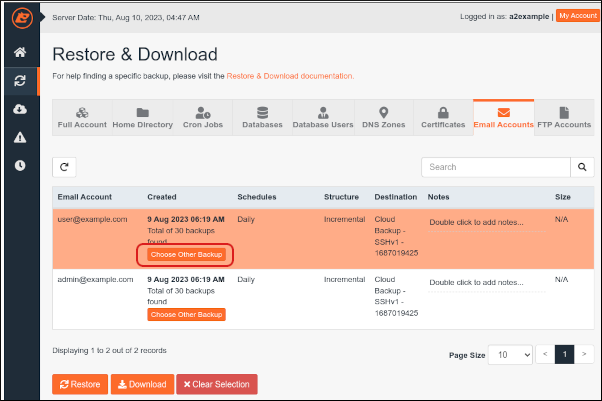
If you do not want to restore the most recent backup for the account, click Choose Other Backup, and then select the date of the backup you want to restore:
-
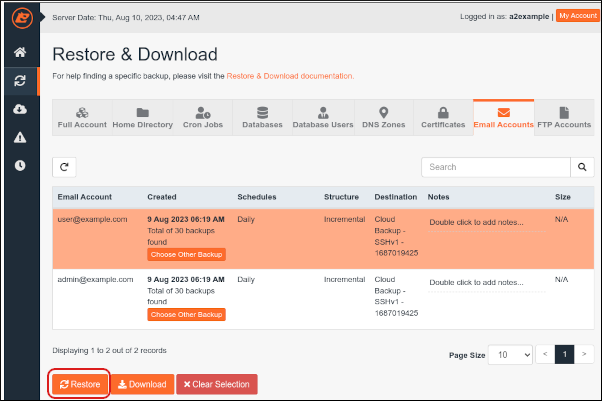
Click Restore:
-
In the Restore Summary dialog box, click Restore Selected Items. JetBackup adds the selected items to the queue and starts the restore process:
-
To see the progress of the restore process, in the left sidebar, click the Queue icon:
-
The Queue page appears, showing a list of all queued jobs and their current status:
Restoring MySQL databases
To restore your MySQL databases using JetBackup, follow these steps:-
Log in to cPanel.
📘 Note If you do not know how to log in to your cPanel account, please see this article.
-
On the Tools page, in the Files section, click JetBackup 5:
👍 Tip If you do not see the JetBackup 5 icon in cPanel, then your account uses Server Rewind for backups instead. For more information about how to restore databases using Server Rewind, please see this article.
-
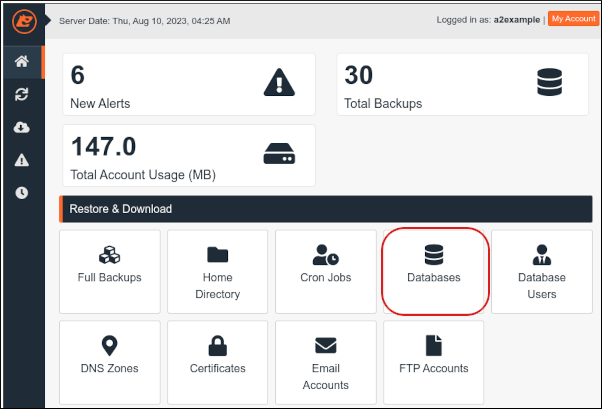
After a few seconds, the JetBackup dashboard appears. Click Databases:
-
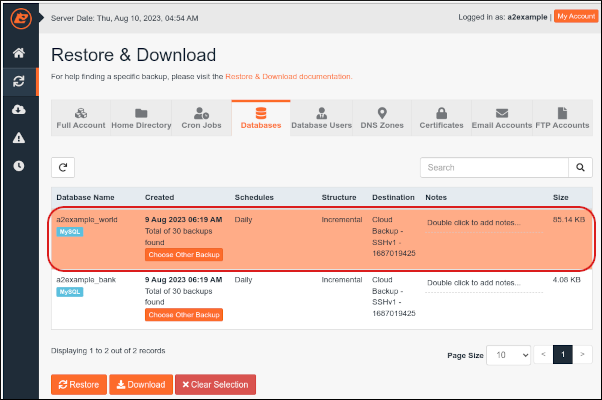
Click the database or databases you want to restore:
-
If you do not want to restore the most recent backup for the database, click Choose Other Backup, and then select the date of the backup you want to restore:

-
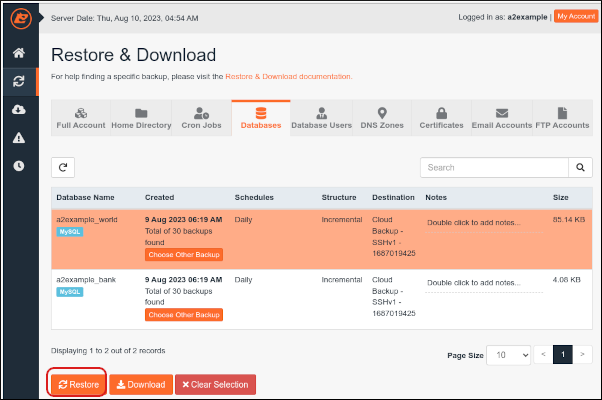
Click Restore:
-
In the Restore Summary dialog box, click Restore Selected Items. JetBackup adds the selected items to the queue and starts the restore process:
-
To see the progress of the restore process, in the left sidebar, click the Queue icon:
-
The Queue page appears, showing a list of all queued jobs and their current status:
Downloading backups
You can download a backup to your local computer for additional safekeeping or to look at the file contents. To do this, follow these steps:-
Log in to cPanel.
📘 Note If you do not know how to log in to your cPanel account, please see this article.
-
On the Tools page, in the Files section, click JetBackup 5:
👍 Tip If you do not see the JetBackup 5 icon in cPanel, then your account uses Server Rewind for backups instead. For more information about how to restore files using Server Rewind, please see this article.
-
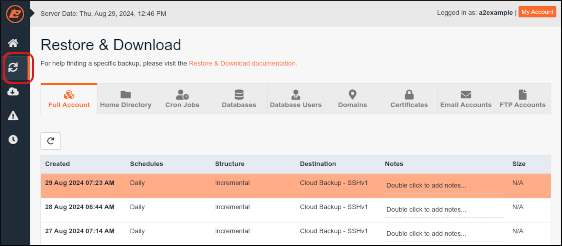
After a few seconds, the JetBackup dashboard appears. In the left sidebar, click the Restore & Download icon. A list of backups appears:
-
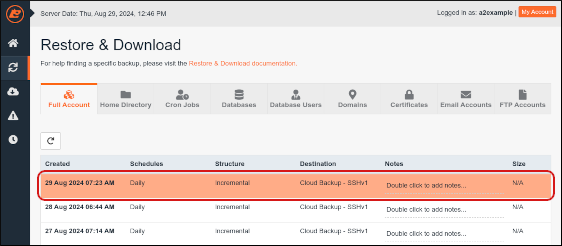
Click the backup you want to download:
-
Click Download:

-
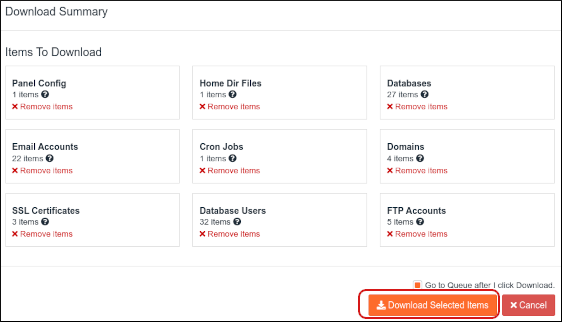
In the Download Summary dialog box, click Remove Items for any items that you do not want to download, and then click Download Selected Items:
-
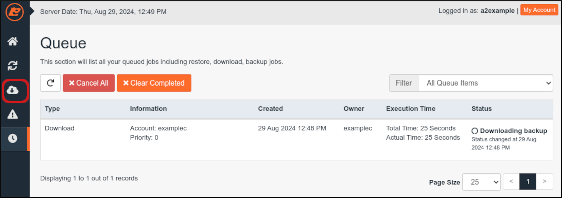
The queue appears and shows the progress of the backup download. When the status displays Completed, the backup is ready for download to your local computer. In the left sidebar, click the Downloads icon:
-
On the Downloads page, locate the download you want to store on your local computer, and then click Download:
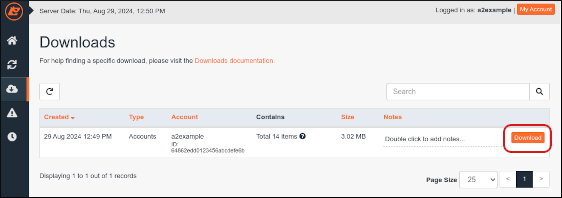
- Select a location on your local computer for the download file, and then click Save.