Configuring sticky menus on WordPress sites
Learn how to configure sticky menus on WordPress sites. This article shows you how to configure sticky menus on WordPress using the Sticky Menu plugin.
You can have a sticky menu to have the header remains fixed for WordPress sites. This article shows you how to install and configure sticky menus for WordPress sites using the MyStickyMenu plugin.
Installing Sticky Menu Plugin for WordPress
To install and configure StickyMenu Plugin, follow these steps:
-
Log in to your WordPress site with an administrator account.
-
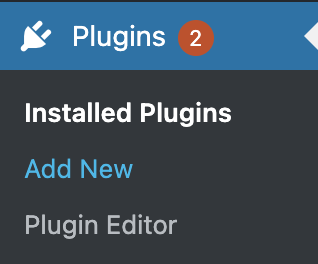
On the Dashboard in the left sidebar, click Plugins, and then click Add New:
-
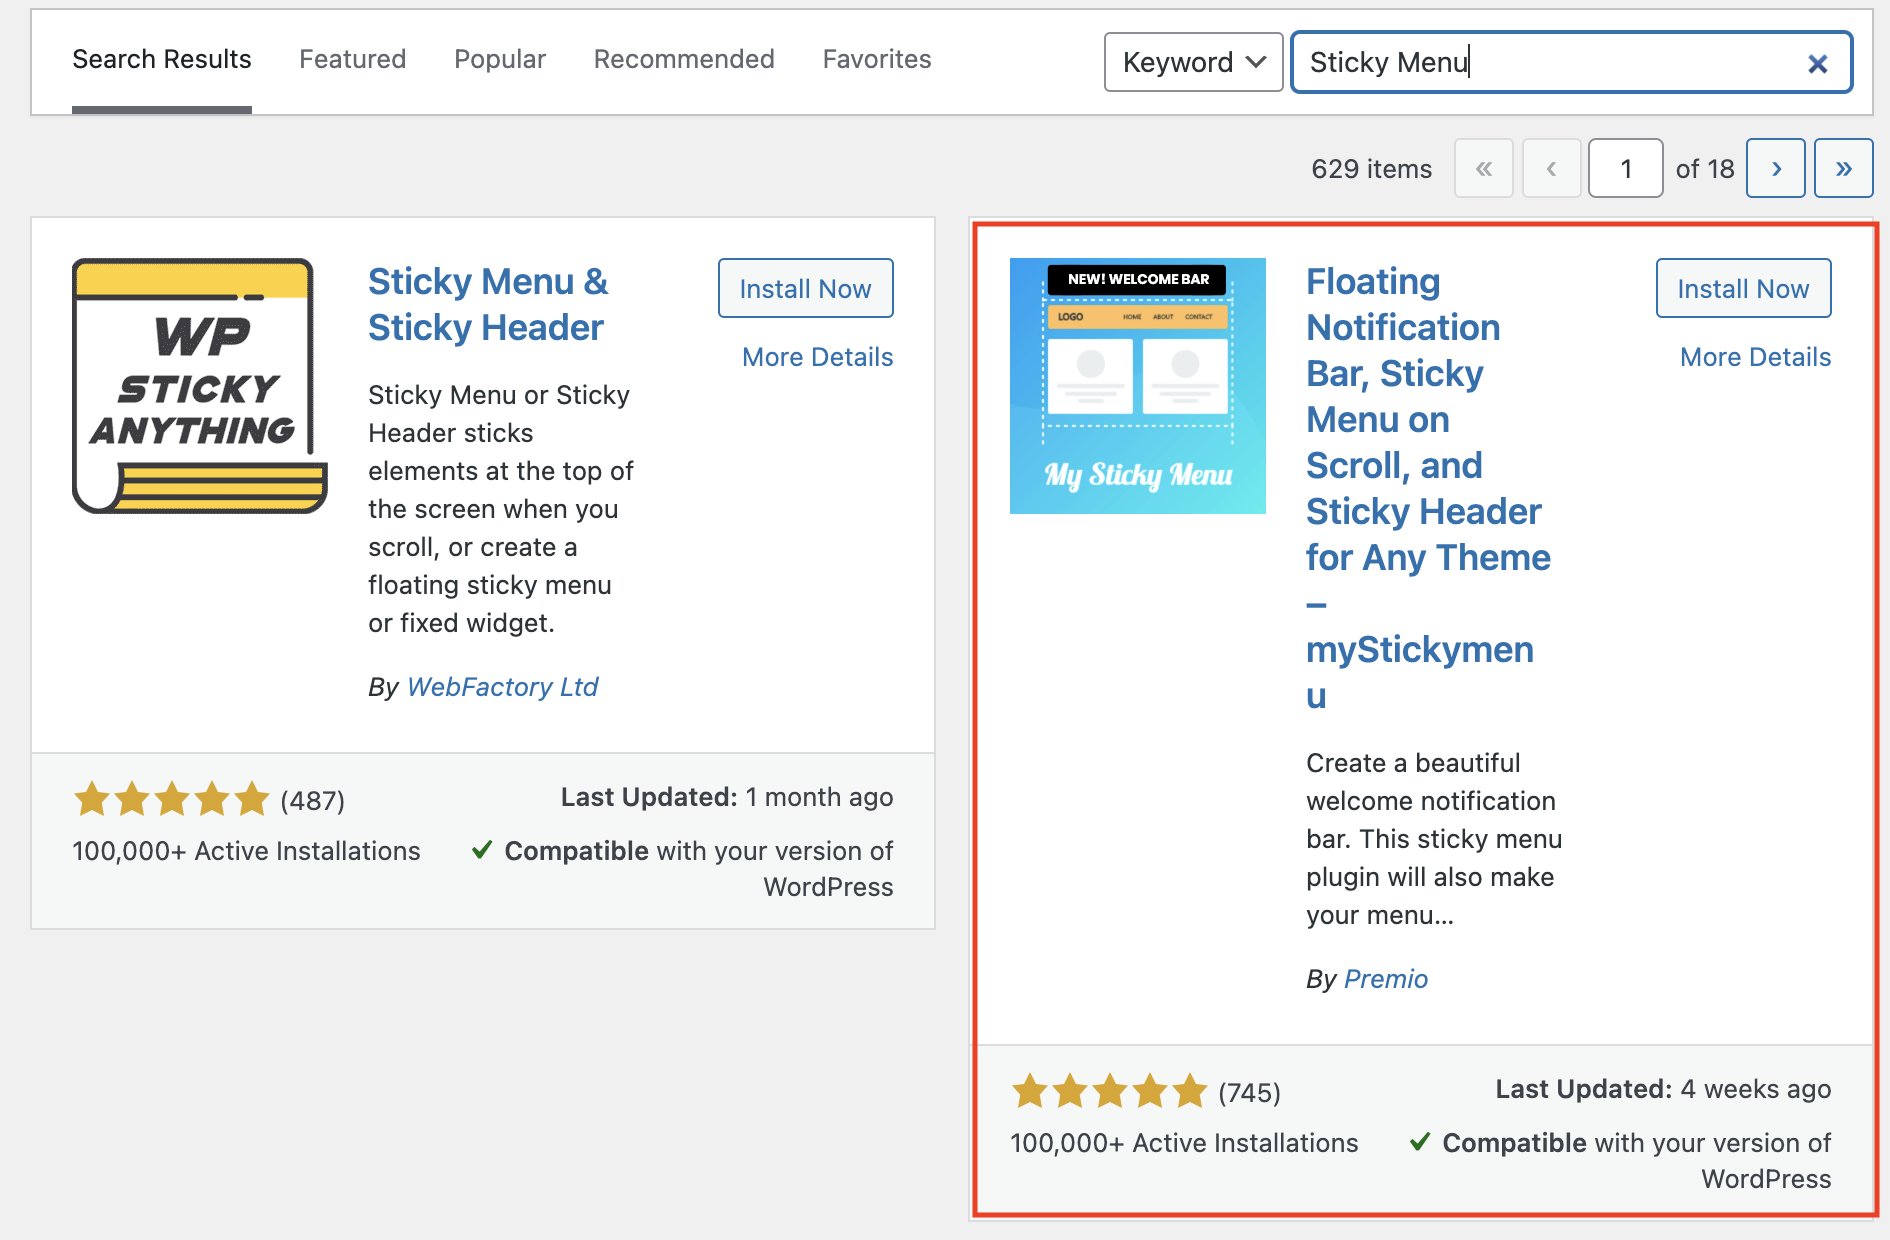
Search for "Sticky Menu" click Install, and then click Activate the plugin:
-
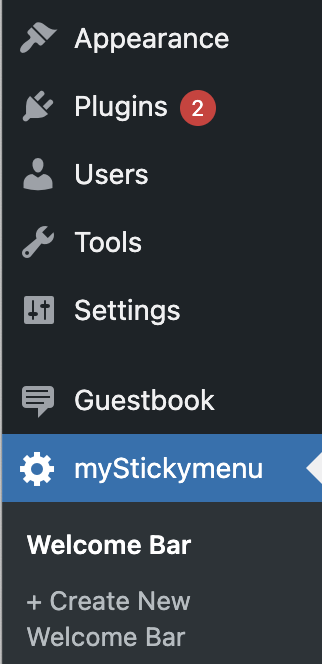
On the Dashboard in the left sidebar, click Appearance, and then click on Sticky Menu:
-
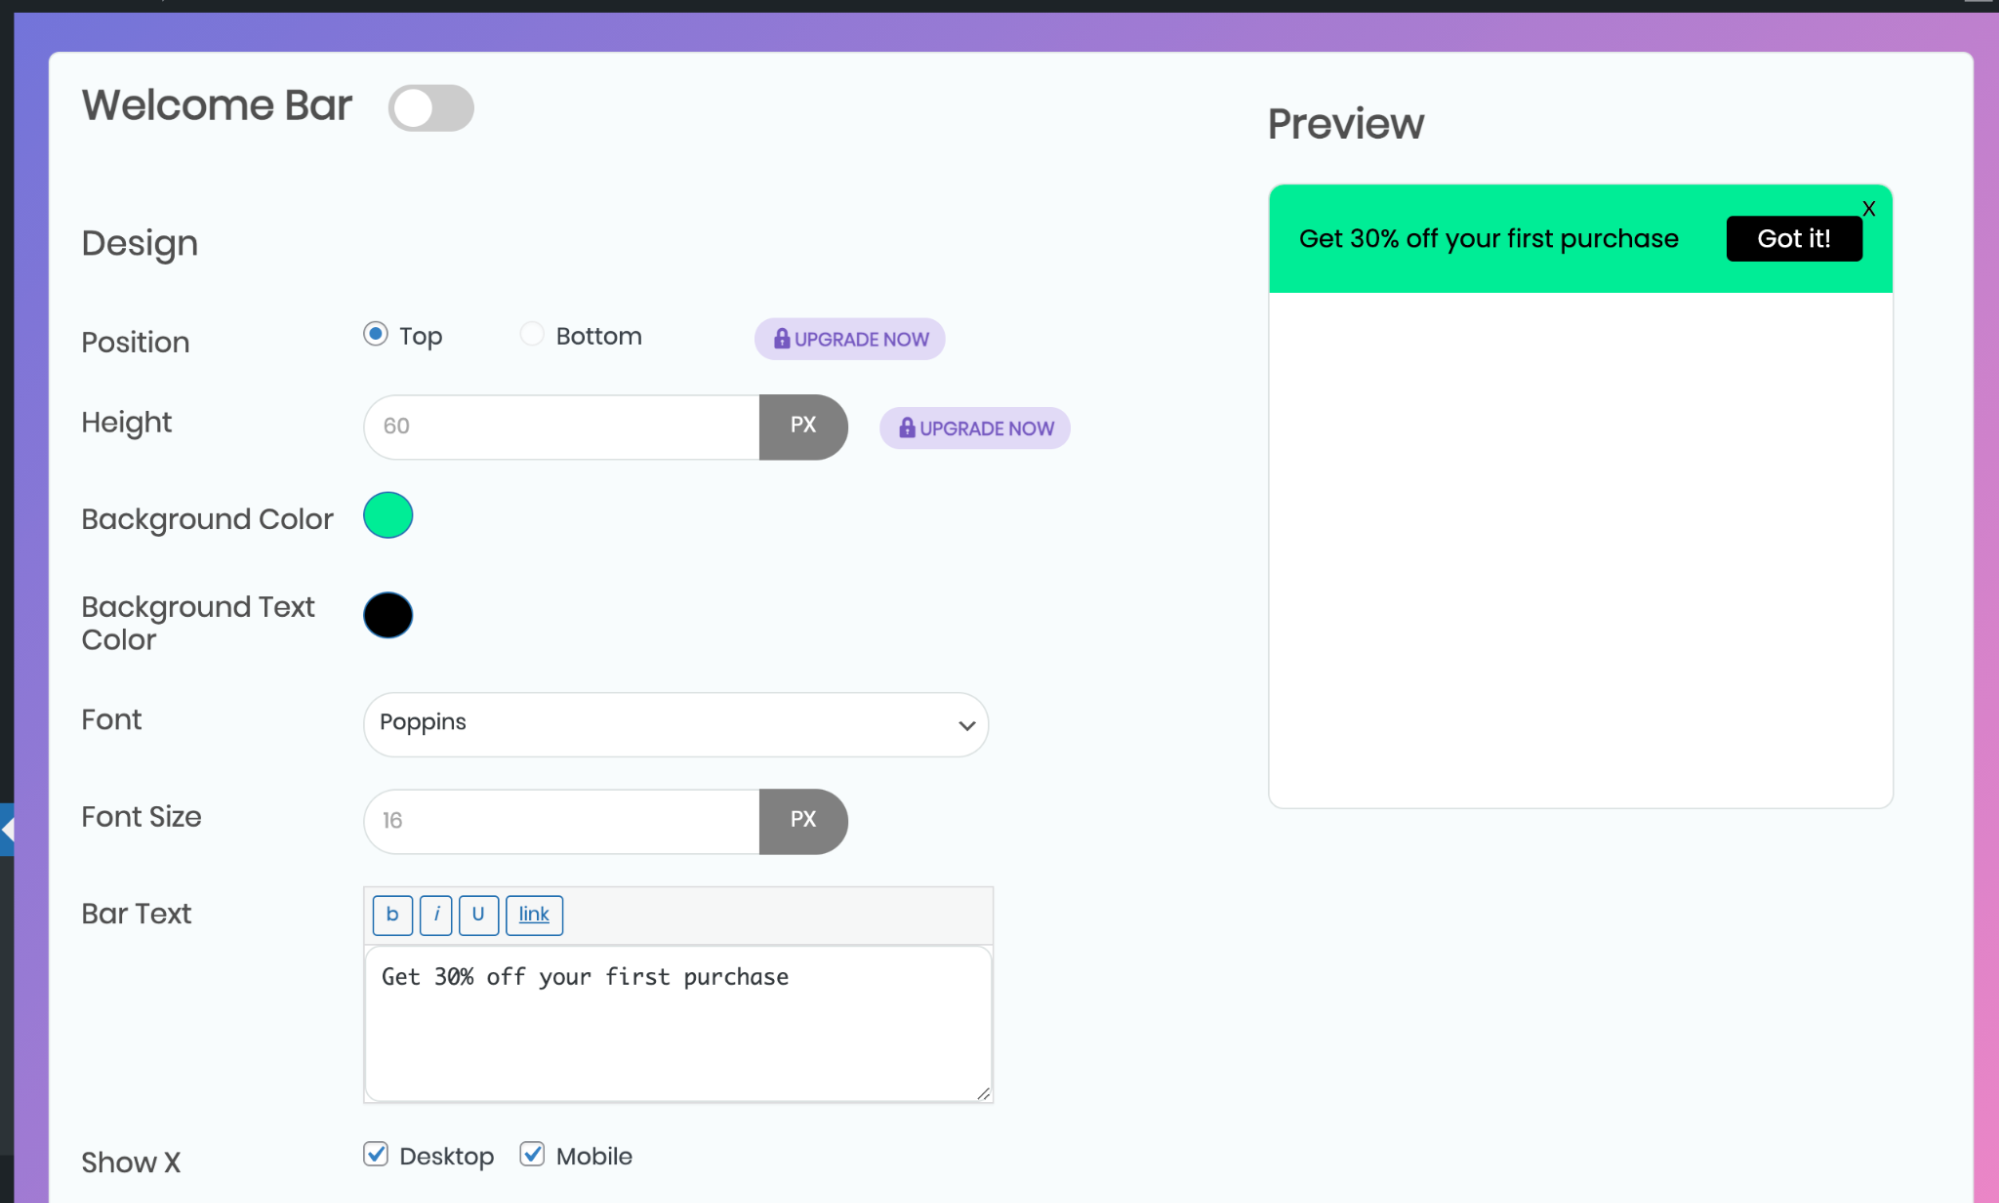
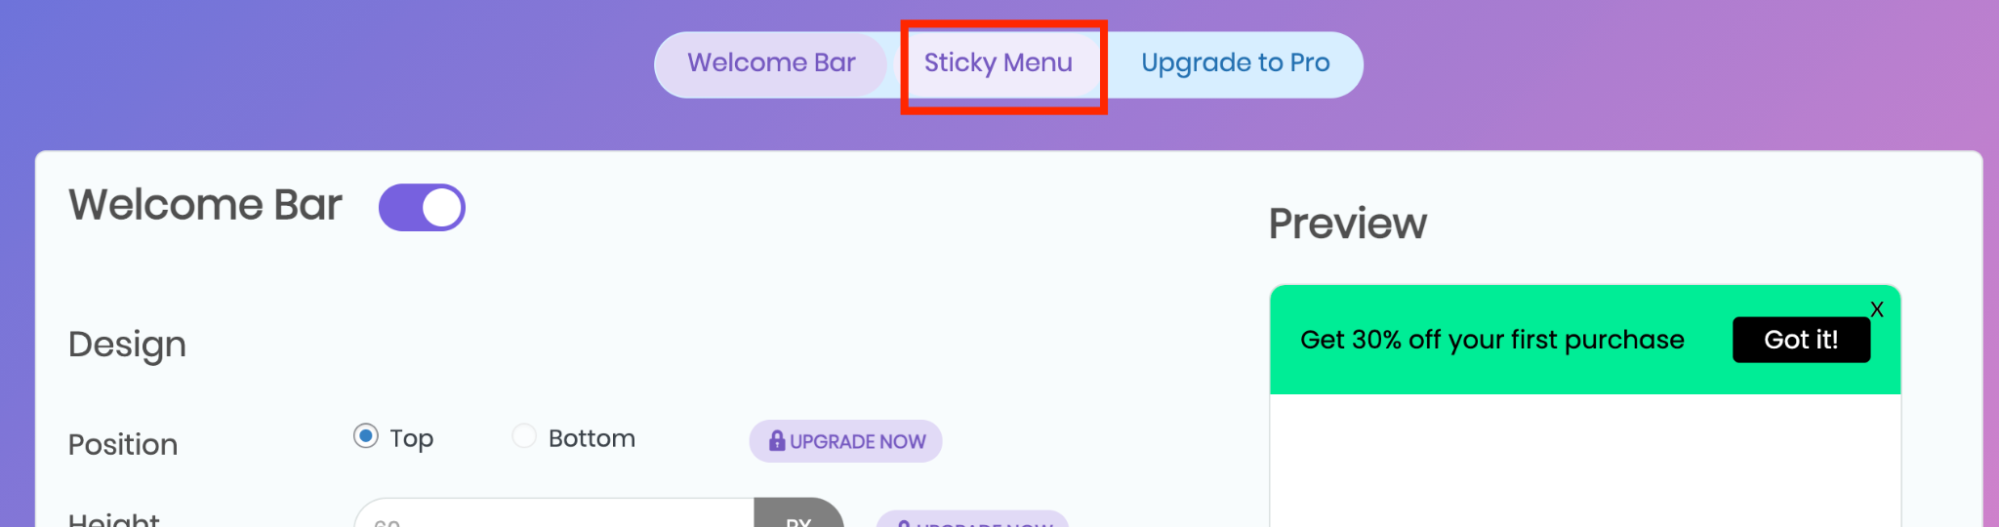
There are a few sticky menu options given on this page. The free version allows you to have a sticky welcome bar and a sticky menu:
-
Click on Welcome Bar and edit the settings, and then click on the Save Button to create a Welcome Bar for the WordPress Site:

-
Click on the Sticky Menu, and then select the menu from the dropdown under the Sticky Class section.
-
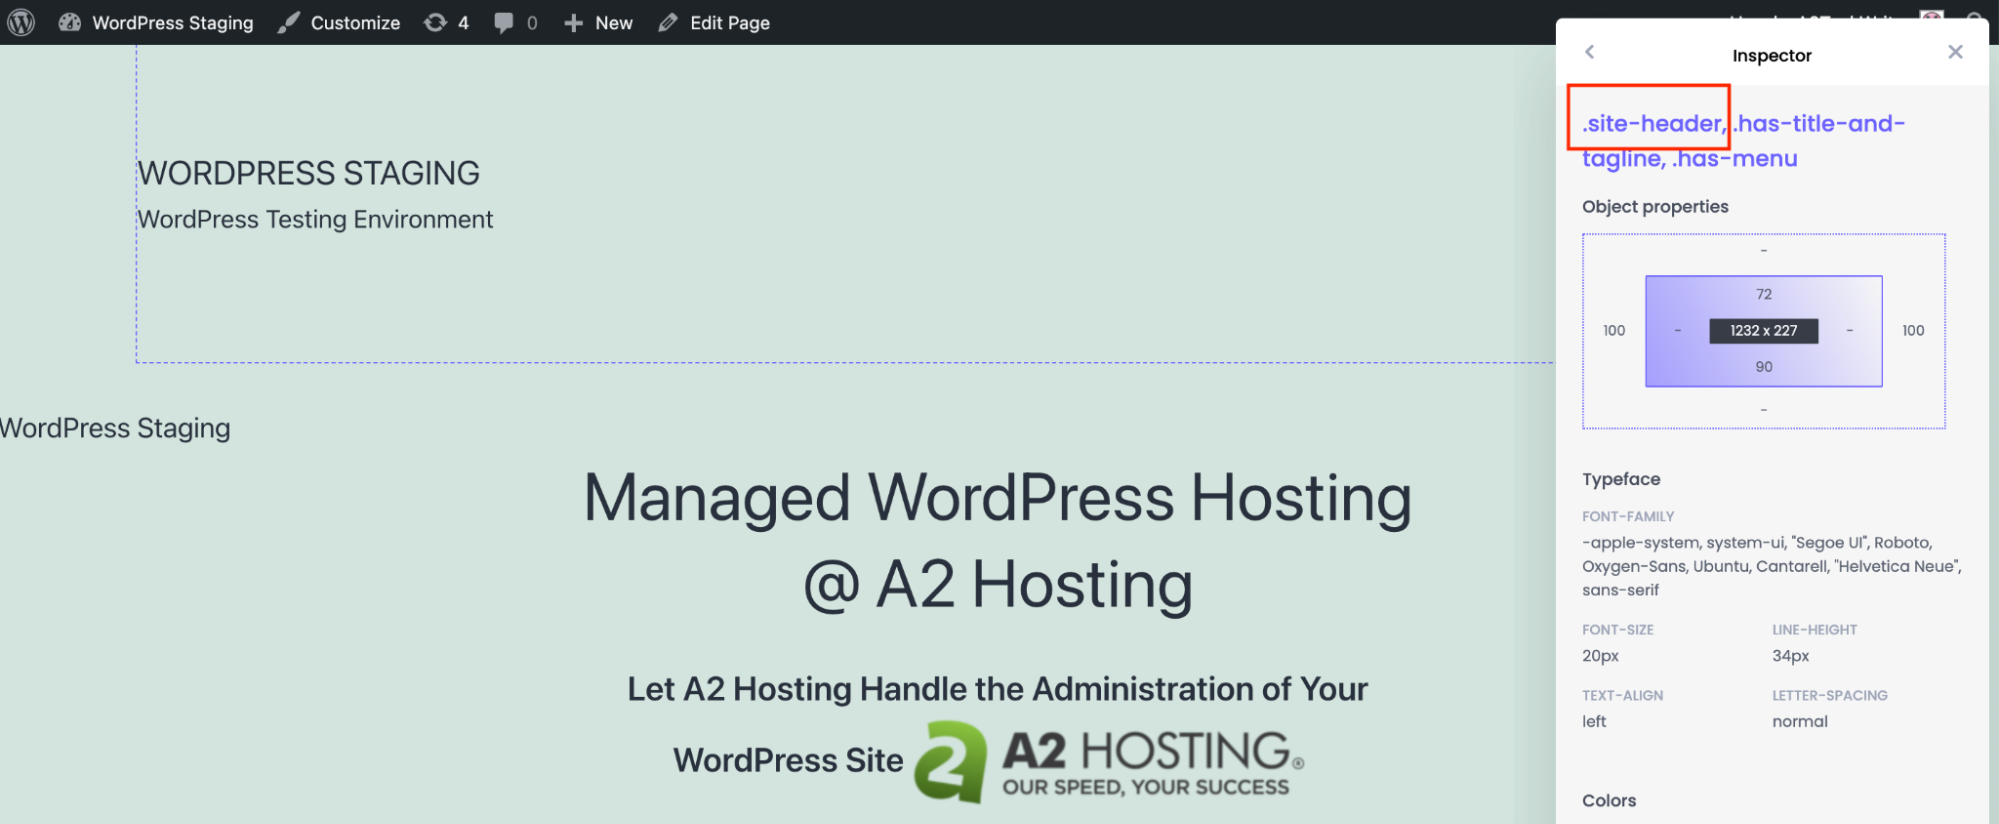
Choose Other Class Or ID from the downtown. Paste the headers class ID in the textbox:
 Tip
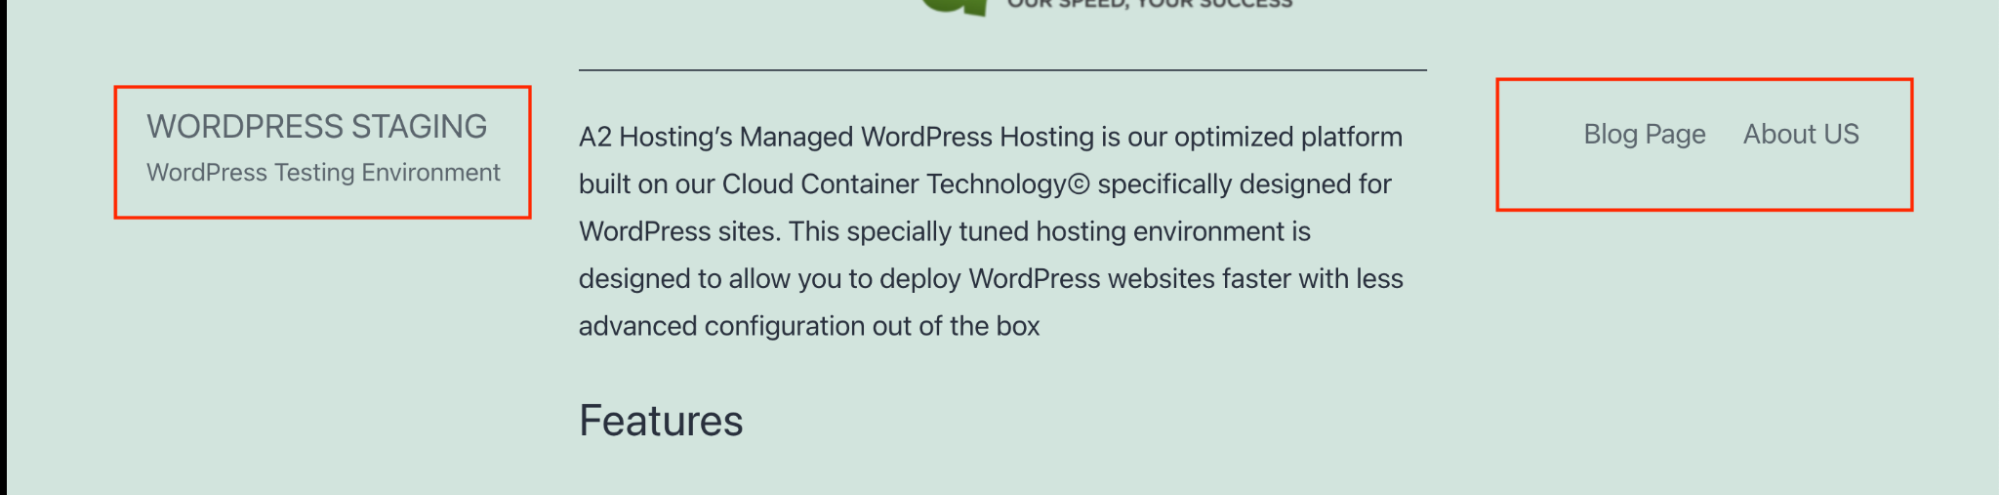
TipTo retrieve the CSS id for the header, install the CSS Peeper extension on Google Chrome. Click on the header and copy the class name for header:
-
Paste the class name in the text field:

-
Next set the rest of the parameters and click Save to save the changes:
More information
For more information about the MyStickyMenu plugin please visit: https://wordpress.org/plugins/mystickymenu/