Setting the default HTML editor in WordPress

Learn how to set up the default HTML editor in WordPress. This article shows you how to change the default WYSIWYG editor to an HTML editor in WordPress using a short code snippet.

WordPress comes with a default visual editor.This article shows you how to change the default WYSIWYG editor to an HTML editor in WordPress using a short code snippet.

Setting default HTML editor in WordPress

🚧

Important

Always perform a backup before you make any changes to the theme files. If you break any codes, it will be easier to revert your site to its last good known state. Alternatively, you could also create a child theme. Read this link on how to create a child theme: https://www.hosting.com/blog/wordpress-child-theme/

Follow the steps below to edit your Theme setting file to set HTML editor in WordPress:

  1. Log in to your WordPress site with an administrator account.

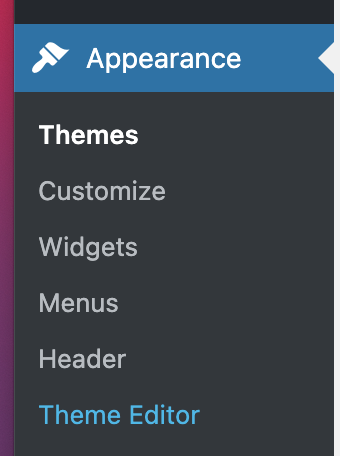
  2. On the Dashboard in the left sidebar, click Appearance, and then click Theme Editor:

🚧

Important

You will not be able to roll back to your earlier theme configuration after any edits. Always save the theme files before proceeding with the amendments.

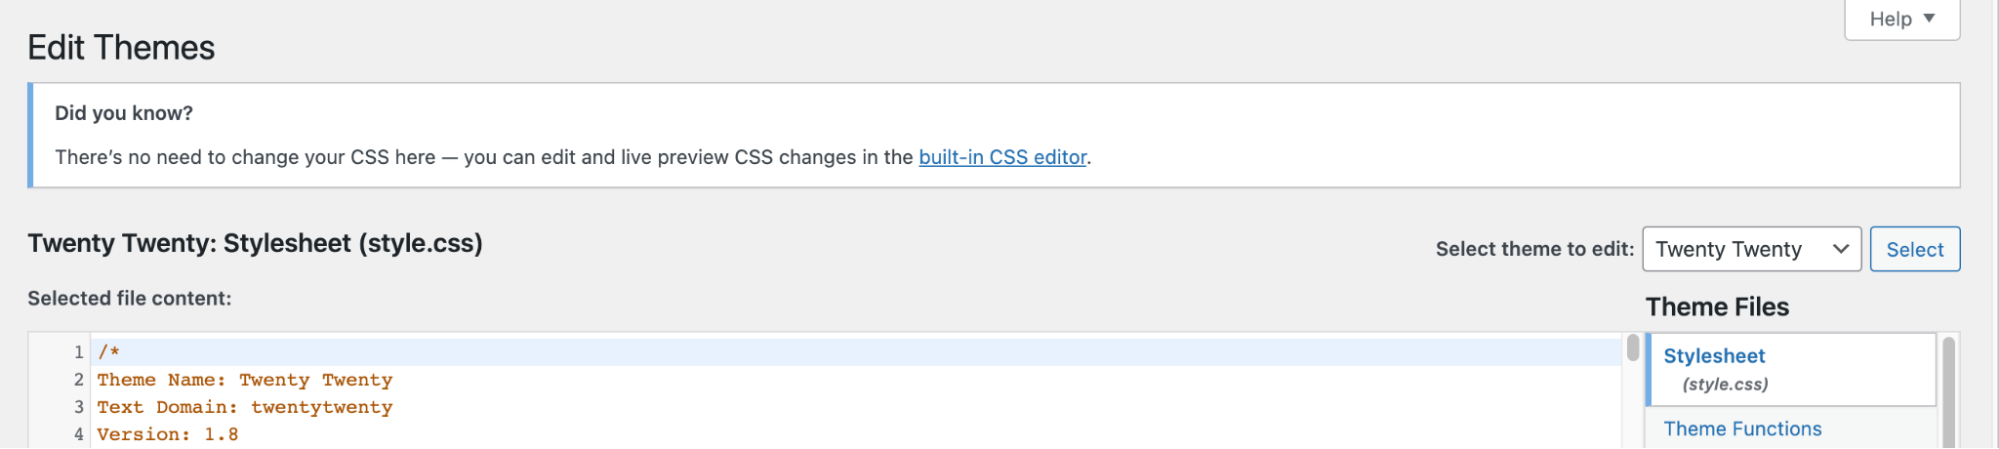
  1. On the Theme Editor, select the Theme you want to edit from the dropdown:

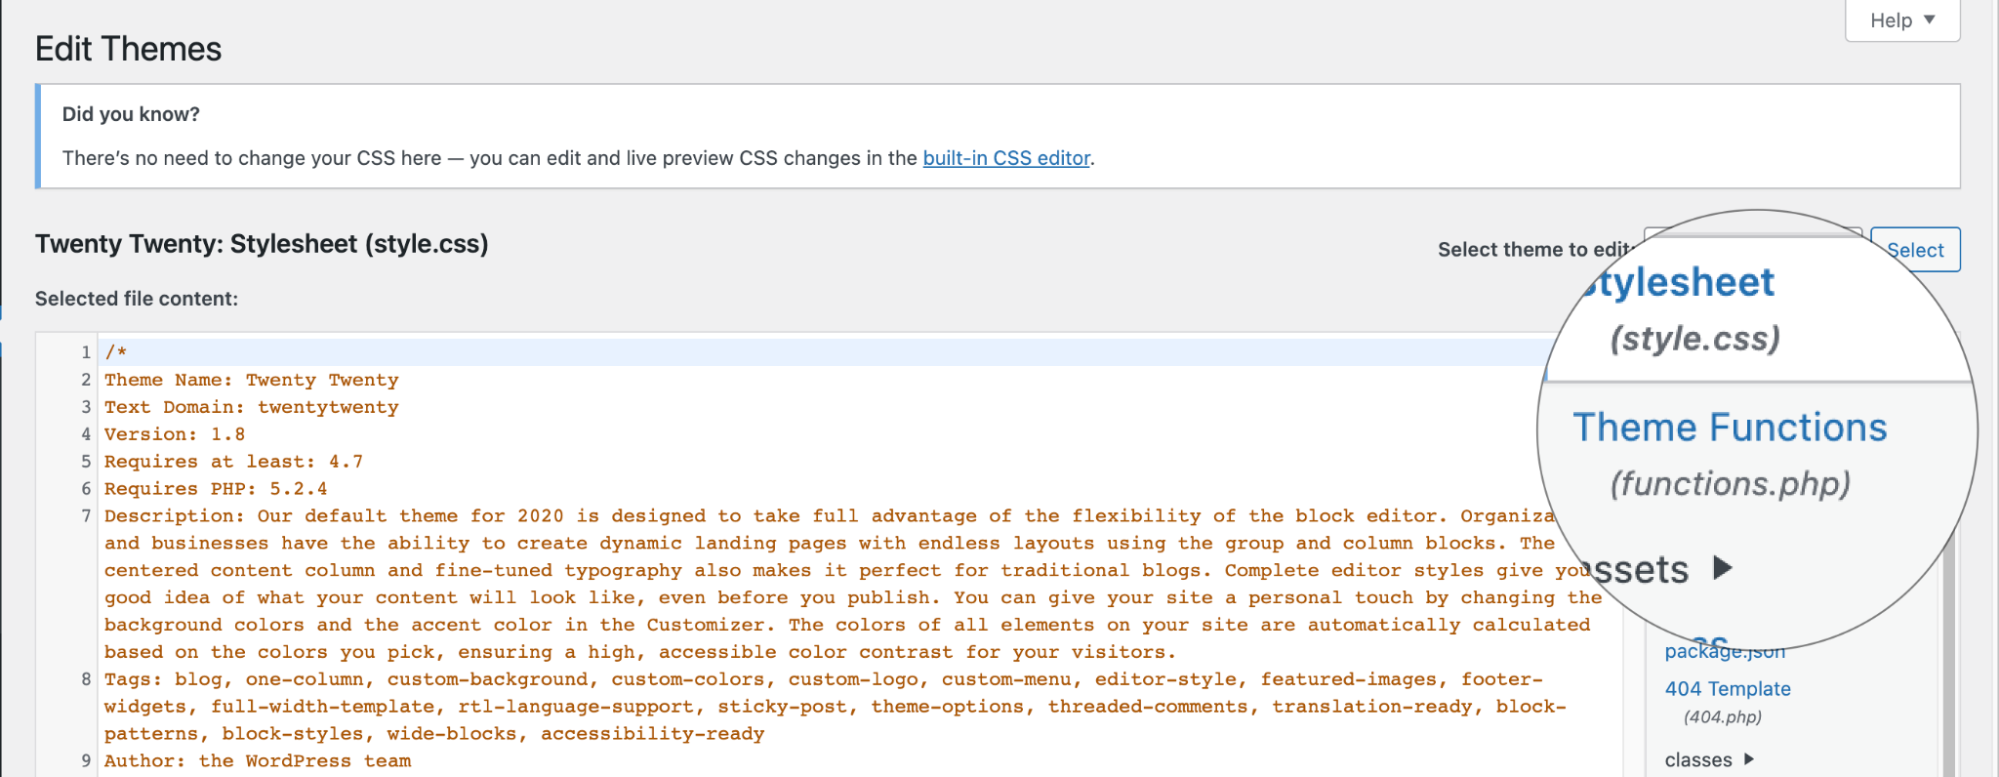
  2. The files for this selected theme are listed on the right column under Theme Files. Click on the file named "functions.php":

  3. Insert the following code to the end of functions.php file and click Update File Button to save the changes:

add_filter( 'wp_default_editor', create_function('', 'return "html";') );

Related Articles