Using the Softaculous WordPress Manager
The WordPress Manager in Softaculous enables you to manage all of your WordPress sites from one convenient interface. This article describes how to access and use the WordPress Manager on your account.
This article describes how to access and use the Softaculous WordPress Manager on your account.
WordPress Manager enables you to manage WordPress sites that you have installed through Softaculous. Some of the tasks you can do from WordPress Manager's convenient interface include:
-
Logging in to your WordPress sites.
-
Managing WordPress updates and upgrades.
-
Managing WordPress plugins.
-
Managing WordPress themes.
-
Configuring the WordPress cron job.
-
Changing the WordPress site URL.
Accessing WordPress Manager
To access WordPress Manager, follow these steps:
-
Log in to cPanel.
NoteIf you do not know how to log in to your cPanel account, please see this article.
-
On the Tools page, in the Softaculous Apps Installer section, click Softaculous Apps Installer (or any of the icons under Scripts or Categories).
-
On the top menu bar, click the WordPress icon:

-
A list of your WordPress sites appears. To view the details and options for a site, click the down arrow icon:
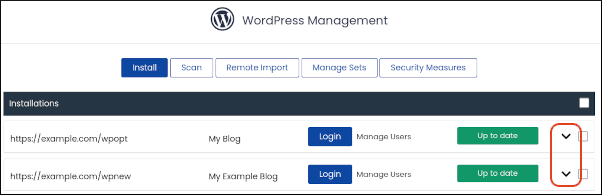
-
If no WordPress sites appear, but you are sure you have at least one WordPress installation in your account, click Scan:
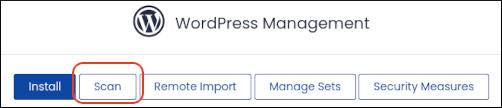
-
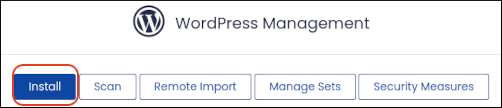
To install a new WordPress site, click Install:
Using WordPress Manager
The following sections cover most of the features that WordPress Manager offers.
Automatic site login
To log in to a WordPress site automatically, follow these steps:
- In Softaculous WordPress Manager, locate the site you want to access, and then click Login:
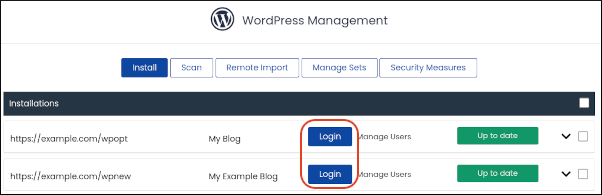
WordPress Manager logs you in to the site automatically.
Upgrades
You can upgrade your WordPress sites, and optionally configure automatic upgrades. To do this, follow these steps:
-
In Softaculous WordPress Manager, locate the site you want to configure, and then click the down arrow icon:
-
If there a newer version available, the Updates available notification appears:
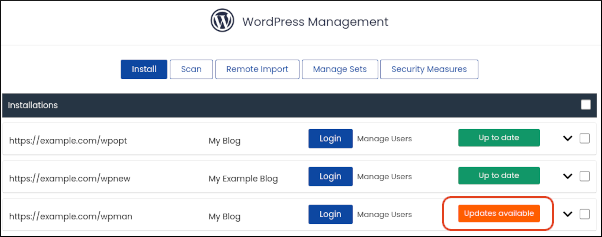
-
Click Upgrade Now:
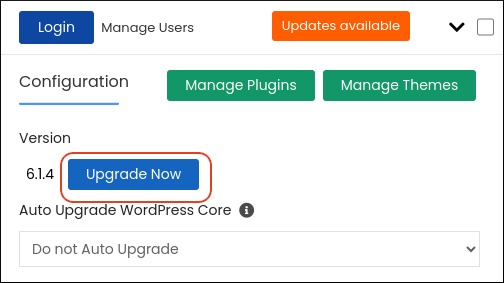
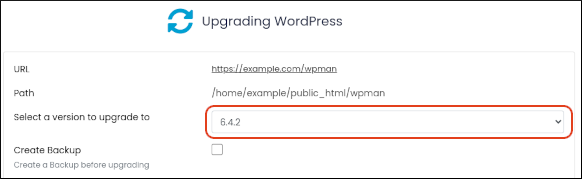
-
On the Upgrading WordPress page, select the version you want, and then click Upgrade:

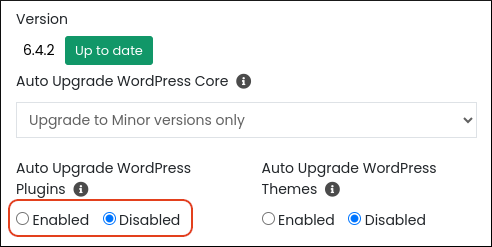
- To enable automatic upgrades, under Auto Upgrade WordPress Core, in the list box select one of the following options:
-
Upgrade to Minor versions only: WordPress Manager will only upgrade to minor versions.
-
Upgrade to latest version available (Major as well as Minor): WordPress Manager will upgrade to any new version (major or minor).
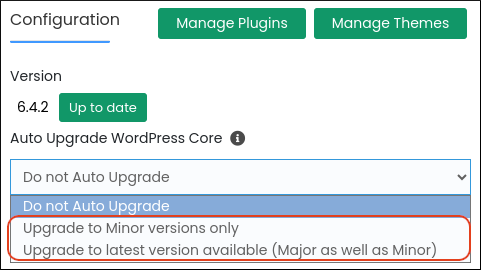
The new setting takes effect immediately.
Upgrading plugins and themes
You can also configure automatic upgrades for plugins and themes. To do this, follow these steps:
-
In Softaculous WordPress Manager, locate the site you want to configure, and then click the down arrow icon:
-
Under Auto Upgrade WordPress Plugins, click Enabled or Disabled:
-
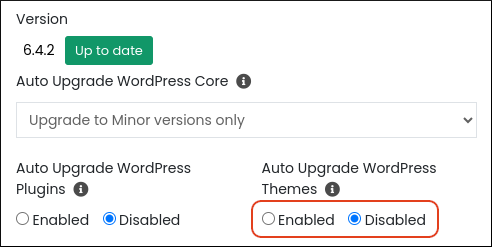
Under Auto Upgrade WordPress Themes, click Enabled or Disabled:
Search engine visibility
You can make your WordPress sites visible or invisible to search engine crawlers. For example, if your site is under construction you may not want it to be visible to search engines.
To enable or disable search engine visibility, follow these steps:
-
In Softaculous WordPress Manager, locate the site you want to configure, and then click the down arrow icon:
-
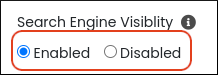
Under Search Engine Visibility, click Enabled or Disabled:
Cron job
WordPress uses a virtual "cron job" for scheduled tasks, but the WordPress Manager enables you to create a real cron job instead.
NoteFor more information about the differences between the WordPress virtual "cron job" and an actual system cron job, please see this article.
To configure the cron job for WordPress, follow these steps:
-
In Softaculous WordPress Manager, locate the site you want to configure, and then click the down arrow icon:
-
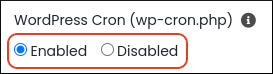
Under WordPress Cron (wp-cron.php) select one of the following options:
-
Enabled: WordPress uses its virtual "cron job".
-
Disabled: The virtual "cron job" is disabled, and a system cron job is used instead. The system cron job is guaranteed to run at a specific interval and frequency (twice per hour).
Site URL
You can change the site URL for a WordPress installation. To do this, follow these steps:
-
In Softaculous WordPress Manager, locate the site you want to configure, and then click the down arrow icon:
-
In the Website URL text box, type the new URL:
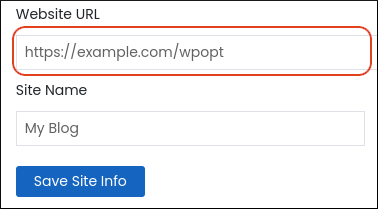
-
Click Save Site Info.
NoteFor more information about changing the WordPress site URL, please see this article.
Password
If you forget the password for a WordPress user, or just want to reset a user's password, follow these steps:
-
In Softaculous WordPress Manager, locate the site, and then click Manage Users:

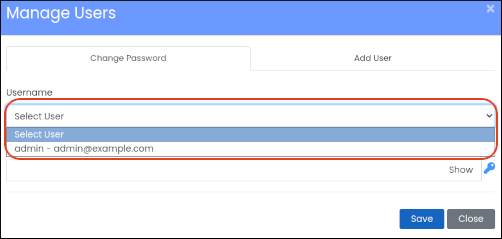
-
On the Change Password tab, in the Username list box, select the user:
-
In the Password text box, type the new password, and then click Save:
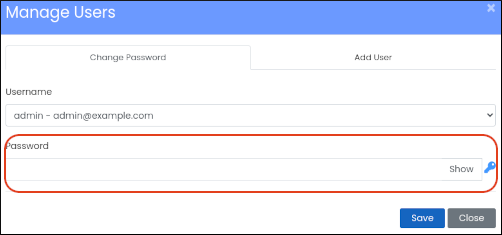
TipYou can click the key icon and WordPress Manager generates a random, strong password for you automatically.
Plugins
WordPress Manager enables you to install, enable, disable, and delete plugins for your WordPress sites. To do this, follow these steps:
-
In Softaculous WordPress Manager, locate the site you want to configure, and then click the down arrow icon:
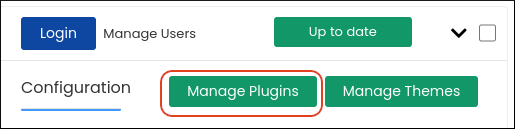
-
Click Manage Plugins:
-
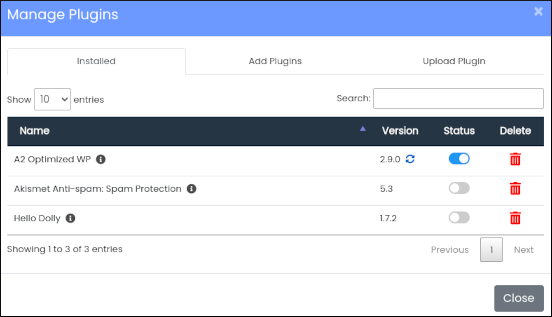
On the Installed tab, a list of installed plugins appears:
-
If an update for a plugin is available, a circular arrow icon appears in the Version column. Click it to update the plugin.
-
To enable or disable a plugin, click the slider in the Status column.
-
To uninstall a plugin, click the red trash can icon in the Delete column.
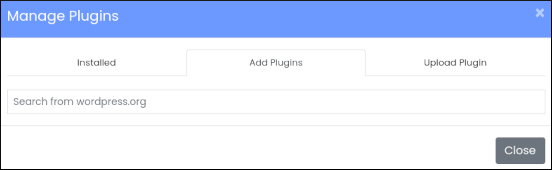
- On the Add Plugins tab, you can install a new plugin:
-
In the Search from wordpress.org text box, type the name of the plugin you want to install.
-
A list of matching plugins appears. Locate the plugin you want to install, and then click Install.
- When you are done managing plugins, click Close.
Themes
WordPress Manager enables you to install, enable, disable, and delete themes for your WordPress sites. To do this, follow these steps:
-
In Softaculous WordPress Manager, locate the site you want to configure, and then click the down arrow icon:
-
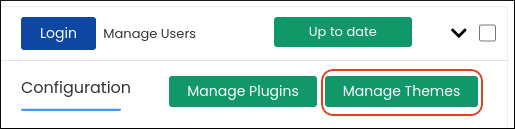
Click Manage Themes:
-
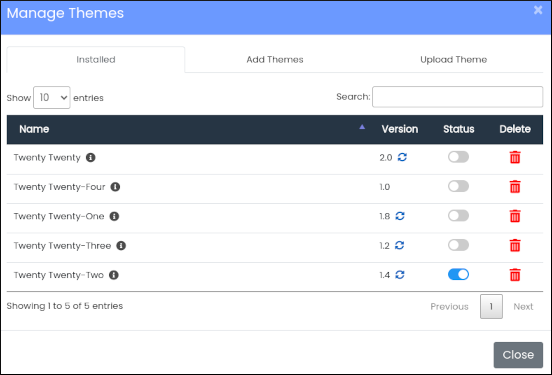
On the Installed tab, a list of installed themes appears:
-
If an update for a theme is available, a circular arrow icon appears in the Version column. Click it to update the theme.
-
To enable or disable a theme, click the slider in the Status column.
-
To uninstall a theme, click the red trash can icon in the Delete column.
- On the Add Themes tab, you can install a new theme:
-
In the Search from wordpress.org text box, type the name of the theme you want to install.
-
A list of matching themes appears. Locate the theme you want to install, and then click Install.
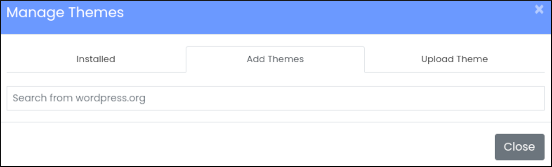
- When you are done managing themes, click Close.
More information
For more information about WordPress Manager, please visit https://www.softaculous.com/docs/enduser/wordpress-manager/.