Plesk is no longer included with new hosting.com plans, but it is still available on legacy Managed WordPress accounts. You can install Plesk manually on unmanaged VPS and Dedicated servers.
Enabling an e-mail forwarder
To watch a video that demonstrates the following procedure, please click below: To enable an e-mail forwarder for an e-mail account, follow these steps:-
Log in to Plesk.
📘 Note If you do not know how to log in to your Plesk account, please see this article.
-
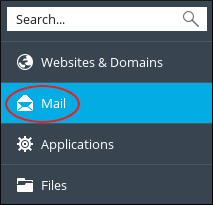
In the left sidebar, click Mail:
- On the Mail page, click the e-mail address for which you want to create a forwarder.
- Click the Forwarding tab.
- Select the Switch on mail forwarding check box.
- In the Forward incoming messages to the following email address text box, type the e-mail address to which you want to forward messages.
- Click OK. Plesk activates the forwarder for the e-mail account.
Disabling an e-mail forwarder
If you no longer want to use an e-mail forwarder for an account, you can disable it. To do this, follow these steps:-
Log in to Plesk.
📘 Note If you do not know how to log in to your Plesk account, please see this article.
-
In the left sidebar, click Mail:
- On the Mail page, click the e-mail address for which you want to disable the forwarder.
- Click the Forwarding tab.
- Clear the Switch on mail forwarding check box.
- Click OK. Plesk disables the forwarder for the e-mail account.