Setting up your domain's DNS records for Titan Mail
Learn how to set up the necessary DNS records and get your Titan Mail plan up and running quickly. This article covers how to configure the MX and SPF records for your domain.
This article describes how to set up the following DNS records and get your Titan Mail plan up and running:
- MX (Mail Exchanger) record : The MX records specify the mail servers that your domain uses. Without a functioning MX record, your domain cannot send or receive email.
- SPF (Sender Policy Framework) record : This is a DNS TXT record that helps authenticate outgoing email messages and ensure reliable delivery.
TipFor additional authentication for your outgoing messages, you can configure DKIM (DomainKeys Identified Mail) for your domain. For information about how to do this, please see Setting up DKIM (DomainKeys Identified Mail) for Titan Mail accounts.
Scenario #1: Your domain is registered through hosting.com and you use it for web hosting
In this scenario, you registered your domain through hosting.com (or transferred it to hosting.com). Additionally, you have a hosting plan associated with the domain.
To configure your domain for email hosting, follow these steps:
-
Log in to the cPanel account associated with the domain.
-
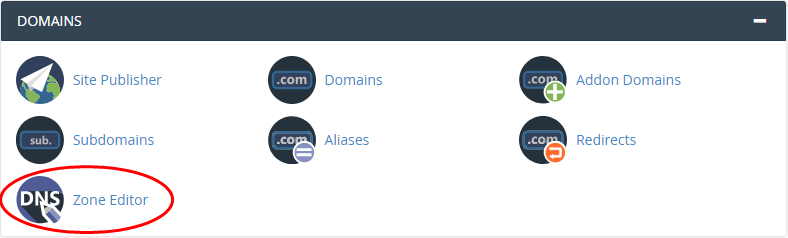
In the DOMAINS section of the cPanel home screen, click Zone Editor:
-
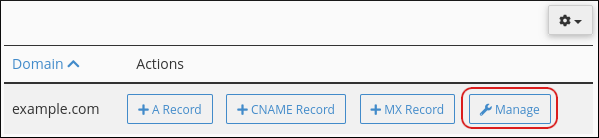
Locate the domain, and then click Manage:
-
On the Zone Records page, locate any existing MX records, and then click Delete for each record.
TipYou should copy the values for the existing MX records and save them in a safe location, in case you ever want to revert the domain's email back to the default settings.
-
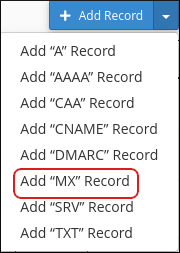
On the Zone Records page, click Add Record, and then click Add "MX" Record:
-
In the Valid zone name text box, type your domain name.
-
In the Priority text box, type
10. -
In the Destination text box, type
mx1.titan.email. -
Click Add Record.
-
Click Add Record, and then click Add "MX" Record:
-
In the Valid zone name text box, type your domain name.
-
In the Priority text box, type
20. -
In the Destination text box, type
mx2.titan.email. -
Click Add Record.
-
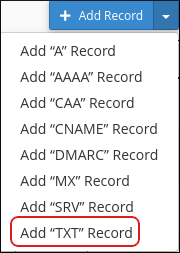
Click Add Record, and then click Add "TXT" Record:
-
In the Valid zone name text box, type your domain name.
-
In the Record Text text box, type
v=spf1 include:spf.titan.email ~all -
Click Add Record. Your domain's DNS is now configured for email hosting. To check the DNS status of your domain, see Checking the DNS status of your domain below.
TipFor additional authentication for your outgoing messages, you can configure DKIM (DomainKeys Identified Mail) for your domain. For information about how to do this, please see Setting up DKIM (DomainKeys Identified Mail) for Titan Mail accounts.
Scenario #2: You registered your domain with another registrar
In this scenario, you registered your domain with another registrar, and the domain's DNS settings are handled by the registrar.
To configure your domain for email hosting, follow these steps:
-
Log in to your domain registrar's customer portal or administration interface.
-
Add the following DNS records to your domain:
Host Name Record Type Address Priority @ MX (Mail) mx1.titan.email 10 @ MX (Mail) mx2.titan.email 20 @ SPF (txt) v=spf1 include:spf.titan.email ~all N/A TipIf you do not know how to add or modify DNS records for your domain, check your registrar's documentation.
-
Your domain's DNS is now configured for email hosting. To check the DNS status of your domain, see Checking the DNS status of your domain below.
TipFor additional authentication for your outgoing messages, you can configure DKIM (DomainKeys Identified Mail) for your domain. For information about how to do this, please see Setting up DKIM (DomainKeys Identified Mail) for Titan Mail accounts.
Checking the DNS status of your domain
After you have added the MX and SPF records to your domain settings, you can check the DNS status of your domain. To do this, follow these steps:
-
Log in to the Hosting Panel at https://my.hosting.com.
-
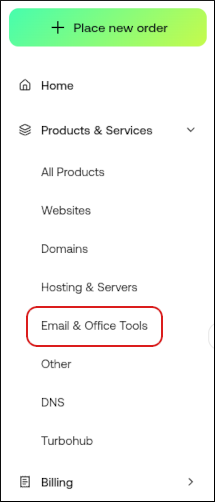
In the left sidebar, under Products & Services, click Email & Office Tools:
-
On the Email & Office Tools page, locate your email account, and then click Login:

-
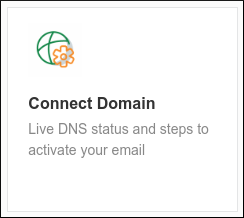
The administration interface appears in a new tab. Click the Connect Domain icon:
-
For the MX and TXT records, you should see VERIFIED:
 Important
It can take up to 24 hours for DNS changes to fully propagate across the internet (though the process is usually much faster). If you see UNVERIFIED , check that you provided the correct DNS settings above, wait awhile, and then try again.
-
You are now ready to create and configure accounts for your email hosting plan. For information about how to do this, please see Managing Titan Mail accounts.
More information
For more information, please visit https://support.titan.email/hc/en-us/sections/360005783514-Setup-Titan-for-your-domain.
Updated 3 months ago