Adding or changing background image in WordPress
WordPress allows you to use an image as the site's whole background. Adding a background to your website makes it more visually appealing. This tutorial will show you how to add and configure a background image for WordPress sites.
WordPress includes a feature that allows you to use an image as your site's full background. Adding a background to your website will improve its visual appeal and make it more appealing to visitors. This article will walk you through adding and configuring a background image in WordPress.
Adding and configuring a background image in WordPress
To add a background image in WordPress, follow these steps:
-
Log in to WordPress as the administrator.
-
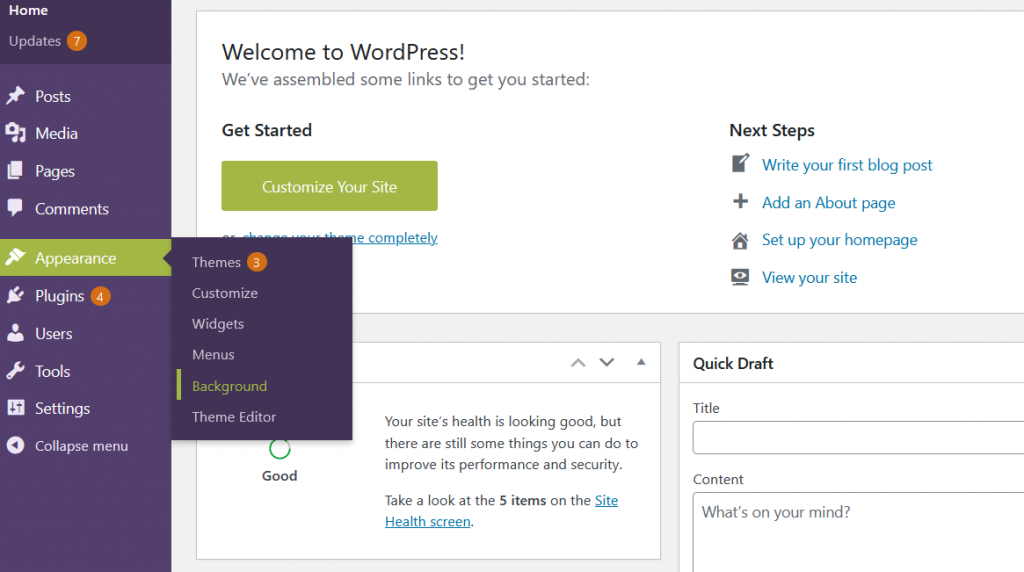
On the Dashboard in the left sidebar, click Appearance, and then click Background:
-
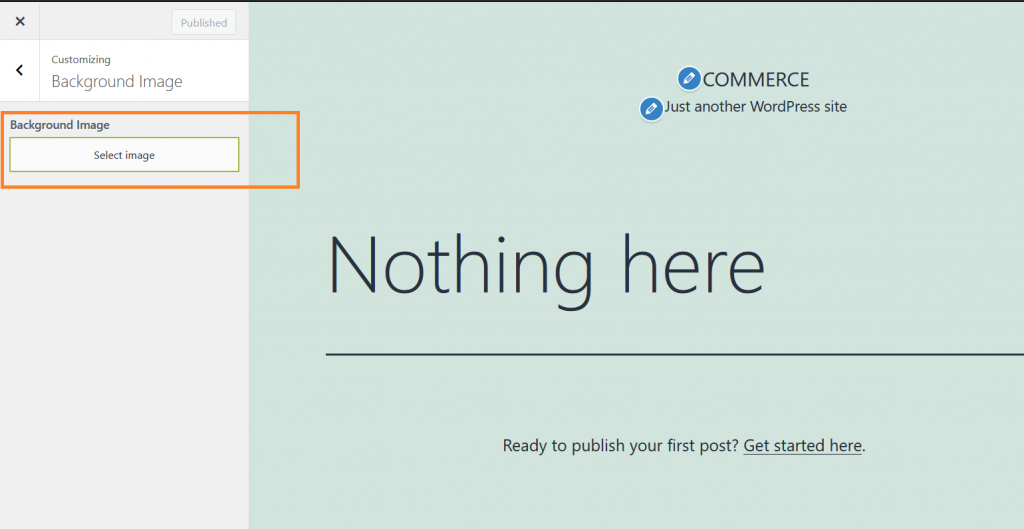
On the WordPress Live Editor, in the left sidebar, click Select Image to add a new background in the Background Image option:
-
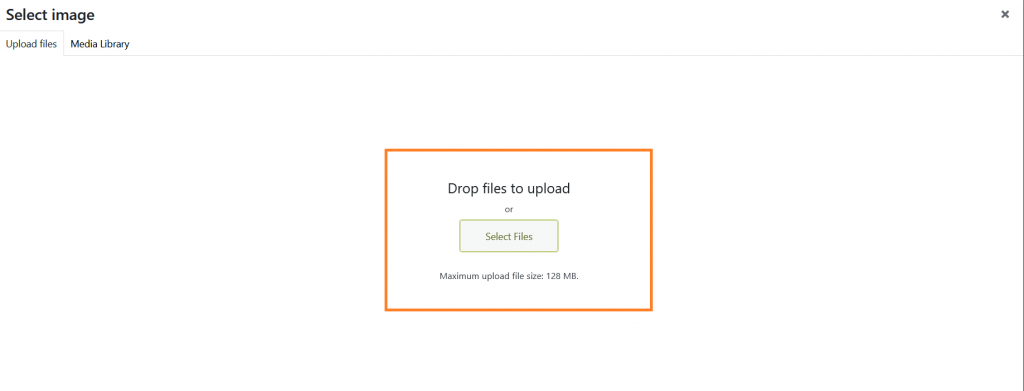
Upload a new image or select an existing one from the library:
-
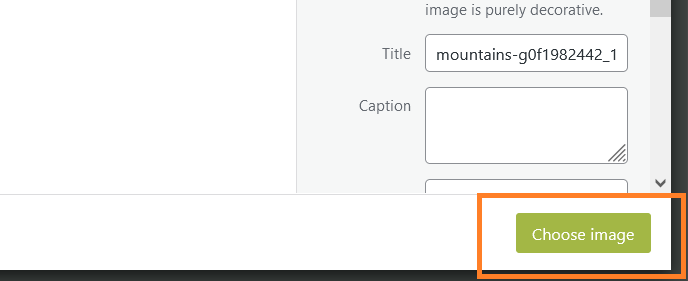
Click Choose Image, after uploading the background image:
-
The Live Editor will display a preview of the site with the new background image:
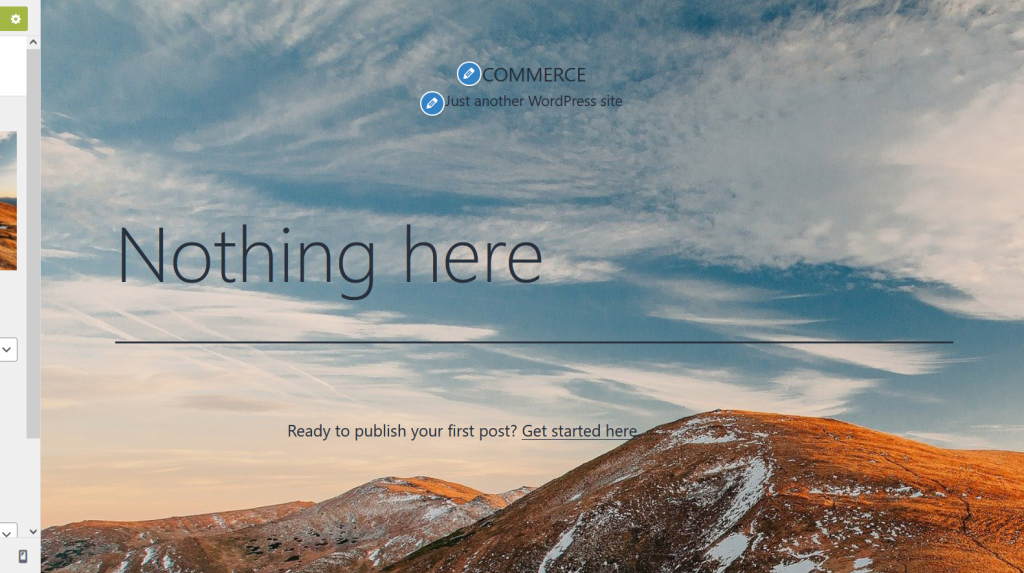
NoteNote: Changes has not been applied on the site yet
-
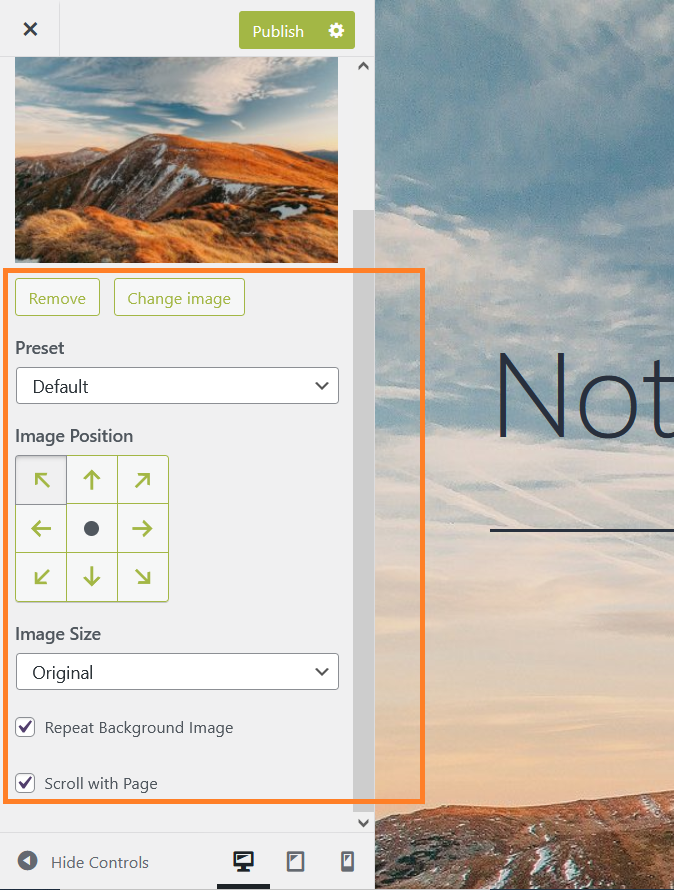
The sidebar has more options to customize the appearance of the background image. Change the options to fit the site requirement:
-
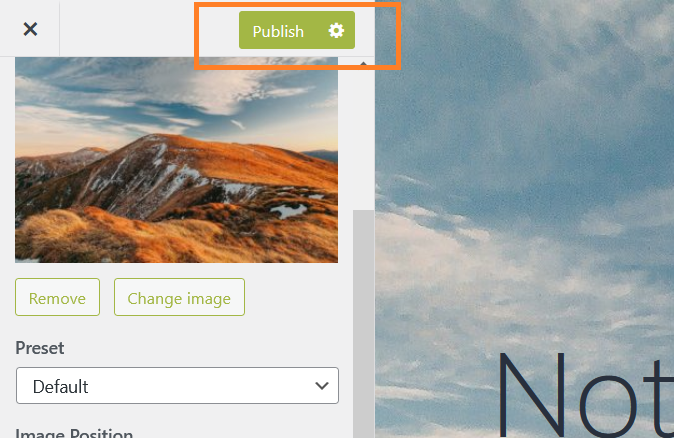
Click Publish to apply the changes to the site:
-
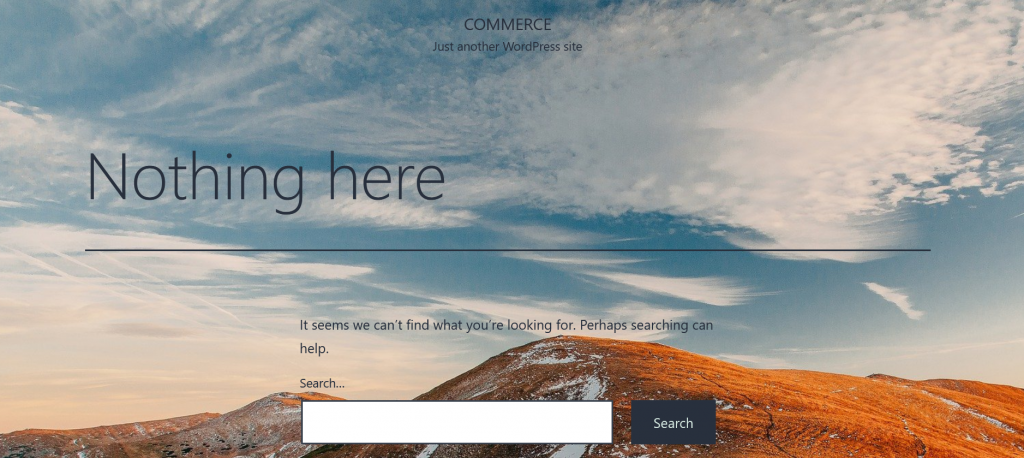
The new background image is embedded to the site:
More information
For more information about custom background images, please visit https://developer.wordpress.org/themes/functionality/custom-backgrounds/