WordPress automatically compresses uploaded JPG images by 90% and drops the image quality. The WordPress compression decreases the image quality further if the uploaded JPG image has been optimised before the upload; the poor image quality is very noticeable on the site. This blog shows you how to add a short PHP code snippet to disable WordPress JPEG compression.
Disable automatic JPEG compression in WordPress
ImportantAlways perform a backup before you make any changes to the theme files. If you break any codes, it will be easier to revert your site to its last good known state. Alternatively, you could also create a child theme. Read this link on how to create a child theme: https://www.hosting.com/blog/wordpress-child-theme/
-
Log in to your WordPress site with an administrator account.
-
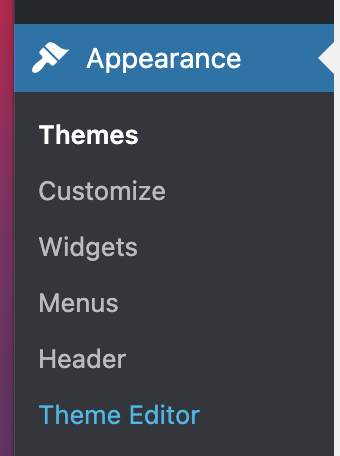
On the Dashboard in the left sidebar, click Appearance, and then click Theme Editor:
ImportantYou will not be able to roll back to your earlier Theme configuration after any edits. Always save the Theme files before proceeding with the amendments.
-
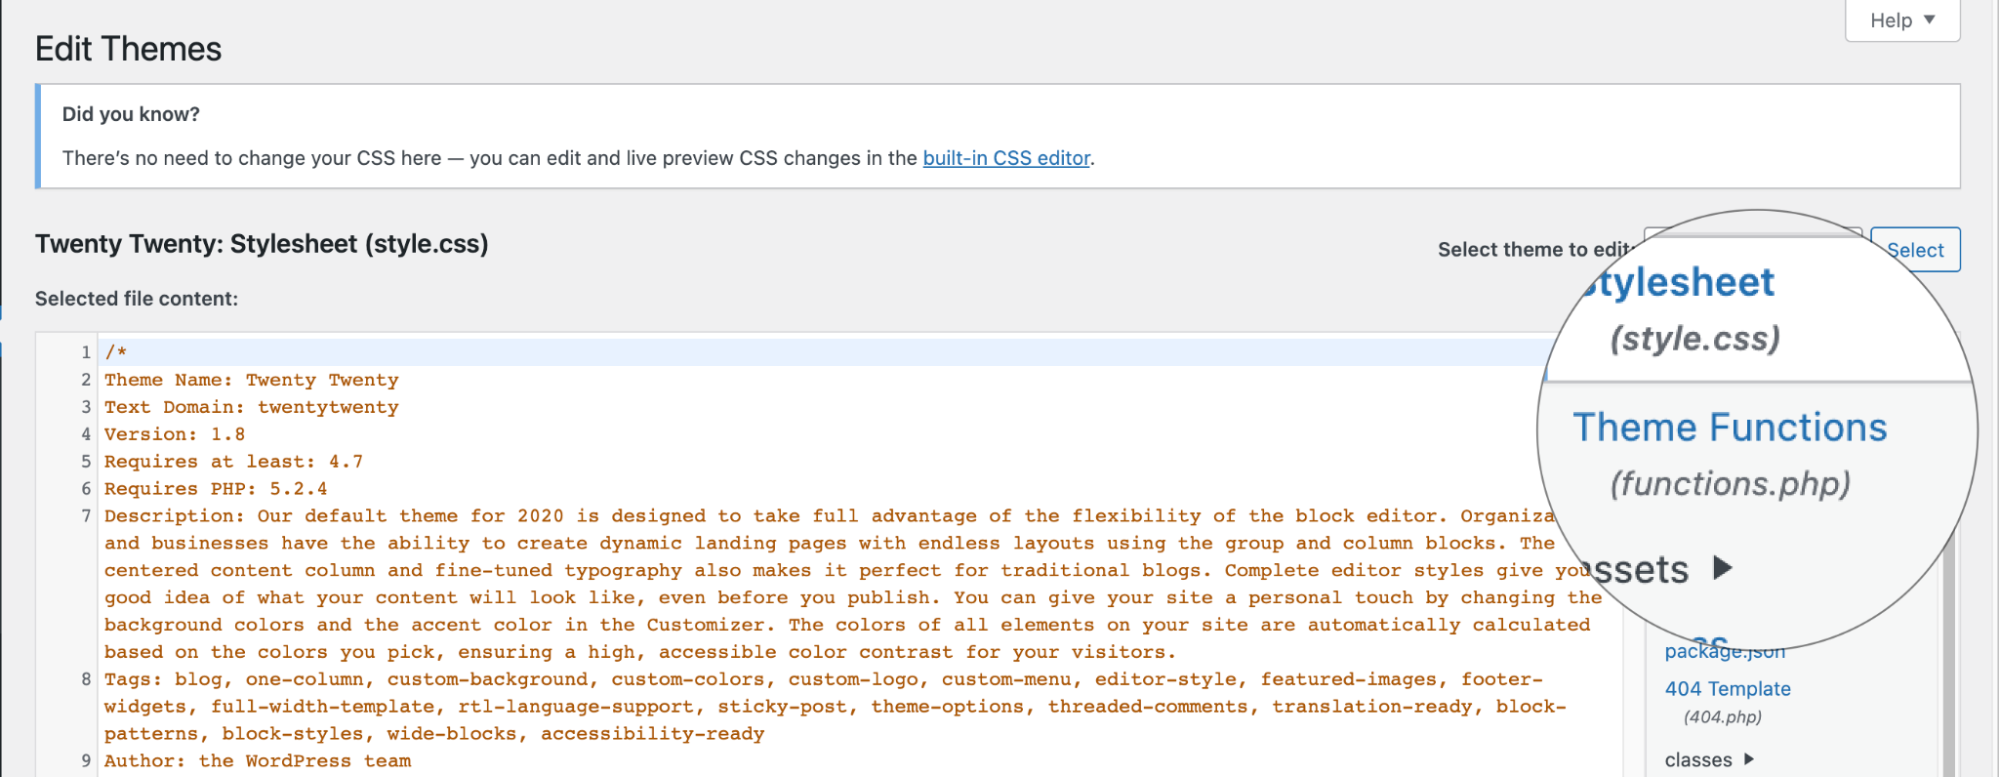
On the Theme Editor, select the Theme you want to edit from the dropdown:

-
The files for this selected theme are listed on the right column under Theme Files. Click on the file named “functions.php”:
 Insert the following code to the end of functions.php file.
add_filter( 'jpeg_quality', 'disable_img_compression' );

function disable_img_compression() {

  return 100;

}
Related articles