Installing WordPress using the cPanel WP Toolkit
Learn how to quickly and easily install your own WordPress site using the WP Toolkit in cPanel.
This article describes how to quickly and easily install your own WordPress site using the WP Toolkit in cPanel. The WP Toolkit provides a convenient, easy-to-use interface directly within cPanel that you can use to install, configure, and manage WordPress websites.
Installing WordPress
To install WordPress using the WP Toolkit, follow these steps:
-
Log in to cPanel.
NoteIf you do not know how to log in to your cPanel account, please see this article.
-
On the Tools page, in the Domains section, click WP Toolkit:

-
The WP Toolkit page appears. Under Installations, click Install:

-
Under Choose installation options, customize your site:
-
Under General, in the Installation path text box, you can optionally specify a directory in which to install WordPress.
TipIf you want your domain name (for example, https://www.example.com ) to go directly to WordPress, make sure the Installation path text box is blank.
-
In the Website title text box, specify the title of your site.
-
In the Plugin/theme set list box, you can optionally select a package of plugins and themes to install.
-
In the Website language list box, select the language for the site.
-
In the Version list box, select the WordPress version you want to install.
NoteUnless you have a specific reason for not doing so, you should install the current version.
-
Under WordPress Administrator, in the Username text box, type the username you want to use to log in to the site.
-
In the Password text box, type the password you want to use for the username to log in to the site. Click the eye icon to view the password.
ImportantMake sure that you use a strong password! Alternatively, you can click Generate , and cPanel generates a strong, random password for you.
-
In the Email text box, type a valid e-mail address. This address is used to receive update notifications and other news.
-
Under Database, you can optionally change the database settings.
NoteThe database options are for advanced users. You do not need to change any of them unless you have a specific reason for doing so.
-
Under Automatic Update Settings, you can optionally change the settings for WordPress, plugin, and theme updates.
NoteYou do not need to change any of these settings unless you have a specific reason for doing so.
-
-
Click Install. cPanel begins the installation and provides a progress indicator:
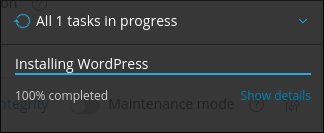
-
After installation is complete, you can optionally install plugins:
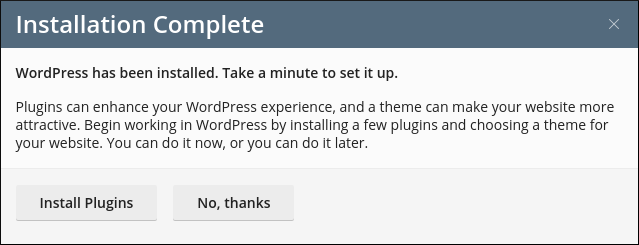
-
Now that WordPress is installed, you can use the WP Toolkit to help manage your site. For information about how to do this, please see this article.
More information
-
For more information about the cPanel WP Toolkit, please visit https://www.cpanel.net/wp-toolkit.
-
For more information about WordPress, please visit https://wordpress.org.