Managing bandwidth and disk usage with WHM
You can easily manage your customers' bandwidth and disk usage using WHM. Just follow our step-by-step WebHost Manager guide!
This article describes how to use WebHost Manager to manage bandwidth and disk usage on customer accounts.
Managing bandwidth usage
You can control how much bandwidth an account is allowed to use per day. To do this, follow these steps:
-
Log in to WebHost Manager.
NoteIf you do not know how to log in to your WebHost Manager account, please see this article.
-
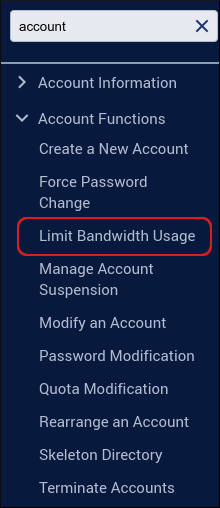
In the search box at the upper left of the WebHost Manager screen, start typing account, and then click Limit Bandwidth Usage when it becomes visible:
-
On the Limit Bandwidth on an Account page, click the radio button next to the account to modify. Account details appear below the account name.
TipIf the account is not visible, start typing the user name or domain of the account in the search box until it appears in the list.
-
Click Limit. The Limit Bandwidth Usage page appears.
-
To set a limit on bandwidth usage for the account, in the MB text box, type the maximum number of megabytes allowed. Alternatively, to remove all bandwidth limits for the account, click Unlimited.
-
Click Change.
NoteAccount bandwidth limits are only checked on the server once per day.
Managing disk usage
You can control the maximum amount of disk space that an account is allowed to use. To do this, follow these steps:
-
Log in to WebHost Manager.
NoteIf you do not know how to log in to your WebHost Manager account, please see this article.
-
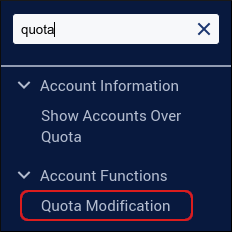
In the search box at the upper left of the WebHost Manager screen, start typing quota, and then click Quota Modification when it becomes visible:
-
On the Quota Modification page, click the radio button next to the account to modify. Account details appear below the account name.
TipIf the account is not visible, start typing the user name or domain of the account in the search box until it appears in the list.
-
Click Modify. The Quota Modification page appears.
-
To set a new limit on disk usage for the account, in the MB text box, type the maximum number of megabytes allowed. Alternatively, to remove all disk usage limits for the account, click Unlimited.
-
Click Save.