Customizing WordPress administration menu and toolbar using WP Custom Admin Interface plugin
Learn how to customize WordPress administration menu and toolbar using WP Custom Admin Interface plugin
WP Custom Admin Interface is a plugin that lets you change how your WordPress dashboard, admin menu, toolbar, and login form look. It also lets you change how menu items work and lets you add custom CSS, login CSS, Javascript/jQuery, and PHP.This article is about how to customize the backend in your website powered by WordPress using the WP Custom Admin Interface plugin.
WP Custom Admin Interface Plugin main features
-
Easily rename any menu item.
-
Drag and drop top level menu items to sub level menu items and vice versa.
-
Create new menu items and drag them to any position.
-
Add new menu items to the toolbar.
-
Remove existing items from the toolbar.
-
Re-order toolbar items.
-
Move toolbar items to any level of the menu.
Configuring and installing WP Custom Admin Interface plugin
To use WP Custom Admin Interface Plugin in your WordPress website, follow these steps:
-
Log in to WordPress as the administrator.
-
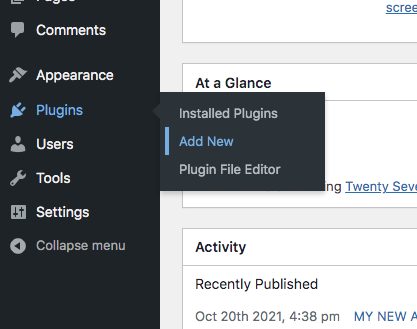
On the Dashboard in the left sidebar, click Plugins, and then click Add New:
-
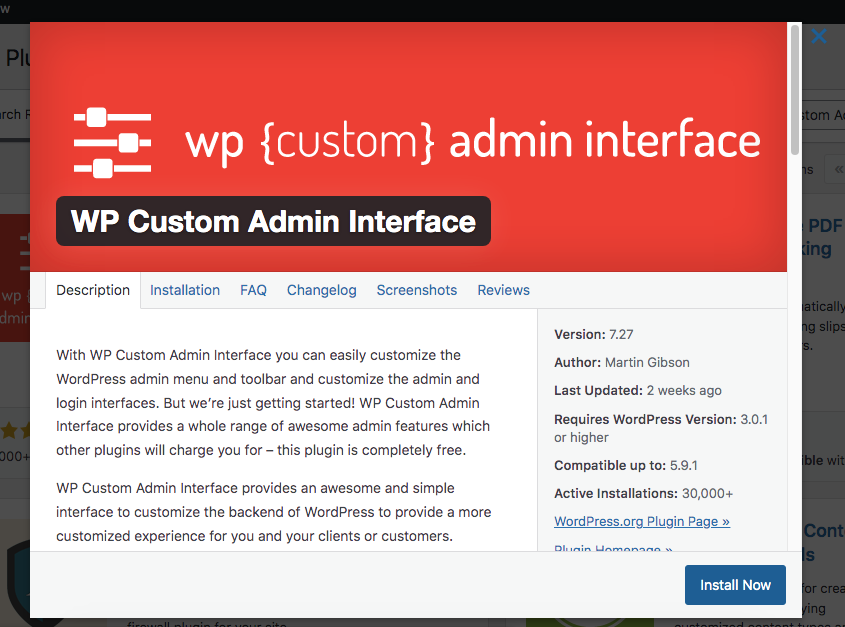
Search for "WP Custom Admin Interface" and then install and activate the WP Custom Admin Interface Plugin:
-
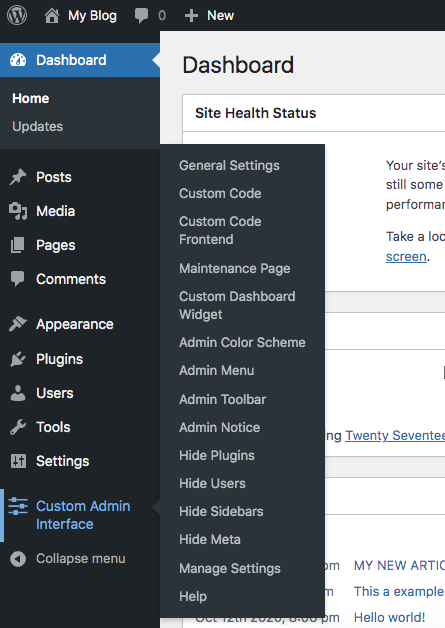
On the Dashboard in the left sidebar, click Settings, and then click Custom Admin Interface:
-
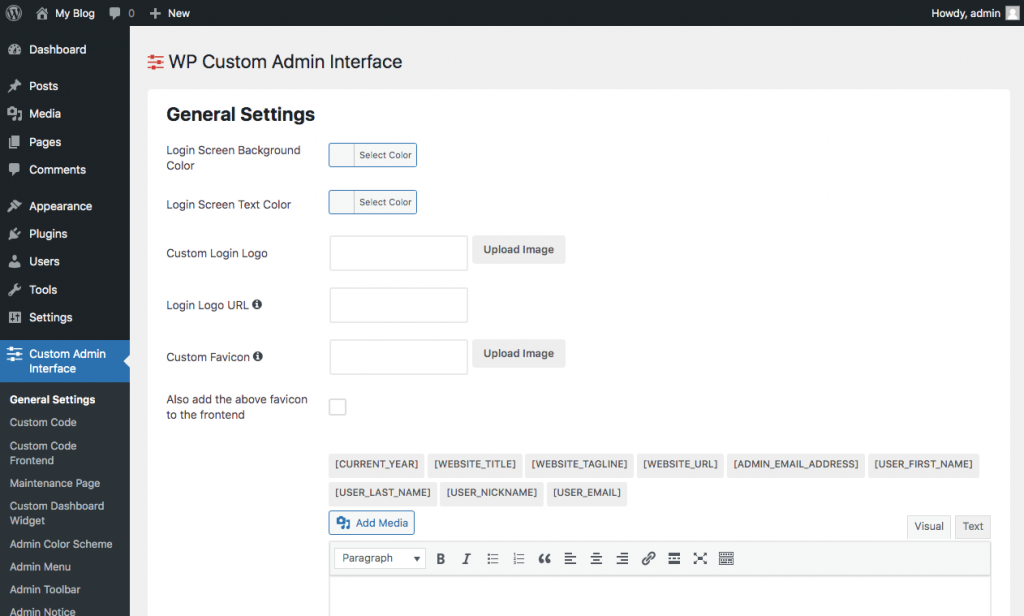
The general setting allows to change the background color of the WordPress login form, text color on the login screen, customize login logo, logo url and other options:
-
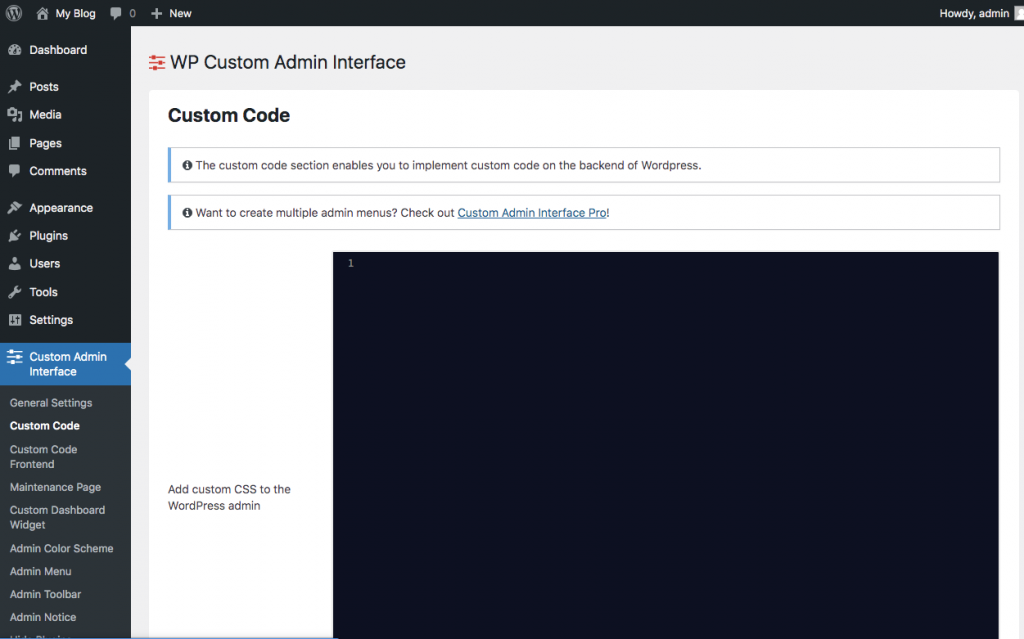
This plugin allows you to add customizable code:
-
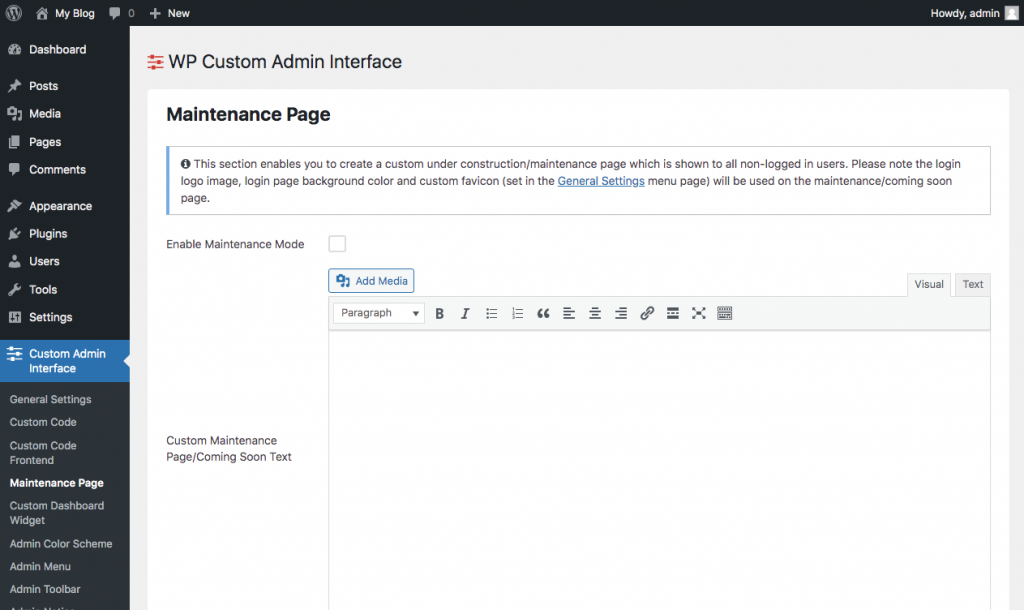
You can also customize a maintenance page if needed:
-
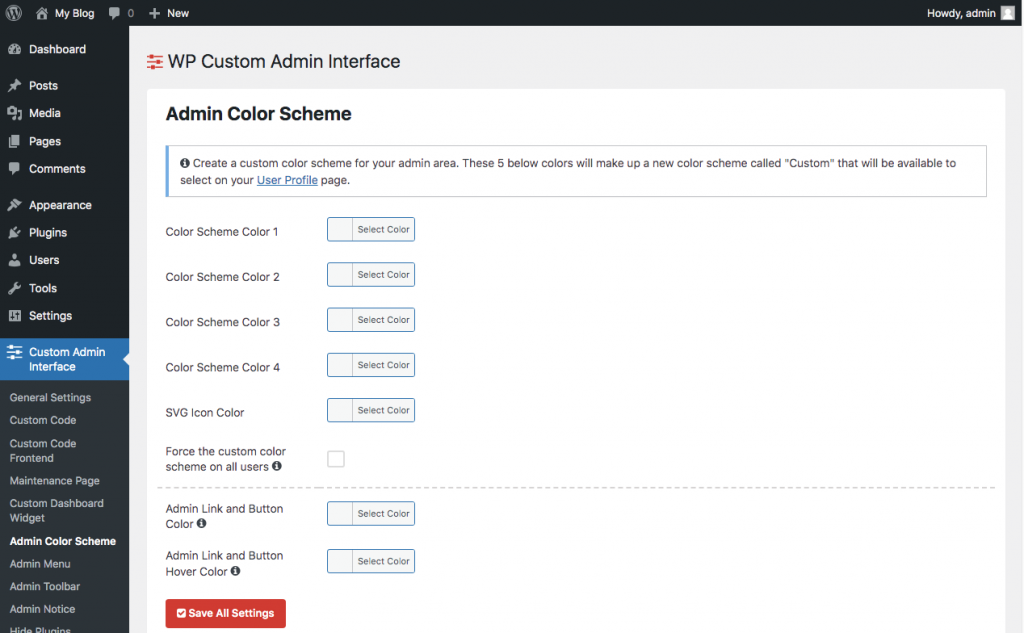
Options to change the Admin color scheme:
More information
For more information about the WP Custom Admin Interface Plugin, please visit https://wordpress.org/plugins/wp-custom-admin-interface/