Managing Your Domain
Learn how to use the hosting.com Hosting Panel to manage your domains.
This article describes how to use the hosting.com Hosting Panel to do domain management tasks, such as changing the domain's name servers and setting the registrar lock.
NoteThe information in this article only applies to domains purchased directly from hosting.com. If you purchased a domain from a third-party registrar, check their documentation instead for information about how to manage your domain.
Viewing domain information
To view basic information about your domain, such as payment and registration dates, follow these steps:
-
Log in to the Hosting Panel at https://my.hosting.com.
-
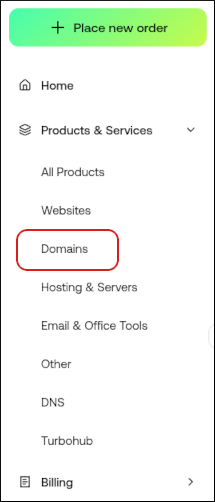
In the left sidebar, under Products & Services, click Domains:
-
On the Domains page, click the domain you want to configure.
TipYou can filter the list of domains to only display active, canceled, or all domains. To do this, click the Active, Cancelled, or All tab.
-
Information about your domain appears.
Viewing and changing the name servers for a domain
To change the name servers for a domain, or to just see the current name servers set for a domain, follow these steps:
-
Log in to the Hosting Panel at https://my.hosting.com.
-
In the left sidebar, under Products & Services, click Domains:
-
On the Domains page, click the domain you want to configure.
TipYou can filter the list of domains to only display active, canceled, or all domains. To do this, click the Active, Cancelled, or All tab.
-
Click Update Nameservers:

-
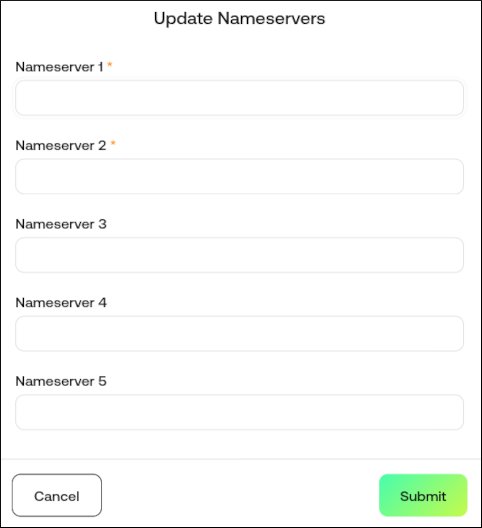
In the Update Nameservers dialog box, type the nameservers you want to use. You must specify at least two (a primary and a secondary) nameservers:
-
Click Submit.
DNS changes can take up to 24 hours to fully propagate. For information about how to access your web site before DNS propagation is complete, please see this article.
Setting the registrar lock for a domain
For security reasons, you should keep your domain locked to prevent unauthorized transfers. To do this, follow these steps:
-
Log in to the Hosting Panel at https://my.hosting.com.
-
In the left sidebar, under Products & Services, click Domains:
-
On the Domains page, click the domain you want to configure.
TipYou can filter the list of domains to only display active, canceled, or all domains. To do this, click the Active, Cancelled, or All tab.
-
Click Lock/Unlock:

-
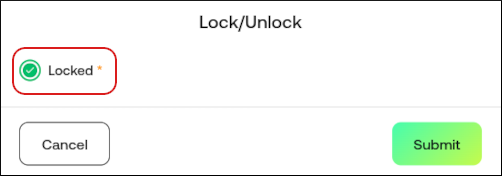
In the Lock/Unlock dialog box, the lock options for the domain appear:
-
To lock the domain, make sure the Locked check box is selected:
-
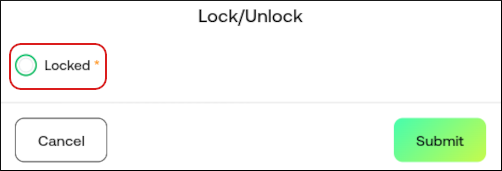
To unlock the domain, make sure the Locked check box is not selected:
-
-
Click Submit.
Changing registrant contact information
To change the registrant contact information for a domain, follow these steps:
-
Log in to the Hosting Panel at https://my.hosting.com.
-
In the left sidebar, under Products & Services, click Domains:
-
On the Domains page, click the domain you want to configure.
TipYou can filter the list of domains to only display active, canceled, or all domains. To do this, click the Active, Cancelled, or All tab.
-
Click Update Registrant:

-
In the Update Registrant dialog box, update the domain registrant contact information:
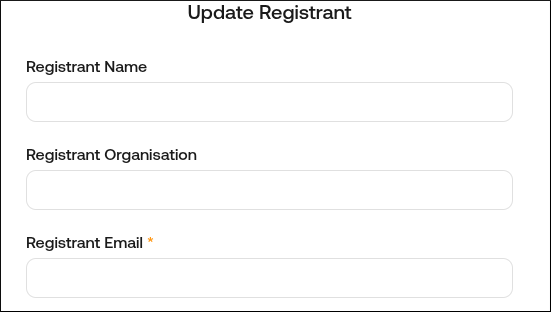
-
Click Submit.
Obtaining an EPP code
If you want to transfer your domain to another registrar, you must obtain an EPP (Extensible Provisioning Protocol) code first. The EPP code is an additional security measure that helps prevent unauthorized domain transfers.
Domain registrars may also refer to the EPP code as the EPP key, an AuthInfo code, a transfer secret, or something similar.
To obtain an EPP code, follow these steps:
-
Log in to the Hosting Panel at https://my.hosting.com.
-
In the left sidebar, under Products & Services, click Domains:
-
On the Domains page, click the domain you want to configure.
TipYou can filter the list of domains to only display active, canceled, or all domains. To do this, click the Active, Cancelled, or All tab.
-
Click Get EPP Code (Non-UK Domains):

-
The Hosting Panel notifies you that the EPP code has been generated.
NoteThe EPP code is sent to the registrant e-mail address for the domain.
Updating the IPS tag (UK domains)
For UK domains, if you want to transfer your domain to another registrar, you must update the IPS (Internet Provider Security) tag for the domain. The IPS tag is an additional security measure that helps prevent unauthorized domain transfers.
To update the IPS tag for your domain, follow these steps:
-
Log in to the Hosting Panel at https://my.hosting.com.
-
In the left sidebar, under Products & Services, click Domains:
-
On the Domains page, click the domain you want to configure.
TipYou can filter the list of domains to only display active, canceled, or all domains. To do this, click the Active, Cancelled, or All tab.
-
Click Update IPS Tag (UK Domain Release):

-
In the New IPS Tag text box, type the IPS tag provided by the gaining registrar:
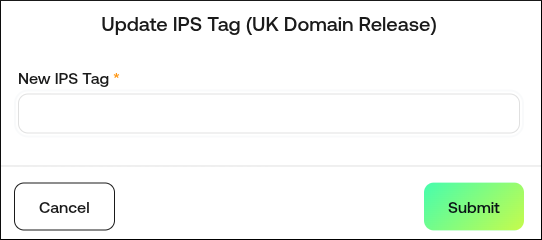
-
Click Submit.